
The first sip of Moringa Tea is like a warm hug on a chilly day, bringing a sense of comfort and vitality. This tea is not just a delightful drink; it’s packed with nutrients and has a refreshing taste that makes it perfect for any time of day.
With its earthy flavor and a hint of sweetness, this tea is a wonderful way to boost your wellness routine. Plus, it’s incredibly easy to make, requiring only a few ingredients and minimal time.
Why You’ll Love This Recipe
This recipe stands out for its simplicity and health benefits. You will enjoy:
- Rich in vitamins and minerals.
- Quick to prepare, taking only minutes.
- Customizable with various add-ins.
- A delightful, soothing drink for any time.
My Experience Making This Recipe
When I first tried making Moringa Tea, I was pleasantly surprised by how aromatic it was. The fresh leaves released a gentle scent that filled my kitchen, making me feel relaxed and eager to sip.
My family loved it too, and soon, it became a staple in our home. We often enjoy it together after dinner, chatting about our day while savoring its unique flavor.
Recipe Overview
- Recipe Name: Moringa Tea
- Servings: 2
- Prep Time: 5 minutes
- Cook Time: 10 minutes
- Total Time: 15 minutes
- Course: Beverage
- Cuisine: Herbal
- Calories per Serving: 35
Equipment You Will Need
- Teapot or saucepan
- Strainer or tea infuser
- Cup or mug
- Spoon for stirring
Ingredients for Moringa Tea
- 2 cups water
- 1 tablespoon dried moringa leaves (or 2 teaspoons moringa powder)
- 1-2 teaspoons honey (optional, for sweetness)
- Lemon slices (optional, for flavor)
Ingredient Notes and Substitutions
- Dried moringa leaves: Used for their rich nutrient profile. You can substitute it with moringa powder, but use less.
- Honey: Adds natural sweetness. Maple syrup or agave can be used as alternatives.
- Lemon slices: Provide a refreshing zest. Lime can be a good substitute as well.
How to Make Moringa Tea
Step 1: Boil the Water
Start by bringing 2 cups of water to a boil in your teapot or saucepan. Boiling the water ensures that the moringa releases its nutrients effectively.
Step 2: Add Moringa Leaves
Once the water reaches a rolling boil, add 1 tablespoon of dried moringa leaves. This is where the magic happens, as the leaves begin to steep and infuse the water.
Step 3: Let It Steep
Remove the pot from heat and let the moringa steep for about 5-10 minutes. The longer it steeps, the more robust the flavor will be, so feel free to adjust based on your preference.
Step 4: Strain the Tea
Using a strainer or tea infuser, pour the tea into your cup or mug. This separates the leaves from the liquid, giving you a smooth drink.
Step 5: Sweeten to Taste
If you prefer a sweeter tea, stir in 1-2 teaspoons of honey. Adjust the sweetness to your liking, as this adds a lovely touch against the earthy flavor.
Step 6: Add Lemon
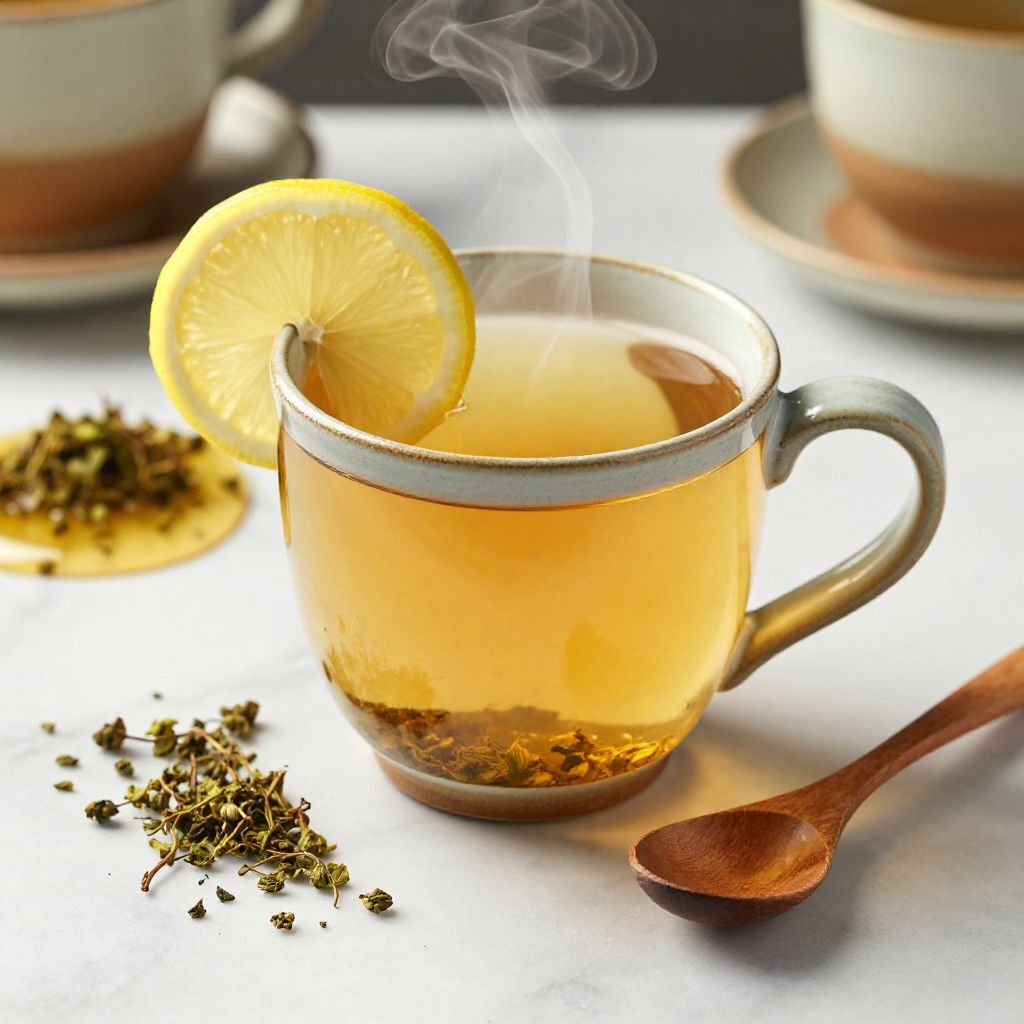
For an extra zing, add a slice of lemon to your tea. This not only enhances flavor but also adds a boost of vitamin C.
Step 7: Serve and Enjoy
Your Moringa Tea is ready to serve! Enjoy it warm and take a moment to appreciate the soothing aroma.
Step 8: Experiment with Variations
Feel free to experiment with different add-ins like ginger or mint for a unique twist. Each variation adds its own flavor profile and health benefits.
Pro Tip: Always taste your tea before adding more sweetener; sometimes the natural flavor is just perfect.
Tips for the Best Moringa Tea
- Use fresh moringa leaves if possible for the best flavor.
- Control steeping time to find your preferred strength.
- Pair with light snacks like crackers or fruits.
- Store any leftover tea in the fridge for a refreshing iced drink later.
- Experiment with different sweeteners to find your favorite.
Common Mistakes to Avoid
- Not using enough moringa: This will lead to a weak flavor and fewer health benefits.
- Oversteeping the tea: Leaving it too long can make the tea bitter.
- Using boiling water on moringa powder: This can clump and ruin the texture.
- Skipping the straining: This will leave you with gritty tea.
Serving Suggestions
Moringa Tea pairs beautifully with a light meal or snack. Try serving it with:
- Fresh fruit like apples or oranges.
- Light sandwiches or wraps.
- A handful of nuts or seeds.
- Crackers with cheese.
Variations to Try
- Mint Moringa Tea: Add fresh mint leaves for a refreshing twist.
- Ginger Moringa Tea: Incorporate fresh ginger slices for a spicy kick.
- Coconut Moringa Tea: Use coconut milk instead of plain water for a creamy texture.
- Spiced Moringa Tea: Add a pinch of cinnamon or turmeric for added warmth and flavor.
Dietary Adaptations
- Gluten-free: Naturally gluten-free, perfect for those with sensitivities.
- Dairy-free: Suitable for dairy-free diets; just use water or plant milk.
- Vegan/Vegetarian: Honey can be replaced with agave or maple syrup for a vegan option.
- Low-carb/Keto: Skip added sugars to keep it low-carb.
Storage and Reheating
Refrigerator
Store leftover tea in an airtight container in the fridge for up to 3 days.
- Make sure to let it cool before refrigerating.
- Keep it separate from solid foods to avoid absorption of flavors.
Freezer
For longer storage, freeze in an ice cube tray.
- Once frozen, transfer cubes to a zip-top bag.
- Use within 1-2 months for best flavor.
Reheating
To reheat, simply warm in a saucepan over low heat.
- Stir frequently to avoid scorching.
- Add a bit of fresh water if it tastes too strong after reheating.
Nutrition Information
| Nutrient | Amount |
|---|---|
| Calories | 35 |
| Total Fat | 0g |
| Saturated Fat | 0g |
| Carbohydrates | 9g |
| Fiber | 2g |
| Sugar | 2g |
| Protein | 2g |
| Sodium | 5mg |
| Cholesterol | 0mg |
This information is an estimate and can vary based on specific ingredients used.
Frequently Asked Questions
Can I use fresh moringa leaves instead of dried?
Yes, fresh leaves can be used, but you may need to adjust the quantity since they are less concentrated.
How long can I store moringa tea?
In the refrigerator, it lasts about 3 days, and you can freeze it for up to 2 months.
What if my tea is too bitter?
This usually happens from oversteeping; try reducing the steeping time next time.
Can I make this tea ahead of time?
Absolutely! Just prepare it earlier in the day and refrigerate for later.
Is moringa tea good for you?
Yes, it is packed with vitamins and minerals that can boost your health.
Final Thoughts
Making Moringa Tea is not just about sipping a warm drink; it’s about embracing wellness in a cup. I encourage you to give this recipe a try and feel the benefits.
For more health-related insights, explore topics like the benefits of moringa or try out another herbal favorite with this dandelion tea recipe.
Moringa Tea
Ingredients
Equipment
Method
- Bring 2 cups of water to a rolling boil in a teapot or saucepan.
- Add 1 tablespoon of dried moringa leaves to the boiling water.
- Remove the pot from heat and steep the moringa leaves for 5-10 minutes, depending on desired strength.
- Strain the tea through a strainer or tea infuser into a cup or mug to remove the leaves.
- Stir in 1-2 teaspoons of honey, if desired, to sweeten the tea.
- Add a slice of lemon, if desired, for extra flavor.
- Serve the moringa tea warm and enjoy immediately.
- Experiment with variations such as adding fresh ginger, mint, cinnamon, or coconut milk to customize the flavor.