
There’s something magical about the aroma of freshly cooked sushi rice wafting through your kitchen. With this Instant Pot Sushi Rice Recipe, you’ll create perfectly sticky, flavorful rice in no time, elevating your sushi game without the fuss. This recipe is a lifesaver for busy home cooks who crave the authentic taste of sushi at home. The texture is just right for rolling or serving alongside your favorite sushi ingredients, making it versatile and enjoyable.
Why You’ll Love This Recipe
This recipe is incredibly convenient and yields perfect rice every time.
- Quick cooking time thanks to the Instant Pot.
- Perfectly sticky texture, ideal for sushi rolls.
- Minimal ingredients make it easy to prepare.
- Versatile for various dishes beyond sushi.
- Consistent results with little effort.
My Experience Making This Recipe
When I first tried making sushi rice in my Instant Pot, I was skeptical. But the moment I tasted the fluffy, perfectly seasoned rice, I knew this would be my go-to method.
Friends and family couldn’t believe how easy it was to achieve restaurant-quality sushi at home. The rice held together beautifully in rolls, and everyone was impressed.
Recipe Overview
- Recipe Name: Instant Pot Sushi Rice
- Servings: 4
- Prep Time: 10 minutes
- Cook Time: 12 minutes
- Total Time: 30 minutes
- Course: Main Course
- Cuisine: Japanese
- Calories per Serving: 250
Equipment You Will Need
- Instant Pot
- Measuring cups
- Measuring spoons
- Rice paddle or spatula
- Large mixing bowl
Ingredients for Instant Pot Sushi Rice
- 2 cups sushi rice
- 2 1/2 cups water
- 1/4 cup rice vinegar
- 2 tablespoons sugar
- 1 teaspoon salt
Ingredient Notes and Substitutions
- Sushi Rice: This short-grain rice has the perfect sticky texture for sushi. If unavailable, you can use short-grain white rice.
- Rice Vinegar: Adds flavor and helps season the rice. Apple cider vinegar can work as a substitute, though the flavor will differ slightly.
- Sugar: Balances the vinegar’s acidity. You can use honey or agave for a different sweetness.
- Salt: Enhances flavor. Sea salt or kosher salt can be used instead of table salt.
How to Make Instant Pot Sushi Rice
Step 1: Rinse the Rice
Start by rinsing the sushi rice under cold water until the water runs clear. This removes excess starch and helps achieve the desired sticky texture.
Step 2: Combine Ingredients in the Instant Pot
Add the rinsed rice and water to the Instant Pot. This balanced ratio is key for perfectly cooked sushi rice.
Step 3: Cook the Rice
Seal the Instant Pot lid and set it to cook on high pressure for 12 minutes. The pressure cooking method ensures even cooking and retains moisture.
Step 4: Natural Release
After cooking, allow the pressure to release naturally for 10 minutes before manually releasing any remaining pressure. This prevents the rice from becoming mushy.
Step 5: Prepare the Seasoning
In a small bowl, mix the rice vinegar, sugar, and salt until dissolved. This mixture adds flavor to the rice.
Step 6: Fluff the Rice
Open the Instant Pot and fluff the rice gently with a rice paddle. This helps to separate the grains without crushing them.
Step 7: Combine Rice and Seasoning
Pour the vinegar mixture over the warm rice and fold it in gently. This step is crucial for even seasoning.
Step 8: Let it Cool
Allow the sushi rice to cool slightly before using. It should be warm but not hot for rolling sushi.
Pro Tip: Always rinse your rice thoroughly for the best texture.
Tips for the Best Instant Pot Sushi Rice
- Use a rice paddle to fluff the rice gently to avoid mushiness.
- Let the rice cool to room temperature before using it in sushi rolls.
- Experiment with seasoning to find the perfect balance for your taste.
- Make sure to use the right rice — sushi rice is a must for authentic texture.
- Measure your water accurately for the best results.
Common Mistakes to Avoid
- Not rinsing the rice can lead to overly sticky rice. Rinsing is key for texture.
- Overcooking the rice can result in mushiness. Stick to the recommended times.
- Not letting the pressure release naturally can affect the rice’s texture.
- Using the wrong rice type will lead to unsatisfying results. Stick with sushi rice.
Serving Suggestions
Enjoy your sushi rice as a base for sushi rolls or as a side dish with your favorite Japanese dishes.
- Pair with sashimi for a delightful meal.
- Serve alongside teriyaki chicken for a complete dinner.
- Use in poke bowls for a fresh twist.
- Top with avocado and sesame seeds for a simple snack.
Variations to Try
- Add a splash of mirin for added sweetness and flavor.
- Incorporate finely chopped nori for extra umami in the rice.
- Mix in toasted sesame seeds for a nutty touch.
- Experiment with different vinegars like rice wine for subtle flavor changes.
Dietary Adaptations
- Gluten-Free: The ingredients are naturally gluten-free.
- Dairy-Free: This recipe contains no dairy.
- Vegan/Vegetarian: All ingredients are plant-based.
- Low-Carb/Keto: This dish is not low-carb; consider cauliflower rice as a substitute.
Storage and Reheating
Refrigerator
Store leftover sushi rice in an airtight container. It will keep for about 3-4 days.
- Allow rice to cool before refrigerating.
- Reheat gently in the microwave with a splash of water.
Freezer
You can freeze sushi rice for up to a month. Make sure to cool it completely before freezing.
- Portion the rice into freezer-safe bags.
- Label and date your bags for easy organization.
Reheating
Thaw frozen rice in the refrigerator overnight. Reheat using a microwave or stovetop.
- Add a little water to prevent drying out.
- Cover to steam while reheating for better texture.
Nutrition Information
| Nutrient | Amount |
|---|---|
| Calories | 250 |
| Total Fat | 0.5g |
| Saturated Fat | 0g |
| Carbohydrates | 55g |
| Fiber | 1g |
| Sugar | 1g |
| Protein | 4g |
| Sodium | 300mg |
| Cholesterol | 0mg |
This information is an estimate and may vary based on specific ingredients used.
Frequently Asked Questions
Can I use regular rice instead of sushi rice?
While you can use regular rice, it will not yield the same sticky texture needed for sushi.
Can I make sushi rice ahead of time?
Yes, you can prepare sushi rice a few hours in advance; just keep it covered to retain moisture.
How should I store leftover sushi rice?
Store it in an airtight container in the refrigerator for about 3-4 days.
Why is my sushi rice too sticky or mushy?
This typically happens if the rice is not rinsed enough or if it was overcooked.
Can I use brown rice for sushi?
Brown rice is not traditional for sushi, but it can be used; just be aware that it will need longer cooking times.
Final Thoughts
Making sushi rice at home has never been easier with this Instant Pot method. The flavor and texture are sure to impress, whether you’re rolling sushi or serving it as a side.
So why not gather your ingredients and give this recipe a try? You may find yourself making sushi nights a regular event!
If you’re interested in exploring more rice recipes, check out my Instant Pot Brown Rice Recipe or try the Arborio Rice Recipe for variety.
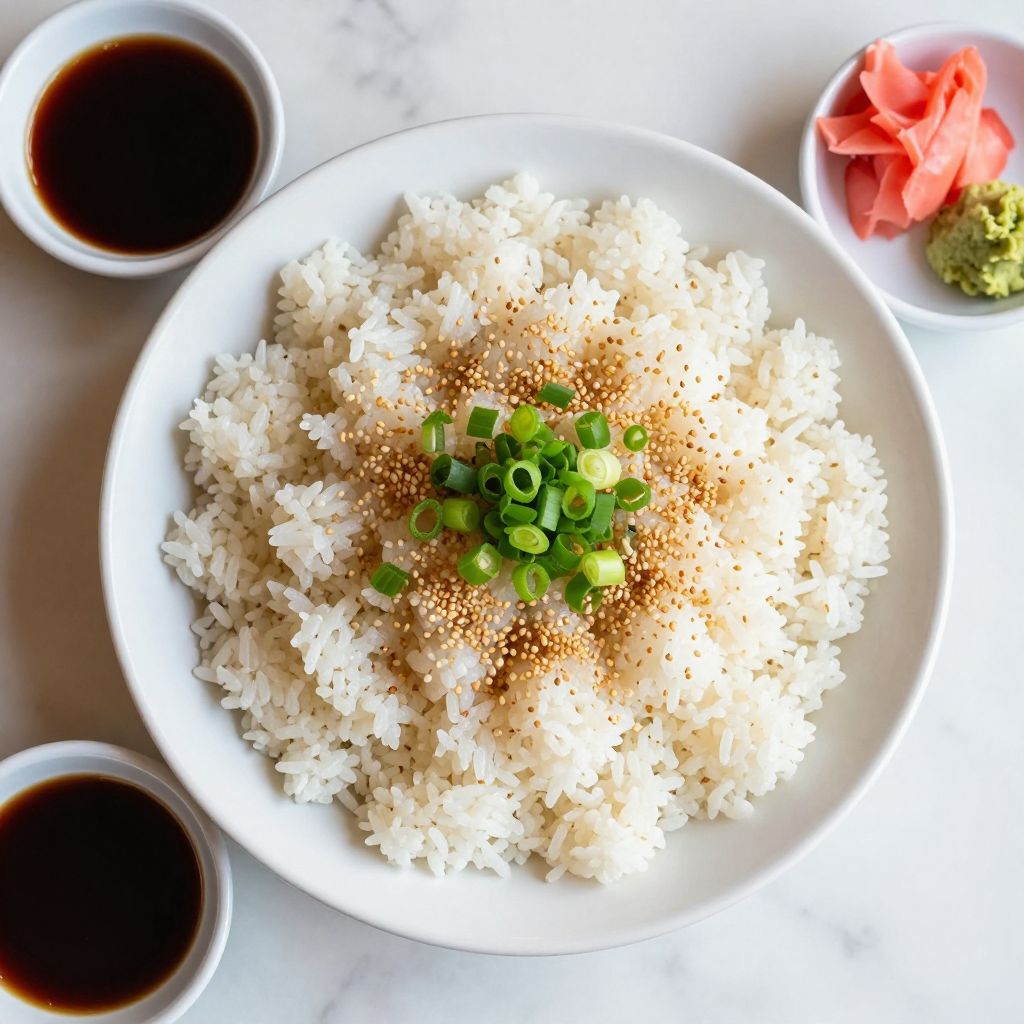
Instant Pot Sushi Rice
Ingredients
Equipment
Method
- Rinse the sushi rice under cold water until the water runs clear.
- Add the rinsed rice and water to the Instant Pot.
- Seal the Instant Pot lid and set it to cook on high pressure for 12 minutes.
- After cooking, allow the pressure to release naturally for 10 minutes.
- In a small bowl, mix the rice vinegar, sugar, and salt until dissolved.
- Open the Instant Pot and fluff the rice gently with a rice paddle.
- Pour the vinegar mixture over the warm rice and fold it in gently.
- Allow the sushi rice to cool slightly before using.