
Cooking brown rice can sometimes feel like a test of patience, but with this Instant Pot Brown Rice Recipe, you’ll be enjoying fluffy, perfectly cooked rice in no time. This method is such a lifesaver for busy weeknights or meal prepping, making it a staple in my kitchen thanks to its *ease* and *versatility*.
Why You’ll Love This Recipe
This recipe is a must-try for anyone who loves a good side dish. It’s not only quick but also delivers perfectly textured brown rice every single time.
- Quick Cooking: Cook brown rice in just 22 minutes with the Instant Pot.
- Flavorful: Perfectly seasoned rice that complements any dish.
- Hands-Free: No need to watch over a pot on the stove.
- Meal Prep Friendly: Make a big batch and use it all week.
- Nutritious: Brown rice is a healthy whole grain option.
My Experience Making This Recipe
The first time I tried this method, I was pleasantly surprised by how simple it was. The rice came out fluffy and tender, and I could hardly believe I didn’t have to babysit it on the stove.
Since then, it has become my go-to recipe. I love the nutty flavor of brown rice, and it pairs beautifully with everything from stir-fries to stews.
Recipe Overview
- Recipe Name: Instant Pot Brown Rice
- Servings: 4
- Prep Time: 5 minutes
- Cook Time: 22 minutes
- Total Time: 27 minutes
- Course: Side Dish
- Cuisine: Asian
- Calories per Serving: 218
Equipment You Will Need
- Instant Pot
- Measuring cups
- Measuring spoons
- Wooden spoon or spatula
- Serving bowl
Ingredients for Instant Pot Brown Rice
- 1 cup brown rice
- 1 1/4 cups water or broth
- 1/2 teaspoon salt (optional)
- 1 tablespoon olive oil (optional)
Ingredient Notes and Substitutions
- Brown Rice: This is the star of the dish, providing a nutty flavor and chewy texture. You can substitute with white rice, but adjust the cooking time.
- Water or Broth: Using broth adds extra flavor. Feel free to use vegetable, chicken, or beef broth.
- Salt: This enhances the flavor of the rice. If you’re watching your sodium intake, you can skip it.
- Olive Oil: This adds richness. You can substitute with butter or skip it for a lighter dish.
How to Make Instant Pot Brown Rice
Step 1: Rinse the Rice
Start by rinsing the brown rice under cold water to remove excess starch. This prevents the rice from being gummy and helps achieve that perfect texture.
Step 2: Add Ingredients to the Instant Pot
Place the rinsed rice in the Instant Pot. Add water or broth, salt, and olive oil if using. This combination will ensure the rice is flavorful and fluffy.
Step 3: Seal the Instant Pot
Close the lid and ensure the vent is set to sealing. This is crucial for building pressure and cooking the rice evenly.
Step 4: Set the Cooking Time
Set the Instant Pot to cook on high pressure for 22 minutes. This time is ideal for perfectly cooked brown rice.
Step 5: Natural Release
Once the cooking time is up, let the pressure release naturally for 10 minutes. This allows the rice to finish cooking and prevents overcooking.
Step 6: Quick Release Remaining Pressure
After 10 minutes, carefully switch the vent to quick release to let out any remaining steam. This step helps to stop the cooking process, ensuring the rice doesn’t get mushy.
Step 7: Fluff the Rice
Open the lid and use a fork to fluff the rice gently. This step breaks up any clumps and gives the rice a light, airy texture.
Step 8: Serve and Enjoy
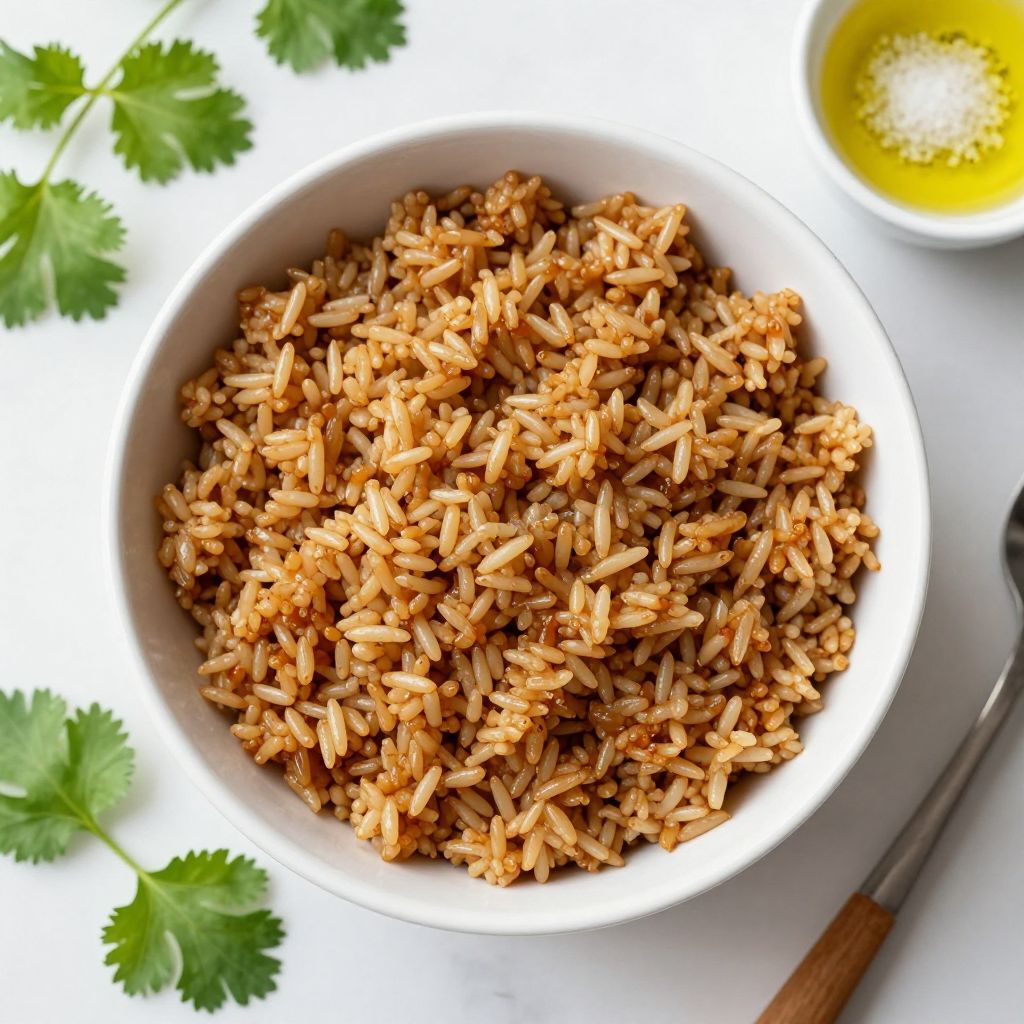
Transfer the rice to a serving bowl and enjoy it warm. You can pair it with your favorite dishes or use it as a base for salads or grain bowls.
Pro Tip: Always rinse your rice before cooking to achieve the best texture.
Tips for the Best Instant Pot Brown Rice
- Use fresh brown rice for the best flavor and texture.
- Adjust water amounts slightly for more or less moisture, depending on your preference.
- For added flavor, sauté some onions or garlic in the Instant Pot before adding the rice and water.
- Store any leftovers in an airtight container to keep them fresh.
- Experiment with different types of broth for varied flavors.
Common Mistakes to Avoid
- Skipping the rinse: Not rinsing the rice can lead to a gummy texture.
- Incorrect water-to-rice ratio: Too much or too little water can affect the outcome.
- Not allowing natural release: Skipping this step can result in undercooked rice.
- Opening the lid too soon: This can disrupt the cooking process and yield uneven results.
Serving Suggestions
This rice is so versatile and pairs well with a variety of dishes. Here are a few ideas to get you started:
- Serve alongside stir-fried vegetables for a complete meal.
- Top with grilled chicken or tofu for a protein-packed option.
- Mix in black beans and corn for a delicious burrito bowl.
- Use it as a base for curry or stews.
- Combine with sautéed greens for a nutritious side dish.
Variations to Try
- Add spices like cumin or turmeric for a flavor boost.
- Mix in fresh herbs like cilantro or parsley after cooking for brightness.
- Incorporate vegetables like peas or carrots during cooking for added nutrition.
- Use coconut milk instead of water for a creamy, tropical twist.
Dietary Adaptations
- Gluten-Free: This recipe is naturally gluten-free, making it suitable for those with gluten sensitivities.
- Dairy-Free: Use olive oil instead of butter to keep it dairy-free.
- Vegan: The recipe is entirely plant-based.
- Low-Carb/Keto: Brown rice is higher in carbs, so consider using cauliflower rice for a low-carb option.
Storage and Reheating
Refrigerator
Store leftover rice in an airtight container in the refrigerator for up to 5 days.
- Let the rice cool before sealing it in the container.
- Label the container to keep track of freshness.
Freezer
You can freeze cooked brown rice for up to 3 months.
- Use freezer-safe bags or containers to prevent freezer burn.
- Portion it out for easy meal prep later on.
Reheating
Reheat rice in the microwave or on the stove with a splash of water to prevent drying out.
- Use a microwave-safe dish and cover it to retain moisture.
- Stir occasionally while reheating for even warmth.
Nutrition Information
| Nutrient | Amount |
|---|---|
| Calories | 218 |
| Total Fat | 2g |
| Saturated Fat | 0g |
| Carbohydrates | 45g |
| Fiber | 4g |
| Sugar | 0g |
| Protein | 5g |
| Sodium | 4mg |
| Cholesterol | 0mg |
This nutritional information is approximate and can vary based on specific ingredients used.
Frequently Asked Questions
Can I use white rice instead of brown rice?
Yes, but you’ll need to adjust the cooking time. White rice cooks faster.
Can I make this ahead of time?
Absolutely! Cooked rice stores well in the refrigerator or freezer.
How do I store leftover rice?
Store in an airtight container in the refrigerator for up to 5 days or freeze for longer storage.
Why is my rice mushy?
This can happen from too much water or not rinsing the rice. Always rinse and measure accurately.
Can I add spices or herbs while cooking?
Definitely! Adding spices during cooking can enhance the flavor of the rice.
Final Thoughts
This Instant Pot Brown Rice Recipe is a fantastic way to simplify your cooking routine. I encourage you to give it a try and enjoy the delicious results.
For more easy-to-follow recipes, feel free to explore delicious meal ideas like this one or learn how to get the water ratio just right.
Instant Pot Brown Rice
Ingredients
Equipment
Method
- Rinse the brown rice under cold water to remove excess starch.
- Place the rinsed rice in the Instant Pot. Add water or broth, salt, and olive oil if using.
- Close the lid and ensure the vent is set to sealing.
- Set the Instant Pot to cook on high pressure for 22 minutes.
- Once the cooking time is up, let the pressure release naturally for 10 minutes.
- After 10 minutes, carefully switch the vent to quick release to let out any remaining steam.
- Open the lid and use a fork to fluff the rice gently.
- Transfer the rice to a serving bowl and enjoy it warm.