
Imagine fluffy clouds of cream swirling atop your favorite desserts, transforming them into a dreamy delight. The Isi Whipped Cream Recipe takes just minutes to whip up and is a must-have for any occasion, whether it’s a cozy family gathering or a festive celebration. This whipped cream is not just about flavor; its light and airy texture makes it incredibly versatile, elevating everything from pies to hot cocoa. Let’s jump right into the ingredients you’ll need to make this delightful topping.
Why You’ll Love This Recipe
This whipped cream is a game changer for your desserts.
- Quick and easy to make in just minutes.
- Light and airy texture that melts in your mouth.
- Perfectly sweetened to complement any dessert.
- Versatile for cakes, pies, and beverages alike.
- Can be flavored to match any occasion.
My Experience Making This Recipe
The first time I made this whipped cream, I was amazed at how quickly it came together. The rich, creamy aroma filled my kitchen, and I couldn’t wait to dollop it on everything in sight.
My family couldn’t get enough of it, and I quickly learned that this whipped cream could turn a simple dessert into an unforgettable treat. It became a staple at our gatherings, and I often find myself making a double batch just to keep up with the demand!
Recipe Overview
- Recipe Name: Isi Whipped Cream
- Servings: 4
- Prep Time: 10 minutes
- Cook Time: 0 minutes
- Total Time: 10 minutes
- Course: Dessert
- Cuisine: American
- Calories per Serving: Approximately 100
Equipment You Will Need
- Isi whipped cream dispenser
- Whipping cream
- Sugar
- Vanilla extract (optional)
- Chilled bowl (optional)
Ingredients for Isi Whipped Cream
- 1 cup heavy whipping cream
- 2 tablespoons powdered sugar
- 1 teaspoon vanilla extract (optional)
Ingredient Notes and Substitutions
- Heavy whipping cream: Provides the rich texture needed for creamy whipped cream. You can substitute with a dairy-free option like coconut cream for a non-dairy version.
- Powdered sugar: Sweetens the cream and helps with stabilization. Granulated sugar can be used, but it may not dissolve as smoothly.
- Vanilla extract: Adds a lovely flavor. Feel free to experiment with other flavorings like almond or hazelnut.
How to Make Isi Whipped Cream
Step 1: Prepare the Dispenser
Start by ensuring your Isi whipped cream dispenser is clean and dry. This is key for achieving the right texture and avoiding any unwanted flavors.
Step 2: Chill the Ingredients
For the best results, chill your heavy cream and the dispenser. Cold ingredients whip better and hold their shape longer.
Step 3: Combine the Ingredients
Pour the heavy cream into the dispenser, followed by the powdered sugar and vanilla extract. This mixture creates a deliciously sweet whipped cream.
Step 4: Seal the Dispenser
Securely close the dispenser lid, ensuring it’s tightly sealed to prevent any leaks during whipping.
Step 5: Charge the Dispenser
Insert a nitrous oxide charger into the dispenser. This is what creates that magical whipped texture. Shake the dispenser vigorously to mix the ingredients.
Step 6: Test the Whipped Cream
Dispense a small amount to check for sweetness and consistency. If it needs more sugar, simply add it and give it a gentle shake.
Step 7: Serve Immediately
Use the whipped cream right away for the best texture. It can be piped onto desserts or served alongside beverages.
Step 8: Store Any Leftovers
If you have leftover whipped cream, store it in the refrigerator. It can last for a few days, but it’s best enjoyed fresh.
Pro Tip: Always shake the dispenser before use to ensure the cream is well mixed and ready to go!
Tips for the Best Isi Whipped Cream
- Use heavy cream for a richer texture; light cream won’t whip as well.
- Experiment with flavors by adding cocoa powder or citrus zest.
- Keep the dispenser chilled until the moment you use it for optimal results.
- Don’t overfill the dispenser; it can affect the whipping process.
- Use powdered sugar rather than granulated for a smoother finish.
Common Mistakes to Avoid
- Not chilling the ingredients: Warm cream won’t whip up well, leading to disappointment.
- Overfilling the dispenser: This can prevent the cream from aerating properly.
- Skipping the shaking step: If you don’t shake, your cream may not reach the right texture.
- Using old cream: Always check the expiration date for the best flavor and consistency.
Serving Suggestions
This whipped cream is perfect on a variety of desserts and drinks.
- Top it on cakes or cupcakes.
- Use it in hot chocolate or coffee.
- Serve alongside fresh berries or fruit salads.
- Pair it with pies, like pumpkin or chocolate.
Variations to Try
- Add cocoa powder for chocolate-flavored whipped cream.
- Incorporate cinnamon for a warm, spicy twist.
- Use almond extract in place of vanilla for a unique flavor.
- Mix in some coffee for a mocha-inspired treat.
Dietary Adaptations
- Gluten-free: This recipe is naturally gluten-free.
- Dairy-free: Use coconut cream for a delicious dairy-free alternative.
- Vegan: Opt for vegan whipped cream substitutes available in stores.
- Low-carb/keto: Use erythritol or another low-carb sweetener.
Storage and Reheating
Refrigerator
Store any leftover whipped cream in the refrigerator to maintain its freshness.
- Keep it in the Isi dispenser or transfer it to an airtight container.
- Consume within a few days for the best quality.
Freezer
This whipped cream can be frozen if necessary, but the texture may change.
- Pipe it onto a baking sheet and freeze, then store in a container.
- Thaw in the refrigerator before use.
Reheating
Reheat is not necessary, but if it separates, give it a gentle shake.
- Mix it lightly to restore the texture before serving.
Nutrition Information
| Nutrient | Amount |
|---|---|
| Calories | 100 |
| Total Fat | 10g |
| Saturated Fat | 6g |
| Carbohydrates | 1g |
| Fiber | 0g |
| Sugar | 1g |
| Protein | 0g |
| Sodium | 5mg |
| Cholesterol | 40mg |
This information is an estimate and can vary based on specific ingredients used.
Frequently Asked Questions
Can I make this whipped cream ahead of time?
Yes, you can prepare it a day in advance, but it’s best fresh.
Why is my whipped cream watery?
This usually happens if the cream was not cold enough or over-whipped.
Can I use a regular mixer instead of an Isi dispenser?
Absolutely! A stand mixer or hand mixer will work just fine for making traditional whipped cream.
How long does this whipped cream last?
It can last in the refrigerator for about 3-5 days if stored properly.
Can I flavor the whipped cream differently?
Yes! You can add extracts or even liqueurs to customize the flavor.
Final Thoughts
This Isi Whipped Cream Recipe is sure to become a staple in your kitchen. Its light and fluffy texture will elevate your desserts and drinks, making every occasion special.
So, gather your ingredients and whip up a batch today. You won’t regret it!
Explore more delicious recipes like Bavarian Cream or try out a unique Whipped Ricotta for a delightful twist!
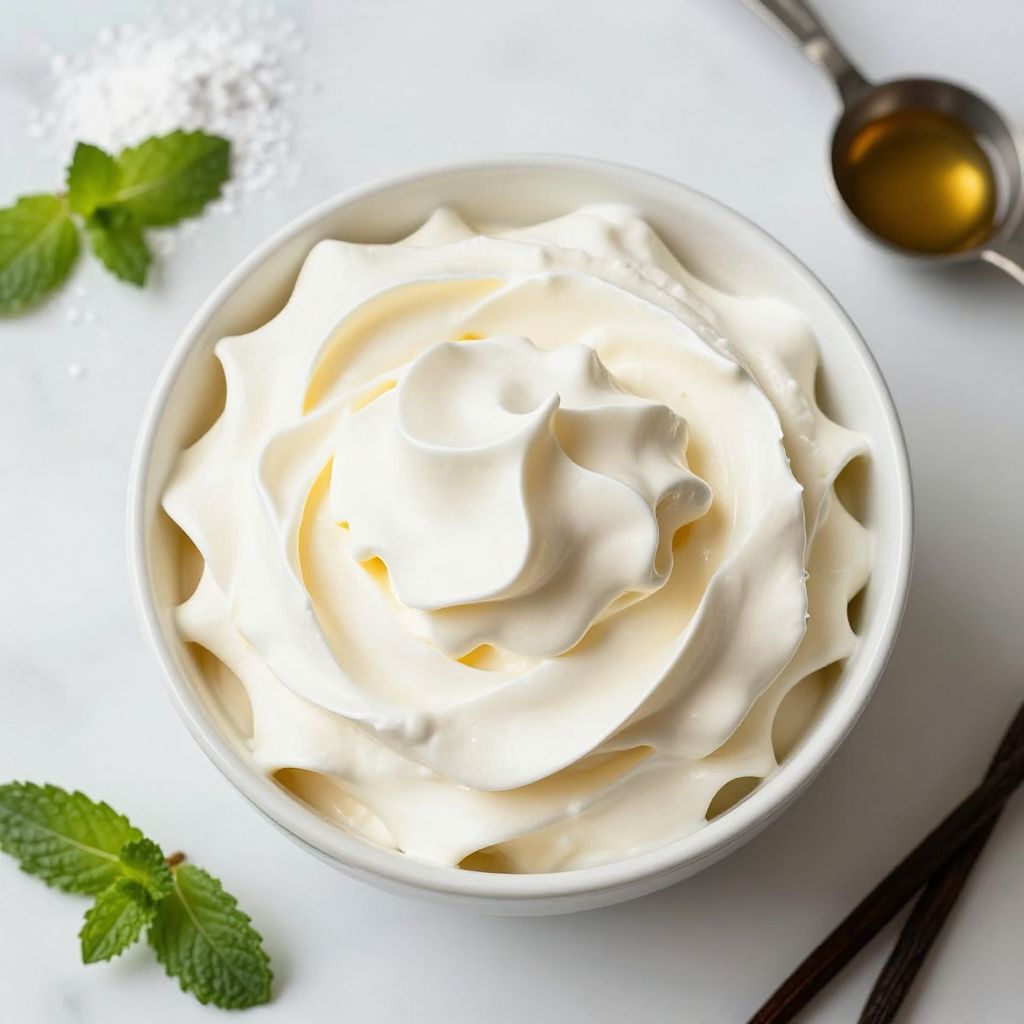
Isi Whipped Cream
Ingredients
Equipment
Method
- Start by ensuring your Isi whipped cream dispenser is clean and dry.
- For the best results, chill your heavy cream and the dispenser.
- Pour the heavy cream into the dispenser, followed by the powdered sugar and vanilla extract.
- Securely close the dispenser lid.
- Insert a nitrous oxide charger into the dispenser and shake it vigorously.
- Dispense a small amount to check for sweetness and consistency.
- Use the whipped cream immediately for the best texture.
- Store any leftovers in the refrigerator.