
Picture this: the aroma of roasted garlic wafting through your kitchen, instantly transporting you to a cozy Italian trattoria. Making your own Garlic Powder is not just a culinary adventure; it’s a way to elevate your dishes with fresh, bold flavors that store-bought versions simply can’t match. This recipe is special because it’s incredibly easy, and you can adjust the intensity to your liking. Plus, it’s a fantastic way to use up any extra garlic you have on hand. Let’s dive into the details of how to create this versatile seasoning.
Why You’ll Love This Recipe
This Garlic Powder recipe is a must-try for any home cook.
- Uses simple ingredients you likely already have.
- Fresher flavor than store-bought options.
- Perfect for seasoning a variety of dishes.
- Customizable—control the intensity to your taste.
- Long shelf life makes it a smart pantry staple.
My Experience Making This Recipe
When I first tried making my own garlic powder, I was amazed at how easy it was. The scent of garlic filling my kitchen was just a bonus.
Once I tasted the finished product, I knew I could never go back to the store-bought stuff. It added a whole new depth of flavor to my meals that I didn’t know I was missing.
Recipe Overview
- Recipe Name: Garlic Powder
- Servings: Varies
- Prep Time: 10 minutes
- Cook Time: 2 hours
- Total Time: 2 hours 10 minutes
- Course: Spice
- Cuisine: Various
- Calories per Serving: 5
Equipment You Will Need
- Oven or dehydrator
- Knife and cutting board
- Baking sheet
- Food processor or spice grinder
- Glass jar for storage
Ingredients for Garlic Powder
- Garlic bulbs (as many as desired)
Ingredient Notes and Substitutions
- Garlic bulbs: The star of this recipe, fresh garlic provides the best flavor. You can use pre-peeled garlic if you’re short on time.
How to Make Garlic Powder
Step 1: Preheat the Oven
Start by preheating your oven to 150°F (65°C). This low heat helps to dehydrate the garlic without cooking it, preserving its flavor.
Step 2: Prepare the Garlic
Peel the garlic bulbs and separate the cloves. Use as many cloves as you want, depending on how much garlic powder you wish to make.
Step 3: Slice the Garlic
Thinly slice each garlic clove. The thinner the slices, the faster they will dehydrate. Aim for uniformity for even drying.
Step 4: Arrange on Baking Sheet
Place the garlic slices in a single layer on a baking sheet. Avoid overlapping to ensure proper air circulation and even drying.
Step 5: Dehydrate in the Oven
Put the baking sheet in the preheated oven and let it dehydrate for about 2 hours. Check periodically to ensure they don’t burn; they should be completely dry and crispy.
Step 6: Cool the Garlic
Once dehydrated, remove the garlic from the oven and allow it to cool. This helps prevent moisture from being trapped in the storage container.
Step 7: Grind the Garlic
Transfer the cooled garlic to a food processor or spice grinder. Pulse until you achieve a fine powder consistency. Don’t rush this step; the texture matters!
Step 8: Store the Garlic Powder
Transfer the garlic powder into a glass jar. Seal tightly and store in a cool, dark place. Enjoy your homemade garlic powder as a seasoning in your favorite dishes!
Pro Tip: For even more flavor, try roasting the garlic before dehydrating it.
Tips for the Best Garlic Powder
- Use fresh garlic for the best flavor.
- Slice garlic evenly for consistent drying.
- Store in an airtight container to keep it fresh.
- Consider adding herbs for flavored garlic powder.
- Label your jar with the date you made it to track freshness.
Common Mistakes to Avoid
- Not drying enough: Underdried garlic can lead to mold in storage.
- Using thick slices: This will increase drying time and may result in uneven powder.
- Storing in sunlight: Keep it in a cool, dark place to maintain flavor.
- Not grinding finely enough: Coarse powder won’t blend well in dishes.
Serving Suggestions
Garlic powder is incredibly versatile and can enhance many dishes.
- Sprinkle over roasted vegetables.
- Add to marinades for meats.
- Mix into bread dough for flavorful loaves.
- Use in sauces and soups for depth.
Variations to Try
- Add dried herbs like oregano or thyme for a herb-infused garlic powder.
- Mix with sea salt to create a garlic salt blend.
- Experiment with smoked garlic for a unique smoky flavor.
- Use garlic oil in place of fresh garlic for a different taste profile.
Dietary Adaptations
- Gluten-free: This recipe is naturally gluten-free.
- Dairy-free: No dairy ingredients are used.
- Vegan/Vegetarian: Perfect for all diets.
- Low-carb/Keto: Garlic powder fits perfectly in low-carb cooking.
Storage and Reheating
Refrigerator
Garlic powder does not need refrigeration; store it in a cool, dark place instead.
- Keep it in an airtight container to maintain freshness.
- Check for moisture before sealing to prevent clumping.
Freezer
Freezing is not necessary but can extend shelf life.
- Store in a freezer-safe container for up to 6 months.
- Label with the date for reference.
Reheating
No reheating needed; simply use it as a seasoning!
- Add directly to dishes as needed.
Nutrition Information
| Nutrient | Amount |
|---|---|
| Calories | 5 |
| Total Fat | 0g |
| Saturated Fat | 0g |
| Carbohydrates | 1g |
| Fiber | 0g |
| Sugar | 0g |
| Protein | 0g |
| Sodium | 0mg |
| Cholesterol | 0mg |
This recipe yields a small amount, so adjust quantities to fit your needs.
Frequently Asked Questions
Can I use granulated garlic instead?
Yes, granulated garlic works as a substitute but has a different texture and flavor intensity.
Can I make this ahead of time?
Absolutely! Garlic powder can be made in advance and stored for months.
How should I store it?
Store your garlic powder in an airtight container in a cool, dark place to maintain its potency.
What if my garlic powder is clumpy?
If it clumps, try grinding it again or adding a small amount of rice to absorb moisture.
Can I use dried garlic flakes instead?
Yes, dried garlic flakes can be ground into powder, but the flavor may differ slightly.
Final Thoughts
Making your own garlic powder is a rewarding experience that enhances your cooking. It’s fresher, healthier, and allows you to control the flavors.
Give this recipe a try, and you’ll wonder why you didn’t do it sooner. For more garlic inspiration, check out is granulated garlic the same as garlic powder or try out my garlic mayo recipe!
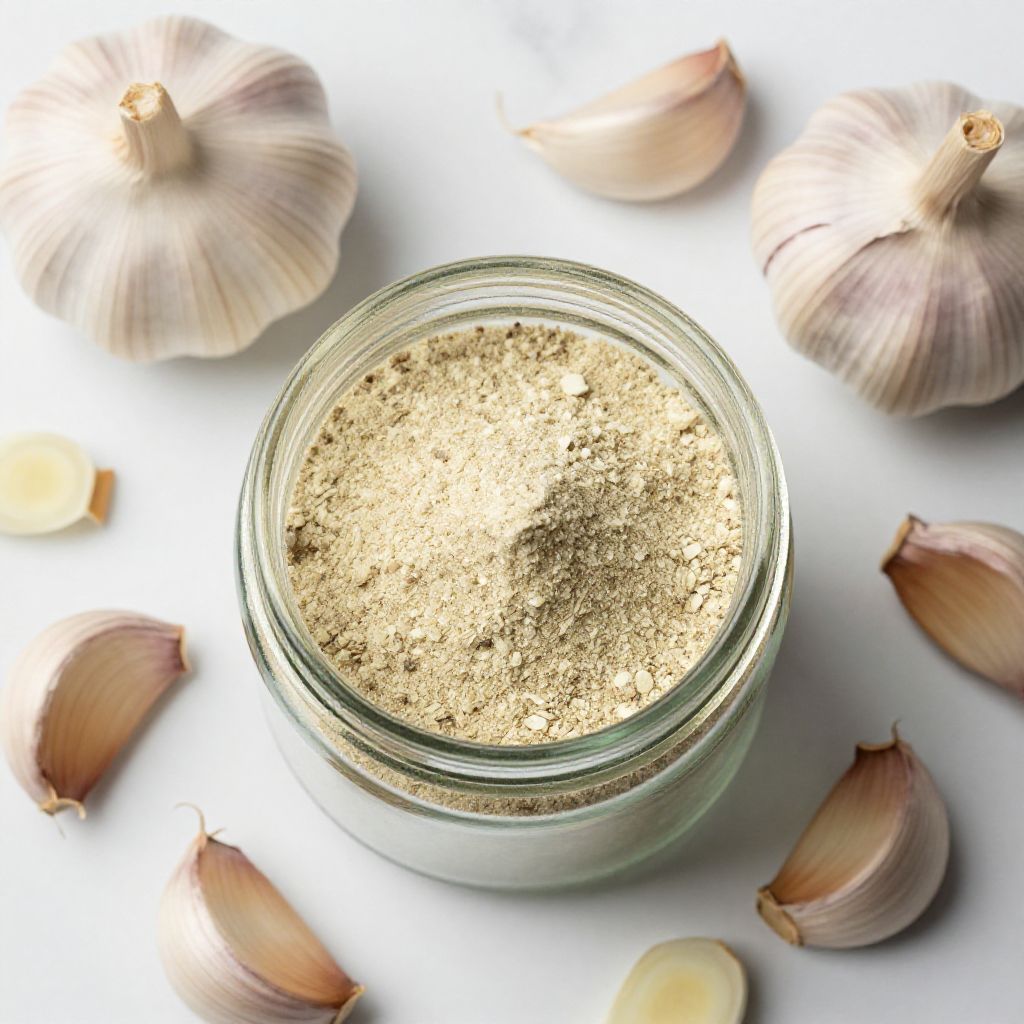
Garlic Powder
Ingredients
Equipment
Method
- Preheat your oven to 150°F (65°C).
- Peel the garlic bulbs and separate the cloves.
- Thinly slice each garlic clove.
- Place the garlic slices in a single layer on a baking sheet.
- Dehydrate in the oven for about 2 hours, checking periodically.
- Once dehydrated, remove the garlic from the oven and allow it to cool.
- Transfer the cooled garlic to a food processor and pulse until you achieve a fine powder.
- Transfer the garlic powder into a glass jar and seal tightly.