
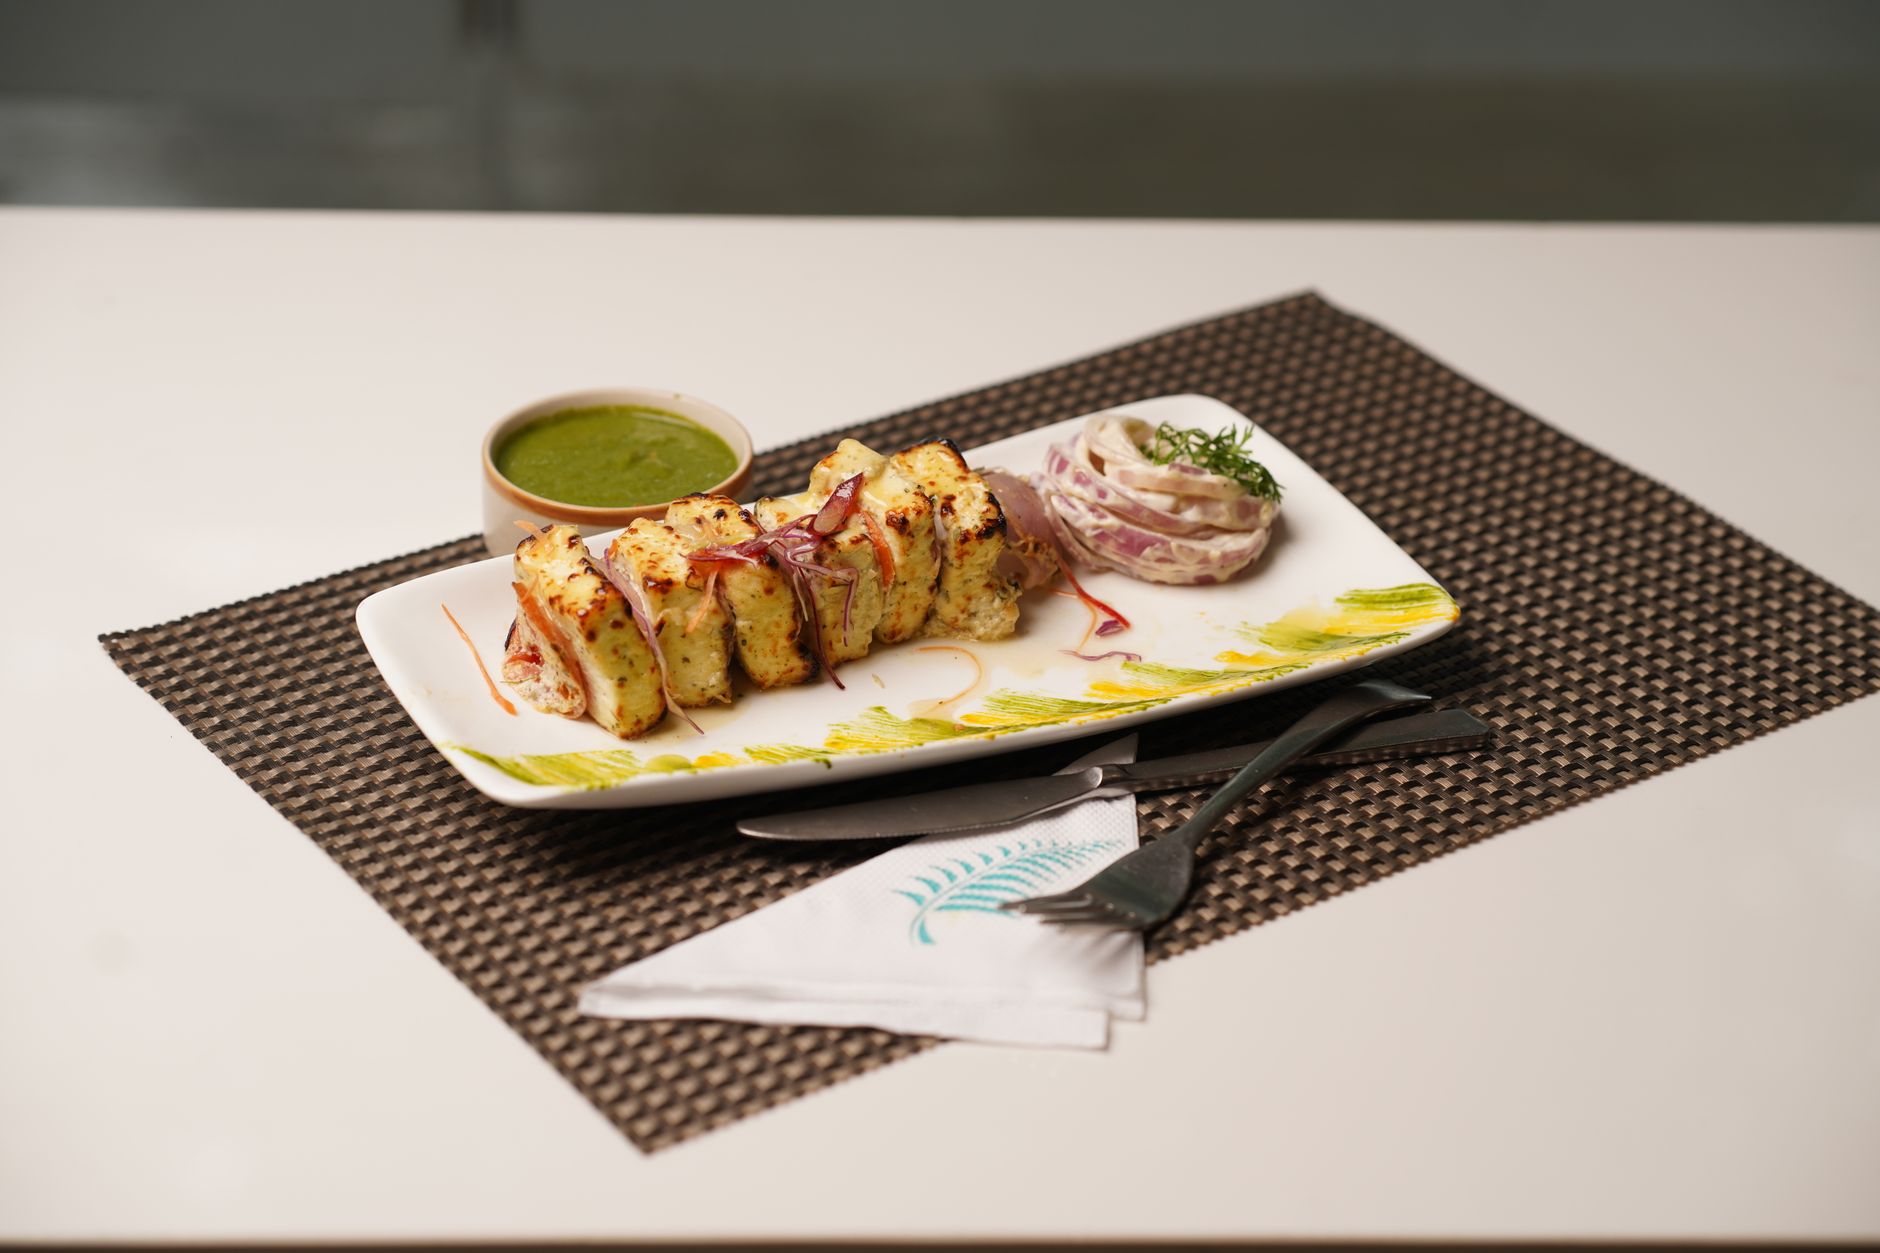
Panerr is a versatile and beloved cheese originating from the Indian subcontinent. It is not only a staple in Indian households but has also gained popularity in global cuisines. This fresh cheese is known for its mild flavor and ability to absorb spices, making it an excellent addition to a variety of dishes.
In this article, we will explore what Panerr is, its ingredients, flavor profile, culinary uses, how to serve it, and some useful tips for incorporating it into your meals. Whether you are a seasoned home cook or a curious beginner, understanding Panerr will enhance your cooking repertoire.
What Is Panerr?
Panerr, also commonly referred to as paneer, is a fresh cheese made from curdled milk. The name “paneer” is derived from the Persian word for cheese, and it has become a cornerstone of many dishes in Indian and South Asian cuisine. Unlike aged cheeses, panerr does not melt, making it ideal for sautés, curries, and grilled preparations.
Ingredients of Panerr
The primary ingredients used to make Panerr are simple and easily accessible: milk and an acid. Let’s take a closer look at these components.
- Milk: Use whole milk for a rich and creamy texture. While cow’s milk is common, you can also find variations made with buffalo milk, which is richer and creamier.
- Acid: The acid is what causes the milk to curdle. Commonly used acids include lemon juice and vinegar. Both options yield similar results, but lemon juice can impart a subtle citrus flavor.
- Salt (optional): Adding a small amount of salt during the process can enhance the flavor of the Paneer, though it is often used plain in recipes.
Flavor Profile of Panerr
Panerr has a mild, light flavor that acts as a canvas for various spices and seasonings. It is creamy yet firm, with a slightly grainy texture when properly made. Because of its neutral taste, it pairs well with a variety of ingredients, from bold spices to delicate herbs, enhancing the overall dish without overpowering other flavors.
Culinary Uses of Panerr
Panerr is incredibly versatile and is used in a multitude of dishes ranging from appetizers to main courses. Here are some popular culinary applications:
- Curries: Panerr is a popular ingredient in many Indian curries, such as Paneer Butter Masala and Saag Paneer. The cheese absorbs the flavors of the spices and contributes a creamy texture to the dish.
- Grilled or Fried: Panerr can be marinated and then grilled or fried to create delicious appetizers or sandwiches. Its firm texture holds up well to cooking methods that require searing or grilling.
- Salads: Cubes of panerr can be added to salads for added protein and texture. A simple salad of mixed greens, cubed Panerr, and a light dressing can be a refreshing meal option.
- Stuffed Dishes: Panerr can be used as a stuffing for flatbreads, such as parathas or kulchas, offering a delicious filling that adds depth to the bread.
- Desserts: In some regions, panerr is used in desserts like Rasgulla or Sandesh, showcasing its versatility beyond savory dishes.
How to Serve Panerr
When it comes to serving Panerr, there are many creative possibilities. Here are some serving suggestions to consider:
1. As a Main Dish
Serve panerr in rich gravies or curries over steamed basmati rice or with a side of naan. Dishes like Paneer Tikka or Paneer Bhurji make beautiful centerpieces for a meal.
2. In Salads
Include cubes of panerr in mixed salads. A fresh salad with cherry tomatoes, cucumber, and paneer drizzled with a lemon vinaigrette can be light yet fulfilling.
3. As an Appetizer
For parties or gatherings, try skewering marinated and grilled panerr cubes with bell peppers and onions. Serve with a mint chutney for dipping.
4. Stuffed Flatbreads
Learn how to make stuffed parathas with grated panerr, spiced potatoes, and herbs for a delightful breakfast or brunch item.
Practical Tips for Cooking with Panerr
Here are some handy tips to enhance your cooking experience with Panerr:
- Pressing Paneer: After making panerr, you can press it to remove excess moisture, resulting in a firmer texture that is easier to handle in cooking.
- Marinating: While panerr is delicious plain, marinating it for at least 30 minutes in spices and yogurt can elevate its flavor significantly.
- Cutting: Use a sharp knife or a pizza cutter to slice panerr cleanly without crumbling it. Aim for uniform cubes for even cooking.
- Storing: Store leftover paneer submerged in water in the refrigerator to keep it fresh. Change the water daily if you intend to keep it for more than a few days.
Common Cooking Mistakes with Panerr and How to Avoid Them
Even though cooking with panerr can be straightforward, here are some common pitfalls and how to steer clear of them:
- Not Using Enough Spices: Since Panerr has a mild flavor, be generous with spices when cooking. Otherwise, it may end up tasting bland.
- Overcooking: Cooking paneer for too long can make it rubbery. It only needs to be heated through, so add it to the dish towards the end of cooking.
- Using Low-Fat Milk: While it may be tempting to use low-fat milk for a lighter option, it will not yield the same creamy texture as full-fat milk. Whole milk is essential for authentic panerr.
Making Your Own Panerr at Home
Making panerr at home is simple and rewarding. Here’s a step-by-step guide to making your own paneer:
Ingredients:
- 1 liter of whole milk
- 2-3 tablespoons of lemon juice or vinegar
- Salt (optional)
Equipment:
- A large pot
- Cheesecloth or a clean kitchen towel
- A colander
- A heavy weight (like a heavy pot or a few cans)
Instructions:
- In a large pot, bring the whole milk to a gentle boil over medium heat, stirring occasionally to prevent it from scorching.
- Once the milk is boiling, reduce the heat and add the lemon juice or vinegar gradually while stirring. You will see the milk curdling, separating into curds and whey.
- Remove the pot from the heat and let it sit for about 5-10 minutes for the curds to fully form.
- Line the colander with cheesecloth or a clean kitchen towel and pour the curds and whey into the colander to drain.
- Rinse the curds under cold water to remove the acidic taste of lemon or vinegar.
- Gather the ends of the cheesecloth and twist them to squeeze out excess moisture. This is where you can add salt if desired.
- Place a heavy weight on top of the wrapped paneer to press it for 30 minutes – 1 hour to form a solid block.
- Once pressed, remove the paneer from the cheesecloth and store it in an airtight container submerged in water. Your homemade paneer is ready to use!
Storing Panerr
Proper storage is crucial for maintaining the quality of Panerr. Here are some tips:
- Refrigeration: If you have leftover paneer, store it in an airtight container filled with water to keep it moist. Change the water daily if keeping for multiple days.
- Freezing: Panerr can be frozen if you plan to keep it for a longer period. However, remember that freezing may change its texture, making it crumbly when thawed. If using frozen paneer, try to use it in cooked dishes rather than salads or uncooked applications.
Recipe Variations Using Panerr
If you’re looking to explore different dishes incorporating Panerr, here are some recipe variations:
- Paneer Tikka: Marinate paneer cubes in yogurt and spices, then skewer and grill for a smoky flavor.
- Palak Paneer: Combine paneer with a spiced spinach puree for a classic and vibrant dish.
- Paneer Bhurji: Scramble crumbled paneer with onions, tomatoes, and spices for a delicious and quick meal.
- Paneer and Vegetable Stir-Fry: Sauté cubes of paneer with assorted vegetables and your choice of spices for an easy stir-fry.
Panerr is not only a delightful ingredient to work with, but it also offers endless possibilities in the kitchen. Whether you’re adding protein to a dish or creating a delicious dessert, understanding how to work with Panerr can enhance your culinary skills. Give it a try and explore the wonderful array of flavors and textures this delightful cheese has to offer.
Ready to explore more delicious recipes? Check out our Pan Sobao Recipe or learn how to make Chia Pudding with Coconut Milk to diversify your meal planning and take your cooking to the next level.