
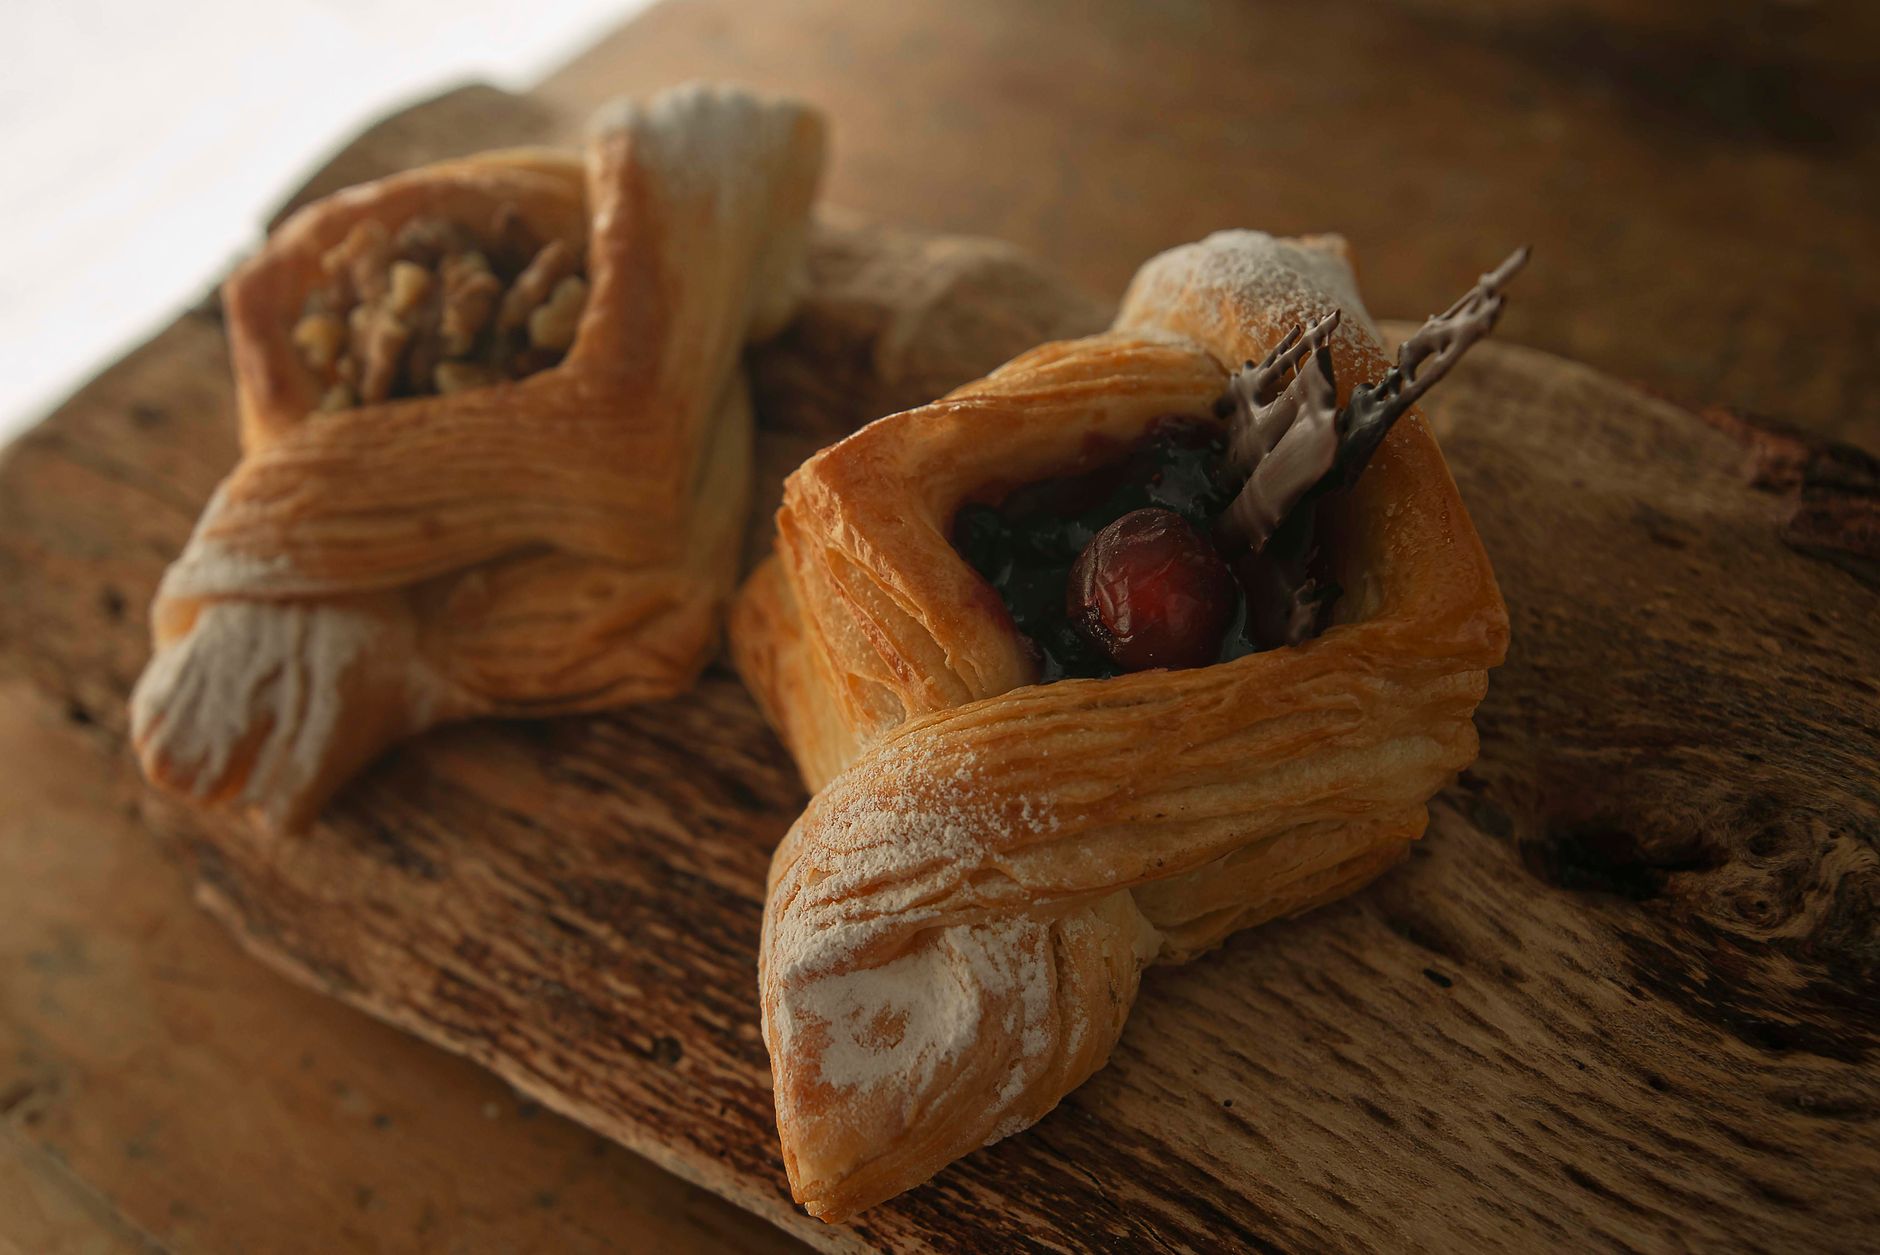
A Danish is a beautifully flaky pastry, often enjoyed as a breakfast or snack item. Originating from Denmark, this pastry has made its way around the world, adored for its rich flavor and buttery texture. It can be filled with a variety of ingredients, from sweet fruits and creamy custards to savory cheeses and meats.
The defining characteristic of a Danish is its laminated dough, which is similar to that used in croissants. This technique creates layers of dough and butter that, when baked, give the pastry a light and airy quality. With countless variations available, there’s a Danish for every palate.
What Is A Danish?
A Danish is a type of sweet pastry made from a laminated dough that is layered with butter, similar to puff pastry and croissant dough. It is typically rolled and shaped into various forms before baking, with many iterations including fillings of fruit, cream cheese, or almond paste.
The History of Danish Pastries
The story of Danish pastries is rich and layered, much like the dough itself. The roots of the Danish can be traced back to Austria, where bakers perfected the art of laminated dough in the 17th century. Danish bakers adopted this technique and created their own versions, adding a local flair.
In the 19th century, when Danish bakers began to open shops across Europe, the pastry gained popularity, especially in countries like the United States. Today, Danish pastries are enjoyed worldwide and can be found in a variety of forms, each with unique fillings and toppings.
Essential Ingredients for a Danish
Creating a delicious Danish pastry requires only a few key ingredients, all of which contribute to its signature taste and texture. Here are the essential ingredients:
- All-purpose flour
- Active dry yeast
- Granulated sugar
- Salt
- Milk
- Eggs
- Unsalted butter (cold, for lamination)
- Fillings (fruit preserves, cream cheese, almond paste, etc.)
- Glaze (powdered sugar, milk, or fruit preserves for finishing)
The Process of Making Danish Pastry Dough
The process to create a Danish pastry involves making a rich and buttery dough, which then undergoes a series of folds and turns to create layers. Here’s how to do it:
1. Prepare the Dough
- In a large mixing bowl, combine 4 cups of all-purpose flour, 2 tablespoons of granulated sugar, 1 teaspoon of salt, and 1 packet of active dry yeast (about 2 ¼ teaspoons).
- Heat 1 cup of milk until warm (about 110°F or 43°C) and add it to the flour mixture. Stir until well combined.
- Add 2 eggs and mix until a shaggy dough forms.
- Knead the dough for about 5-7 minutes until it becomes smooth. Shape it into a ball and place it in a greased bowl. Cover it with a damp cloth and let it rise in a warm place for about 1 hour, or until doubled in size.
2. Laminate the Dough
- Once the dough has risen, roll it out into a rectangle about 1/2 inch thick on a floured surface.
- Take 1 cup of cold unsalted butter and place it between two sheets of parchment paper. Pound it with a rolling pin until it flattens into a square about 1/2 inch thick.
- Place the butter square in the center of the rolled-out dough. Fold the dough over the butter, encasing it completely.
- Roll the dough out into a long rectangle again, then fold it into thirds like a letter (this is called a simple turn). Wrap it in plastic wrap and refrigerate for at least 30 minutes.
- Repeat the rolling and folding process (simple turn) two more times, chilling between turns to ensure the butter stays cold.
3. Shape the Danish
- Preheat your oven to 400°F (200°C).
- Roll out the laminated dough one final time into a large rectangle, about 1/4 inch thick.
- Cut the dough into squares or rectangles. Cut slits into the corners of each piece to create flaps that can be folded over the center.
- Place your desired filling in the center (like fruit preserves or cream cheese) and fold the flaps over to enclose the filling.
- Let the shaped pastries rise for about 20-30 minutes on a baking sheet lined with parchment paper.
4. Baking the Danish
- Brush the tops of the Danish with an egg wash (1 egg beaten with 1 tablespoon of water) for a golden finish.
- Bake in the preheated oven for about 15-20 minutes, or until golden brown and puffed up.
- Remove from the oven and let cool slightly before glazing.
Common Fillings for Danish Pastries
Danish pastries can be filled with a wide variety of ingredients, suiting plenty of tastes, from the sweet to the savory. Here are some popular filling options:
- Fruit preserves or fresh fruit (like raspberries, strawberries, or apples)
- Cheese fillings (such as cream cheese mixed with sugar and vanilla)
- Almond paste or marzipan
- Chocolate ganache or chocolate chips
- Cinnamon sugar mixtures for a sweet twist
Variations of Danish Pastries
There are many variations of Danish pastries, each with its unique style and flavor profile. Here are some variations to consider:
1. Cheese Danish
This classic variant is filled with a sweetened cream cheese mixture, often topped with a fruit glaze or nuts for added flavor and crunch.
2. Fruit Danish
These Danish pastries are filled with fruit preserves or fresh fruits, providing a burst of flavor, typically finished with a simple icing glaze.
3. Almond Danish
Filled with almond paste and often topped with sliced almonds, this version has a nutty flavor that pairs perfectly with coffee.
Tips for Perfect Danish Pastries
Making Danish pastries at home can be a rewarding process, though it does require attention to detail. Here are some tips to help you along the way:
- Ensure your butter is cold: Keeping your butter cold is crucial for achieving flaky layers.
- Work quickly: The dough should remain cold throughout the lamination process.
- Don’t skip the chilling time: Allowing the dough to rest in the refrigerator helps keep it manageable and allows the gluten to relax.
- Experiment with fillings: Don’t hesitate to try different flavors and combinations based on your preference.
- Practice makes perfect: Don’t be discouraged by initial attempts; perfecting Danish pastry takes practice.
Storing and Reheating Danish Pastries
Proper storage of Danish pastries is essential for maintaining their texture and flavor. Here are some guidelines:
- Store baked Danish pastries in an airtight container at room temperature for up to 2 days.
- For longer storage, wrap them tightly in plastic wrap and freeze for up to a month.
- To reheat, place pastries in a preheated oven at 350°F (175°C) for about 5-10 minutes until warmed through and crisp.
Serving Suggestions
Danish pastries can be served in a variety of settings, from casual breakfasts to more formal gatherings. Here are some serving suggestions:
- Pair them with coffee or tea for a delightful breakfast or afternoon snack.
- Serve alongside fresh fruit or a light salad to balance the sweetness.
- Offer an assortment of Danish pastries at brunch events for guests to enjoy.
Common Mistakes When Making Danish Pastries
Like any baking project, making Danish pastries can come with pitfalls. Here are some common mistakes to avoid:
- Using warm butter: Make sure the butter is cold to keep the layers distinct and flaky.
- Skipping the rising time: Allow the dough to rise properly for the best texture.
- Overworking the dough: Be gentle when rolling and handling the dough to keep it tender.
Conclusion
Whether you enjoy a classic Cheese Danish or opt for a fruity variant, making Danish pastries from scratch is a gratifying experience. With just a few key ingredients and some patience, you can create these delicious treats to be savored any time of day. Start by gathering your ingredients and make the dough today for a tasty treat tomorrow.
If you’re interested in exploring related recipes, consider checking out these options: Apple Puff Pastry Recipe and Rugelach Recipe.