
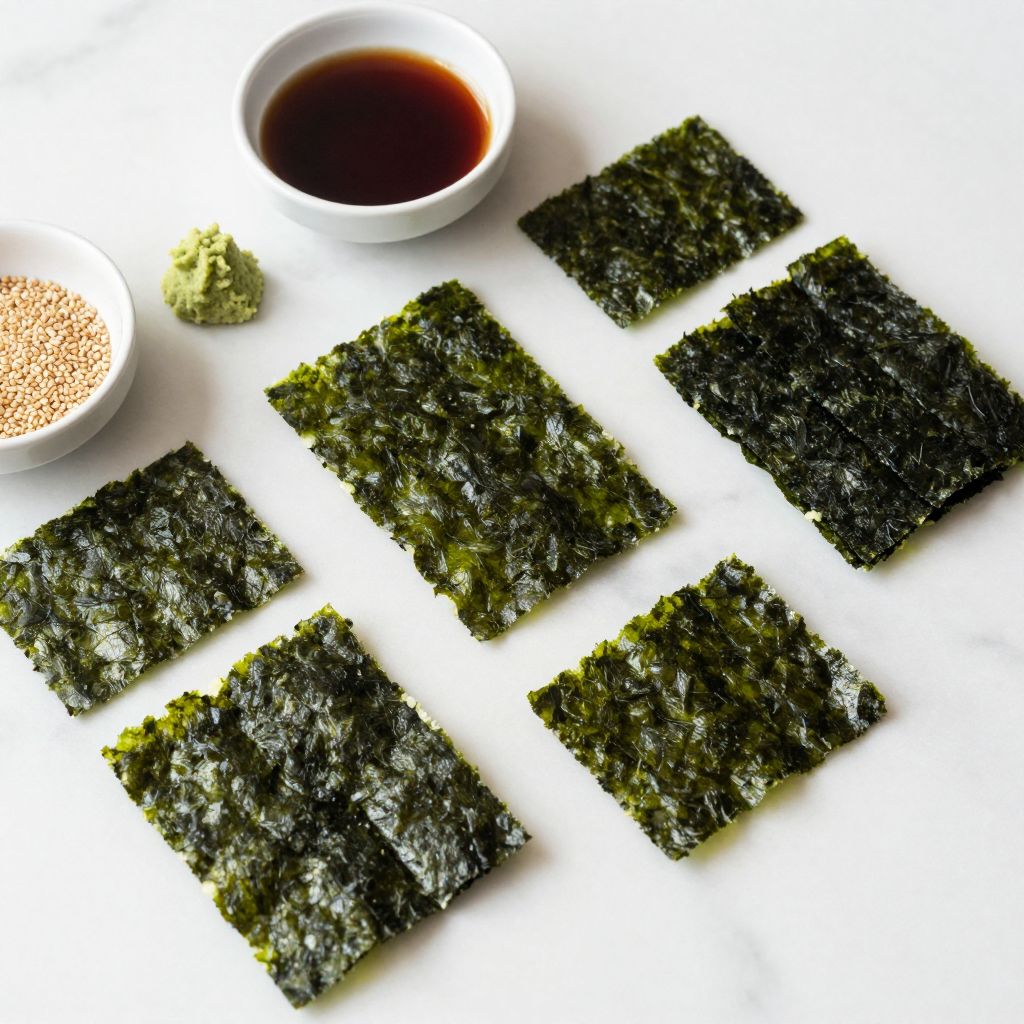
There’s something undeniably satisfying about the crisp, salty bite of a nori seaweed sheet. Whether you’re wrapping sushi or snacking straight from the pack, these sheets are a delightful addition to any meal. This recipe makes it easy to create your own nori sheets at home, ensuring freshness and flavor that store-bought versions can’t match. Plus, making nori sheets allows you to customize the seasoning to your liking, giving them a unique twist that suits your palate. Let’s dive into the fun of crafting these delicate treats!
Why You’ll Love This Recipe
This recipe is perfect for anyone looking to add a little flair to their cooking.
- Freshly made nori enhances flavor and texture.
- Customizable seasoning options for a personal touch.
- Simple ingredients you likely already have.
- Great for sushi lovers and healthy snacking.
- Quick to make once you get the hang of it.
My Experience Making This Recipe
When I first attempted to make nori sheets, I was surprised by how fun the process was. Watching the sheets dry out and transform into something so versatile was oddly satisfying.
The taste of freshly made nori is leagues ahead of store-bought versions, and I loved experimenting with various seasonings. My family enjoyed them as a crunchy snack, and they were a hit during our sushi night!
Recipe Overview
- Recipe Name: Nori Seaweed Sheets
- Servings: 10 sheets
- Prep Time: 15 minutes
- Cook Time: 10 minutes
- Total Time: 25 minutes
- Course: Snack
- Cuisine: Japanese
- Calories per Serving: 20
Equipment You Will Need
- Blender or food processor
- Baking sheet
- Parchment paper
- Oven
- Spatula
Ingredients for Nori Seaweed Sheets
- Seaweed – 2 cups (dried)
- Water – 1 cup
- Salt – 1 teaspoon (adjust to taste)
- Optional seasonings – sesame seeds, soy sauce, or wasabi powder
Ingredient Notes and Substitutions
- Seaweed: Provides the base flavor and texture of the sheets. You can substitute with other dried seaweeds, but the flavor will vary.
- Water: Used to blend the seaweed into a paste. Coconut water can add a subtle sweetness.
- Salt: Enhances the flavor. Try low-sodium salt for a healthier option.
- Optional seasonings: Add flavor complexity. Feel free to experiment with your favorite spices!
How to Make Nori Seaweed Sheets
Step 1: Prepare the Seaweed
Start by breaking the dried seaweed into smaller pieces. This helps it blend more evenly into a paste.
Step 2: Blend the Ingredients
In your blender, combine the seaweed pieces, water, and salt. Blend until you achieve a smooth, thick paste.
Step 3: Preheat the Oven
Preheat your oven to 200°F (93°C). A low temperature is crucial to avoid burning the seaweed.
Step 4: Prepare the Baking Sheet
Line your baking sheet with parchment paper. This prevents sticking and makes cleanup easier.
Step 5: Spread the Mixture
Using a spatula, spread the seaweed paste evenly on the parchment paper. Aim for about 1/8 inch thick for the best texture.
Step 6: Add Seasonings
If you’re using optional seasonings, sprinkle them over the paste now. This adds flavor directly to the nori sheets.
Step 7: Bake the Sheets
Place the baking sheet in the oven and bake for about 10 minutes. Keep an eye on them; you want them crispy but not burnt!
Step 8: Cool and Cut the Sheets
Once baked, remove the sheets from the oven and let them cool completely. Cut them into desired shapes for easy use.
Pro Tip: For extra crunch, consider baking a little longer, but watch closely to avoid burning.
Tips for the Best Nori Seaweed Sheets
- Use fresh seaweed for the best flavor and texture.
- Experiment with different seasonings for unique flavor profiles.
- Make sure the paste is smooth to avoid uneven sheets.
- Store in an airtight container to keep the sheets crispy.
- Try cutting into smaller pieces for snacks or sushi rolls.
Common Mistakes to Avoid
- Not blending enough: This can lead to chunky sheets that don’t crisp up well.
- Using too high of an oven temperature: This can burn the nori before it dries.
- Skipping the parchment paper: This leads to sticking, making it hard to remove the sheets.
- Cutting the sheets too thick: Thicker sheets may not crisp up properly.
Serving Suggestions
These nori sheets are versatile and can complement various dishes. Pair them with:
- Sushi rolls filled with your favorite ingredients.
- Crispy rice snacks topped with avocado.
- Salads for a crunchy element.
- Soups as a garnish for added flavor.
Variations to Try
- Add smoked paprika for a smoky flavor that enhances the umami.
- Incorporate garlic powder for a savory kick in every bite.
- Mix in chili flakes for a spicy twist that packs a punch.
- Try sesame oil in the paste for a rich, nutty flavor.
Dietary Adaptations
- Gluten-free: Naturally gluten-free; perfect for all diets.
- Dairy-free: Contains no dairy products; suitable for vegans.
- Vegan: Completely plant-based; an excellent snack choice.
- Low-carb/Keto: Low in carbs, making it a great option for keto diets.
Storage and Reheating
Refrigerator
Store sheets in an airtight container in the fridge. They can last for up to a week.
- Make sure to keep them sealed to maintain crispness.
Freezer
For longer storage, freeze the sheets in a single layer, then transfer to a freezer bag. They will last up to three months.
- Thaw at room temperature before using.
Reheating
Reheat in the oven at 200°F (93°C) for a few minutes. This restores their crispiness.
- Avoid microwaving, as it can make them chewy.
Nutrition Information
| Nutrient | Amount |
|---|---|
| Calories | 20 |
| Total Fat | 0g |
| Saturated Fat | 0g |
| Carbohydrates | 3g |
| Fiber | 1g |
| Sugar | 0g |
| Protein | 2g |
| Sodium | 50mg |
| Cholesterol | 0mg |
This information is approximate and may vary based on specific ingredients used.
Frequently Asked Questions
Can I use fresh seaweed instead of dried?
Fresh seaweed can be used, but it will require different preparation and may yield a different texture.
How do I store leftover nori sheets?
Keep them in an airtight container in the refrigerator or freeze them for longer storage.
Can I make these in advance?
Absolutely! These sheets store well, making them perfect for meal prep.
What if my sheets are chewy?
Make sure they are spread evenly and baked long enough to remove moisture.
How can I customize the flavor?
Adding spices or herbs during blending lets you create unique flavor profiles.
Final Thoughts
Making your own nori seaweed sheets is a rewarding experience that enhances your culinary skills. With a little practice, you’ll have fresh, flavorful sheets ready for sushi or snacking.
Don’t forget to explore more beauty and nail-related topics, like substitutes for rosemary or how to use a sushi rolling mat for perfect rolls!
Ingredients
Equipment
Method
- Start by breaking the dried seaweed into smaller pieces.
- In your blender, combine the seaweed pieces, water, and salt. Blend until you achieve a smooth, thick paste.
- Preheat your oven to 200°F (93°C).
- Line your baking sheet with parchment paper.
- Using a spatula, spread the seaweed paste evenly on the parchment paper, aiming for about 1/8 inch thick.
- If using optional seasonings, sprinkle them over the paste now.
- Place the baking sheet in the oven and bake for about 10 minutes.
- Once baked, remove the sheets from the oven and let them cool completely.
- Cut the sheets into desired shapes for easy use.