
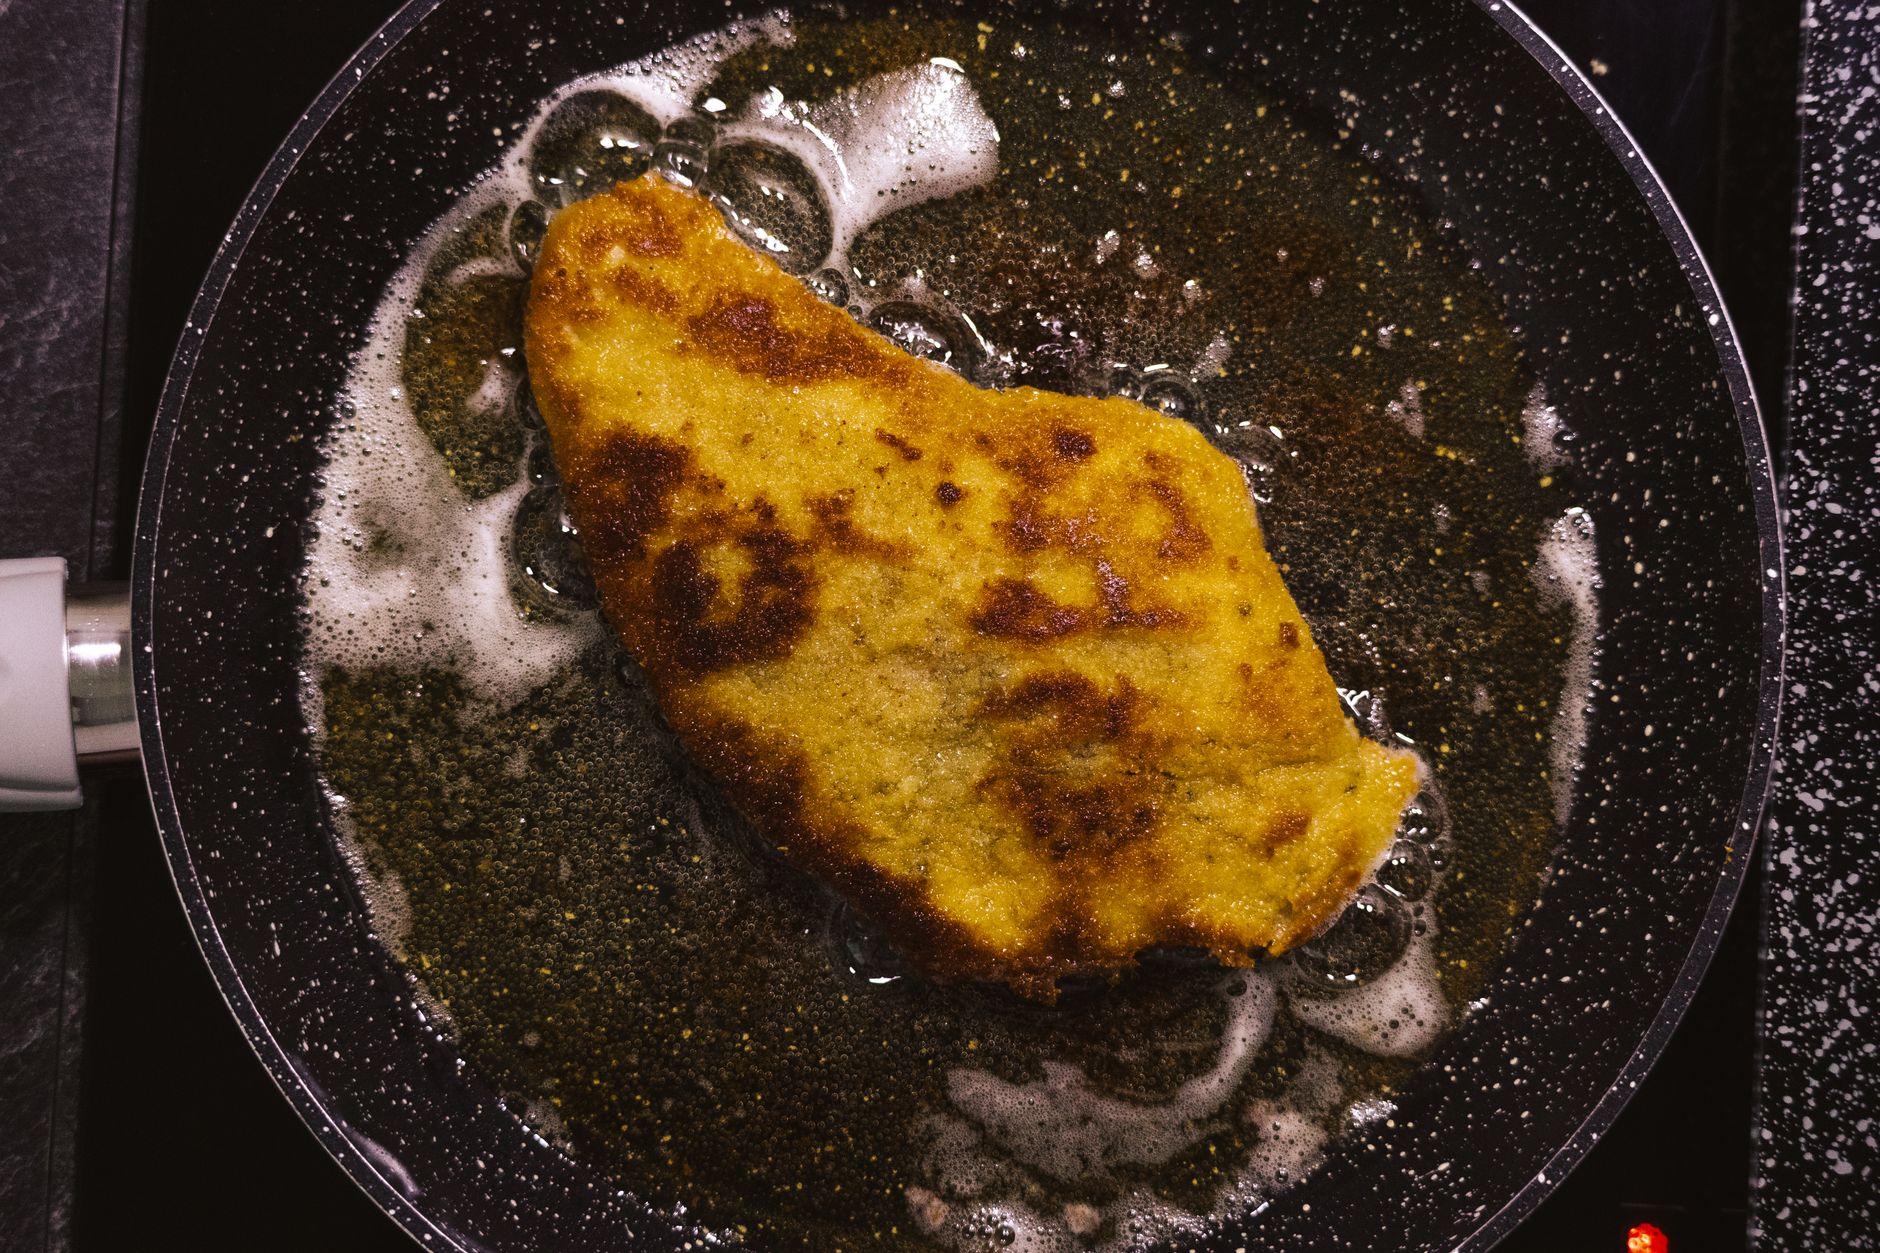
Browning butter is a culinary technique that transforms regular butter into a nutty, aromatic ingredient that elevates both sweet and savory recipes. The process involves cooking butter until its water content evaporates, leaving behind rich flavor compounds from the milk solids that turn golden brown. Understanding how long it takes to brown butter is essential for home cooks looking to master this simple yet impactful technique.
In this guide, you will learn about the various stages of browning butter, the ideal cooking times, and best practices to achieve perfect results every time. Additionally, you’ll find tips, tricks, and variations that will enrich your culinary repertoire.
How Long Does It Take To Brown Butter?
Typically, it takes about 5 to 10 minutes to brown butter on medium heat, depending on the quantity and type of butter used. The time can vary based on factors such as the heat level, the size of the pan, and the moisture content of the butter. It’s crucial to remain attentive during the process to prevent burning.
Understanding the Browning Process
Browning butter is a straightforward but nuanced process that involves three main stages:
- Melting: The butter begins to melt and bubbles as it heats on the stove.
- Foaming: After melting, the butter will start to foam as the water evaporates. This stage is crucial; it’s a sign that the browning process is underway.
- Browning: Once the foaming decreases and the milk solids sink to the bottom, they will begin to turn brown, resulting in a nutty aroma. This is the ideal moment to remove the butter from the heat.
Steps to Brown Butter
Follow this step-by-step process to achieve perfectly browned butter:
- Choose Your Butter: Use unsalted butter for better control over flavor. Choose high-quality butter for the best results.
- Use a Light-Colored Pan: A light-colored saucepan allows you to monitor the browning process effectively.
- Begin Heating: Place the butter in the pan over medium heat. Allow it to melt completely.
- Monitor Bubbles: As the butter melts, it will begin to bubble. Stir occasionally with a wooden spoon or a heat-resistant spatula to avoid burning.
- Watch for Color Changes: After a few minutes, the bubbles will start to subside, and the butter will begin to turn golden brown. Keep a close eye on it at this point.
- Aroma Check: When it reaches a deep golden color, it will emit a delicious nutty aroma. This is your cue to remove it from the heat.
- Transfer Immediately: To stop the cooking process, transfer the browned butter to a heatproof bowl or container.
Tips for Browning Butter Successfully
To achieve the best results when browning butter, consider the following tips:
- Stir Constantly: Stirring helps distribute heat evenly and prevents the milk solids from sticking to the bottom of the pan and burning.
- Use Fresh Butter: Fresh butter will give a richer flavor and aroma compared to older products.
- Pay Attention to the Color: The color can change rapidly once it starts browning, so don’t walk away from the stove.
- Adjust Heat as Needed: If you notice the butter starting to darken too quickly, lower the heat to prevent burning.
- Use a Heat-Resistant Container: When transferring the browned butter, ensure the container can handle hot temperatures.
Common Mistakes When Browning Butter
A few pitfalls can derail the browning process. Here are some common mistakes to avoid:
- Walking Away: Leaving the butter unattended for even a minute can result in burnt butter.
- Too High Heat: Cooking on high heat can lead to uneven cooking and burnt solids. Always use medium heat.
- Using Too Much Butter: When browning large quantities of butter at once, it can take longer and can be challenging to monitor.
Flavor and Texture Profile of Browned Butter
Browning butter not only changes its color but also significantly enhances its flavor and texture. The browning process creates a nutty taste and an aroma that can elevate both sweet and savory dishes. The milk solids contribute a deeper flavor profile while giving an appealing texture to sauces and baked goods.
Flavor Characteristics
- Nutty: The Maillard reaction imparts a distinct nutty flavor during the browning process.
- Toasty: The toasted milk solids add layers of complexity to both sweet and savory dishes.
- Rich: The caramelized flavor enhances richness, perfect for enhancing recipes.
Texture Characteristics
Browned butter has a smooth, silky consistency that adds depth to various dishes. Its rich nature makes it an excellent base for sauces, cookies, and frostings, where a creamy texture is desirable. When pooling in a dish, it adds visual appeal along with a taste sensation.
Using Browned Butter in Recipes
Browned butter can be a versatile ingredient in both sweet and savory recipes. Here are some ideas for incorporating it into your cooking:
Sweet Dishes
- Baked Goods: Use browned butter in cookies, muffins, or pancakes for a nutty flavor.
- Sauces: Make a browned butter glaze for cakes or drizzle over vanilla ice cream.
- Frostings: Incorporate browned butter into frosting recipes to amplify richness.
Savory Dishes
- Pasta: Toss browned butter with pasta, garlic, and a sprinkle of parmesan for a simple yet flavorful dish.
- Vegetables: Sauté vegetables in browned butter for added depth.
- Proteins: Use browned butter to baste meats or fish for a more complex flavor.
Storage and Reheating of Browned Butter
Browned butter can be stored in an airtight container in the refrigerator for up to two weeks. When reheating it, do so gently on low heat or in the microwave to prevent it from burning again. Creaminess may alter upon cooling; however, it will still retain its rich flavor. To incorporate cold browned butter into recipes, consider adding it to batters or sauces directly without warming.
Variations of Browning Butter
Explore different variations of browned butter to enhance its flavor even more:
Flavored Browned Butter
- Herb-Infused: Add fresh herbs such as sage, thyme, or rosemary to butter while it’s browning for an aromatic twist.
- Garlic Browned Butter: Incorporate minced garlic in the last moments of cooking to create a savory blend.
- Citrus Zest: Add lemon or orange zest to browned butter just before removing from heat for a bright flavor lift.
Milk Alternatives for Browned Butter
If you’re interested in browning butter substitutes, consider using ghee or clarified butter. These options have a higher smoke point, which helps avoid burning, but provide a similar nutty flavor that enhances recipes without containing milk solids.
Conclusion
Understanding the timing and technique for browning butter can transform this simple ingredient into a culinary powerhouse. With about 5 to 10 minutes of attentive cooking, you can elevate the flavor of various dishes, making browning butter an essential skill for any home cook. Be sure to experiment with different variations and recipes to truly appreciate its versatile nature.
For more cooking tips, consider exploring our clarified butter recipe or learn how to create a delicious caramel icing that will make your desserts shine.