
Picture a warm summer day, the sun shining bright while you savor a scoop of creamy, delightful Dairy Free Ice Cream. This recipe is special because it combines rich flavors and a smooth texture, making it a perfect treat for everyone, especially those who are dairy-free. With just a few simple ingredients, you can whip up a homemade ice cream that satisfies your sweet tooth without the guilt. Let’s dive into how to create this delightful dessert.
Why You’ll Love This Recipe
This dairy-free ice cream is a game changer for dessert lovers.
- Rich, creamy texture that rivals traditional ice cream.
- Simple ingredients you likely have at home.
- Customizable flavors to suit any palate.
- Great for those with dietary restrictions.
- No need for an ice cream maker, making it easy to prepare.
My Experience Making This Recipe
When I first tried making this Dairy Free Ice Cream, I was amazed at how simple it was. As I blended the ingredients, the rich aroma filled my kitchen, instantly transporting me to a quaint ice cream parlor.
After a few hours in the freezer, the first scoop was pure bliss. The creamy texture and rich flavor had my family asking for seconds, and I couldn’t help but smile knowing I made it from scratch.
Recipe Overview
- Recipe Name: Dairy Free Ice Cream
- Servings: 4
- Prep Time: 15 minutes
- Cook Time: 0 minutes
- Total Time: 4 hours 15 minutes (including freezing)
- Course: Dessert
- Cuisine: American
- Calories per Serving: 150
Equipment You Will Need
- Blender or food processor
- Mixing bowl
- Freezer-safe container
- Spatula
- Ice cream scoop
Ingredients for Dairy Free Ice Cream
- Coconut milk – 2 cans (full-fat for creaminess)
- Maple syrup – 1/2 cup (for sweetness)
- Vanilla extract – 1 tablespoon (for flavor)
- Salt – a pinch (to enhance flavors)
- Cocoa powder – 1/4 cup (optional for chocolate flavor)
Ingredient Notes and Substitutions
- Coconut milk: This provides a rich and creamy base. You can substitute with almond milk, but the texture may be less creamy.
- Maple syrup: It adds sweetness and depth. Honey or agave syrup can be used as alternatives.
- Vanilla extract: This enhances the overall flavor. Feel free to replace it with almond extract for a different twist.
- Salt: A pinch balances the sweetness. Leaving it out will make the ice cream taste flat.
- Cocoa powder: Adds a chocolate flavor. Skip it for a classic vanilla ice cream.
How to Make Dairy Free Ice Cream
Step 1: Gather Your Ingredients
Start by assembling all the ingredients in one place. This makes the process smoother and helps you avoid missing anything important.
Step 2: Blend the Base
In a blender or food processor, combine the coconut milk, maple syrup, vanilla extract, and a pinch of salt. Blend until smooth and creamy, around 30 seconds.
Step 3: Add Cocoa Powder (Optional)
If you want chocolate ice cream, add the cocoa powder to the blender. Blend again until fully incorporated, ensuring no lumps remain.
Step 4: Taste and Adjust
Give the mixture a taste. If you prefer it sweeter, add a bit more maple syrup. Adjusting now ensures the perfect flavor later.
Step 5: Transfer to Container
Pour the blended mixture into a freezer-safe container. Use a spatula to scrape the sides of the blender for every last drop of deliciousness.
Step 6: Freeze
Cover the container tightly with a lid or plastic wrap. Place it in the freezer and let it chill for at least 4 hours or until completely firm.
Step 7: Scoop and Serve
Once frozen, remove the ice cream from the freezer. Let it sit for a few minutes to soften slightly for easier scooping.
Step 8: Enjoy!
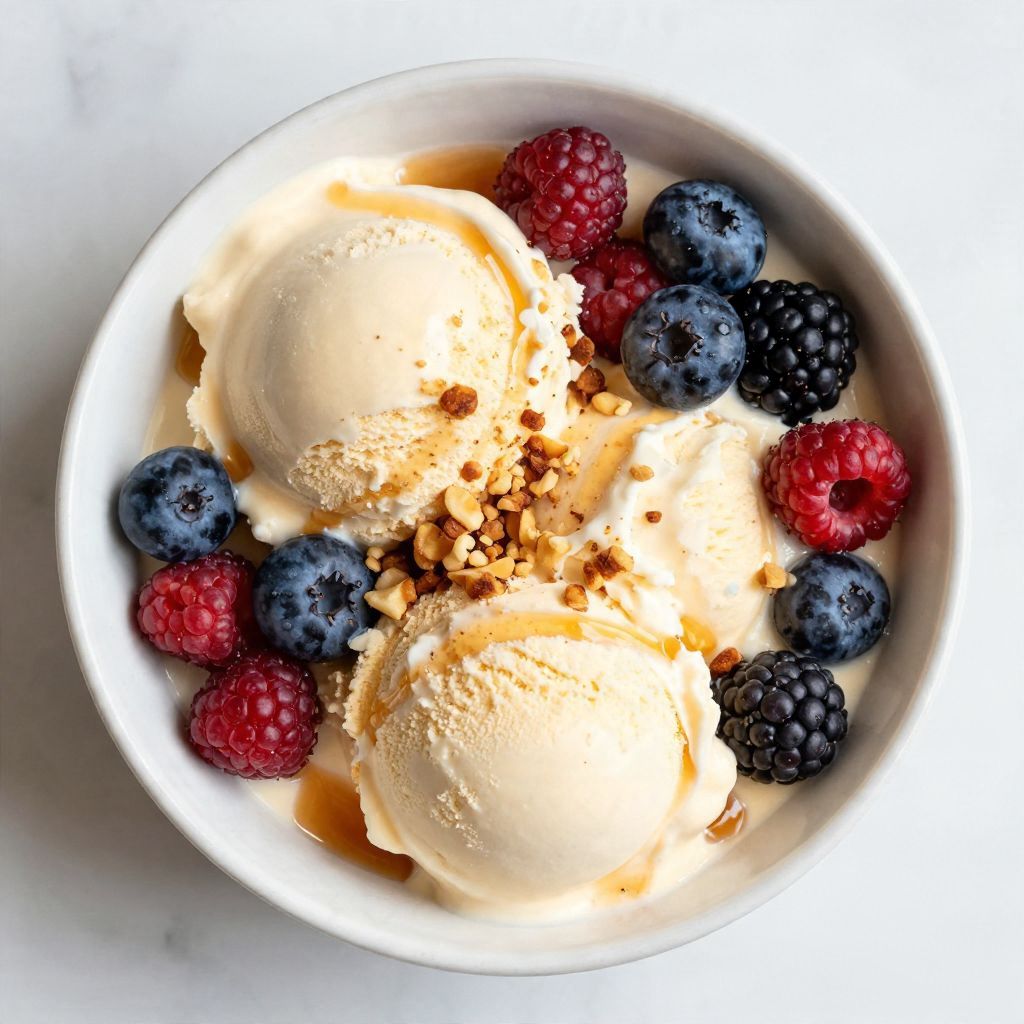
Scoop into bowls or cones and enjoy your homemade Dairy Free Ice Cream. Feel free to garnish with your favorite toppings!
Pro Tip: For an extra creamy texture, blend the mixture again after freezing, then refreeze for about an hour.
Tips for the Best Dairy Free Ice Cream
- Use full-fat coconut milk for the creamiest texture.
- Freeze the container ahead of time for better results.
- Experiment with different flavors like mint or coffee.
- Mix in chunks of fruit or dairy-free chocolate chips for texture.
- Let the ice cream sit at room temperature for a few minutes before serving.
Common Mistakes to Avoid
- Skipping the blending step – this ensures a smooth consistency.
- Using low-fat coconut milk – it will result in a less creamy ice cream.
- Not freezing long enough – this will leave you with a slushy texture.
- Overusing cocoa powder – too much can make it bitter.
Serving Suggestions
This ice cream pairs beautifully with various desserts and toppings.
- Fresh berries for a fruity burst.
- Crushed nuts for added crunch.
- Dairy-free chocolate syrup for extra sweetness.
- Homemade waffle cones for a classic touch.
Variations to Try
- Add peanut butter for a creamy, nutty flavor.
- Incorporate fresh mint for a refreshing twist.
- Use different extracts like almond or coconut for unique tastes.
- Mix in cookie crumbs for a cookies and cream version.
Dietary Adaptations
- Gluten-free: This recipe is naturally gluten-free.
- Dairy-free: Perfect for those avoiding dairy.
- Vegan/vegetarian: 100% vegan-friendly.
- Low-carb/keto: Substitute maple syrup with a low-carb sweetener.
Storage and Reheating
Refrigerator
This ice cream is best stored in the freezer. Avoid keeping it in the refrigerator.
- Store in an airtight container.
- Keep it away from freezer burn by ensuring it is well-sealed.
Freezer
The ice cream will last up to 2 weeks in the freezer. After that, it may lose texture.
- Label the container with the date for reference.
- Remove as much air as possible before sealing.
Reheating
Let it sit at room temperature for a few minutes before scooping. This helps it soften for easier serving.
- Use a warm ice cream scoop for a clean cut.
- Avoid microwaving as it can melt unevenly.
Nutrition Information
| Nutrient | Amount |
|---|---|
| Calories | 150 |
| Total Fat | 12g |
| Saturated Fat | 10g |
| Carbohydrates | 15g |
| Fiber | 1g |
| Sugar | 8g |
| Protein | 1g |
| Sodium | 5mg |
| Cholesterol | 0mg |
This nutritional information is an estimate and may vary based on ingredients used.
Frequently Asked Questions
Can I use a different milk instead of coconut milk?
Yes, almond or cashew milk can work, but the texture might be less creamy.
How long can I store the ice cream?
It can be stored in the freezer for up to 2 weeks, but for best quality, enjoy it sooner.
Can I make this ahead of time?
Absolutely! You can prepare it a day or two in advance.
What if my ice cream is too hard?
If it’s too hard, let it sit at room temperature for a few minutes before scooping.
Can I add mix-ins like fruit or nuts?
Yes! Stir in your favorite mix-ins after blending for added texture and flavor.
Final Thoughts
Making your own Dairy Free Ice Cream is not just satisfying but also a fun way to experiment with flavors. I encourage you to try this recipe and share your creations with friends and family.
For more delicious frozen treats, check out my Ninja Creami Recipe or my KitchenAid Ice Cream Recipe. You’ll find even more inspiration to keep your dessert game strong.
Dairy Free Ice Cream
Ingredients
Equipment
Method
- Gather all the ingredients in one place.
- In a blender or food processor, combine the coconut milk, maple syrup, vanilla extract, and a pinch of salt. Blend until smooth and creamy, around 30 seconds.
- If you want chocolate ice cream, add the cocoa powder to the blender and blend again until fully incorporated.
- Taste the mixture; if sweeter ice cream is desired, add more maple syrup to taste.
- Pour the blended mixture into a freezer-safe container, using a spatula to scrape all the mixture from the blender.
- Cover the container tightly and place it in the freezer for at least 4 hours or until completely firm.
- Once frozen, remove the ice cream from the freezer and let it sit for a few minutes to soften slightly for easier scooping.
- Scoop into bowls or cones and enjoy your homemade Dairy Free Ice Cream.