
There’s nothing quite like the smell of freshly baked bread wafting through your home, is there? With this Bread Maker Recipe, you can enjoy that aromatic bliss without spending hours in the kitchen.
This recipe is perfect for busy individuals and families alike, offering a delightful texture and rich flavor that is hard to resist. Plus, the simplicity of a bread maker means you can enjoy homemade bread with minimal effort, making it a must-try for any bread enthusiast.
Why You’ll Love This Recipe
When it comes to baking bread, this recipe stands out for its ease and rewarding results.
- Simple ingredients that you likely already have.
- Hands-off process—just set it and forget it!
- Perfect for sandwiches, toast, or just enjoying on its own.
- Customizable with herbs, spices, or add-ins.
- Great for beginners and seasoned bakers alike.
My Experience Making This Recipe
I remember the first time I used my bread maker; I was both excited and a bit anxious. As the machine whirred to life, I found myself captivated by the sight of dough coming together and rising beautifully.
When the timer finally beeped, I could hardly wait to slice into the warm loaf. The crust was golden and crisp, while the inside was fluffy and soft—pure bliss!
Recipe Overview
- Recipe Name: Bread Maker Recipe
- Servings: 12 slices
- Prep Time: 10 minutes
- Cook Time: 3 hours
- Total Time: 3 hours 10 minutes
- Course: Bread
- Cuisine: American
- Calories per Serving: 150
Equipment You Will Need
- Bread maker
- Measuring cups and spoons
- Mixing spoon
- Cooling rack
Ingredients for Bread Maker Recipe
- 3 cups bread flour
- 1 teaspoon salt
- 2 tablespoons sugar
- 2 tablespoons unsalted butter, softened
- 1 cup warm water (110°F)
- 2 teaspoons active dry yeast
Ingredient Notes and Substitutions
- Bread flour: This gives the bread a chewy texture; all-purpose flour can be used for a softer loaf.
- Salt: Enhances flavor; omit for a low-sodium version, but bread may taste bland.
- Sugar: Helps with browning and flavor; substitute with honey or agave syrup if desired.
- Unsalted butter: Adds richness; use olive oil for a dairy-free option.
- Warm water: Activates the yeast; ensure it’s not too hot to avoid killing the yeast.
- Active dry yeast: Essential for rising; instant yeast can also be used without adjustment.
How to Make Bread Maker Recipe
Step 1: Prepare the Ingredients
Gather all your ingredients and measuring tools. This will help streamline the process and ensure you have everything ready.
Step 2: Add Ingredients to the Bread Maker
Pour the warm water into the bread pan first, followed by the sugar, salt, and butter. This order helps the yeast activate properly when added next.
Step 3: Incorporate the Flour
Carefully add the bread flour on top of the liquid ingredients, ensuring it completely covers the water. This prevents the yeast from direct contact, allowing for better activation.
Step 4: Create a Well for the Yeast
Make a small indentation in the center of the flour and add the active dry yeast. This keeps the yeast away from the moisture until mixing begins.
Step 5: Select the Bread Setting
Close the lid of the bread maker and select the basic bread setting. This setting is ideal for a standard loaf.
Step 6: Start the Machine
Press start and let the machine do its magic. Resist the urge to open the lid during baking, as this can affect the bread’s rise.
Step 7: Cool the Bread
Once the cycle is complete, carefully remove the bread pan and let the loaf cool on a rack for at least 15 minutes. This helps set the texture and makes slicing easier.
Step 8: Slice and Serve
After cooling, slice the bread and enjoy! Serve it fresh, or use it for sandwiches and toast.
Pro Tip: For a more flavorful loaf, try adding herbs, cheese, or nuts to the dough before starting the machine.
Tips for the Best Bread Maker Recipe
- Use fresh ingredients, especially yeast, for the best rise and flavor.
- Measure ingredients accurately to avoid inconsistencies in the dough.
- Keep the bread maker in a warm, draft-free area to promote even baking.
- Experiment with different flours for unique flavors and textures.
- Don’t rush the cooling process; this step is crucial for the perfect crumb.
Common Mistakes to Avoid
- Using cold water can prevent yeast activation, resulting in a dense loaf.
- Not measuring flour properly can lead to dry or overly sticky dough.
- Opening the lid during baking can cause the bread to collapse.
- Forgetting to add salt can make the bread taste flat.
- Skipping the cooling step can make slicing difficult and result in a gummy texture.
Serving Suggestions
This bread is incredibly versatile and pairs well with many dishes. Here are some serving suggestions:
- Toast with butter and jam for breakfast.
- Use it as a base for a hearty sandwich.
- Serve alongside soups or stews.
- Make croutons for salads.
- Enjoy with a cheese platter.
Variations to Try
- Add herbs like rosemary or thyme for a fragrant twist.
- Incorporate cheese such as cheddar or feta for a savory flavor.
- Mix in nuts or seeds for added texture and nutrition.
- Experiment with whole wheat flour for a healthier option.
- Try a sweet version by adding cinnamon and raisins.
Dietary Adaptations
- Gluten-free: Use a gluten-free flour blend for a suitable alternative.
- Dairy-free: Replace butter with olive oil or a dairy-free alternative.
- Vegan: Use plant-based butter and ensure no animal products are in the ingredients.
- Low-carb/Keto: Substitute bread flour with almond flour and adjust the yeast accordingly.
Storage and Reheating
Refrigerator
Store the bread in an airtight container in the fridge to maintain freshness.
- Wrap in a clean kitchen towel for added moisture retention.
- Consume within one week for best flavor.
Freezer
For longer storage, freeze slices in a resealable bag.
- Label the bag with the date for easy tracking.
- Use within three months for optimal taste.
Reheating
To reheat, simply toast slices or warm them in the oven.
- Wrap in foil and bake at 350°F for 10-15 minutes.
- Microwave slices for about 15 seconds for a quick warm-up.
Nutrition Information
| Nutrient | Amount |
|---|---|
| Calories | 150 |
| Total Fat | 3g |
| Saturated Fat | 1g |
| Carbohydrates | 28g |
| Fiber | 1g |
| Sugar | 1g |
| Protein | 4g |
| Sodium | 150mg |
| Cholesterol | 5mg |
This nutrition information is an estimate and can vary based on ingredient brands and preparation methods.
Frequently Asked Questions
Can I use instant yeast instead of active dry yeast?
Yes, you can use instant yeast without any adjustments; just add it directly with the flour.
Can I make this recipe ahead of time?
Yes, you can prepare the ingredients the night before and set the bread maker to start in the morning.
How should I store leftover bread?
Store it in an airtight container in the fridge for up to a week or freeze for longer storage.
Why did my bread not rise?
This could be due to expired yeast or using water that is too hot, which can kill the yeast.
Can I add other ingredients like seeds or nuts?
Absolutely! Add them during the mixing phase for a delightful texture and flavor.
Final Thoughts
Homemade bread is a comforting and rewarding experience that anyone can enjoy. With this Bread Maker Recipe, you’ll find yourself baking more often, filling your home with delightful aromas.
So, why not give it a try? You might just discover a new favorite way to impress family and friends with your baking skills!
If you’re looking for more delicious bread recipes, check out this almost flourless bread recipe or try out a same day sourdough bread recipe for a different twist!
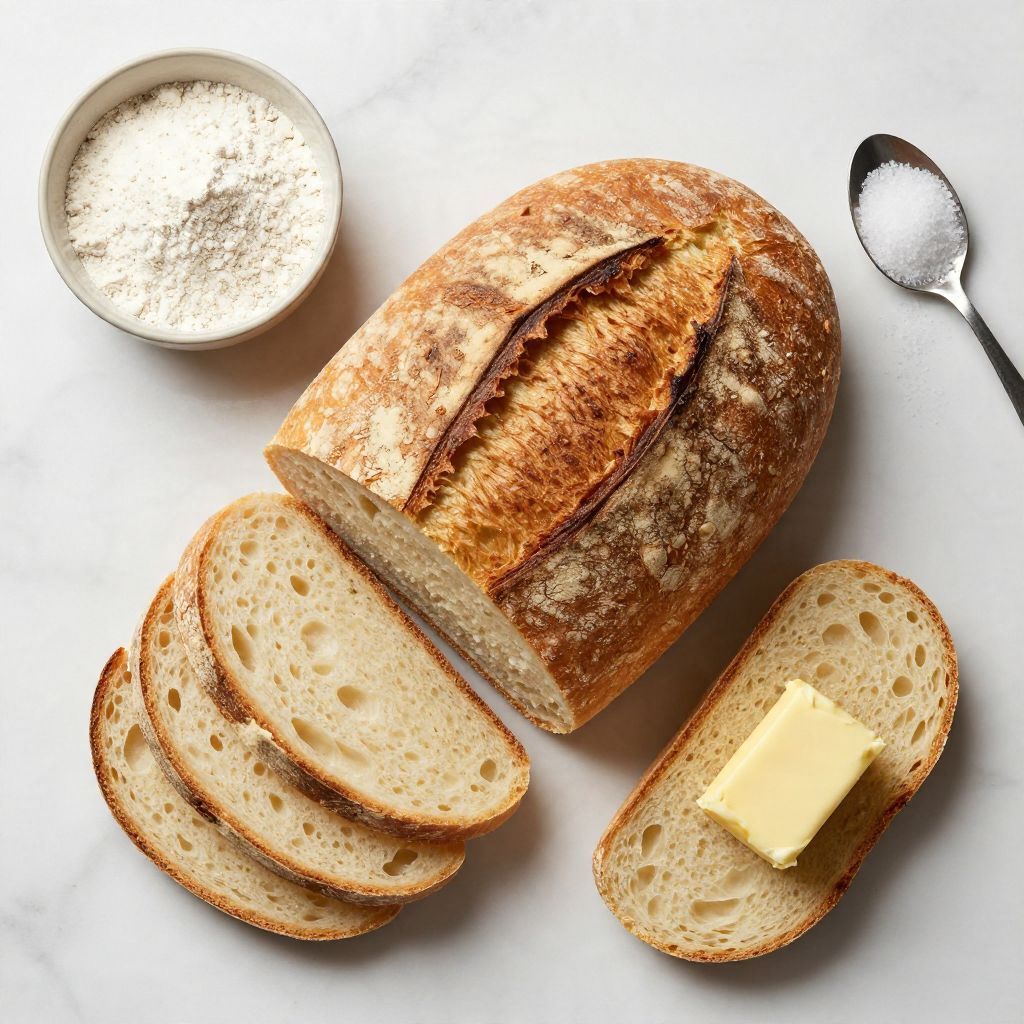
Bread Maker Recipe
Ingredients
Equipment
Method
- Gather all your ingredients and measuring tools.
- Pour the warm water into the bread pan first, followed by the sugar, salt, and unsalted butter.
- Carefully add the bread flour on top of the liquid ingredients.
- Make a small indentation in the center of the flour and add the active dry yeast.
- Close the lid of the bread maker and select the basic bread setting.
- Press start and let the machine do its magic.
- Once the baking cycle is complete, carefully remove the bread pan and let the loaf cool on a rack for at least 15 minutes.
- After cooling, slice the bread and enjoy.