
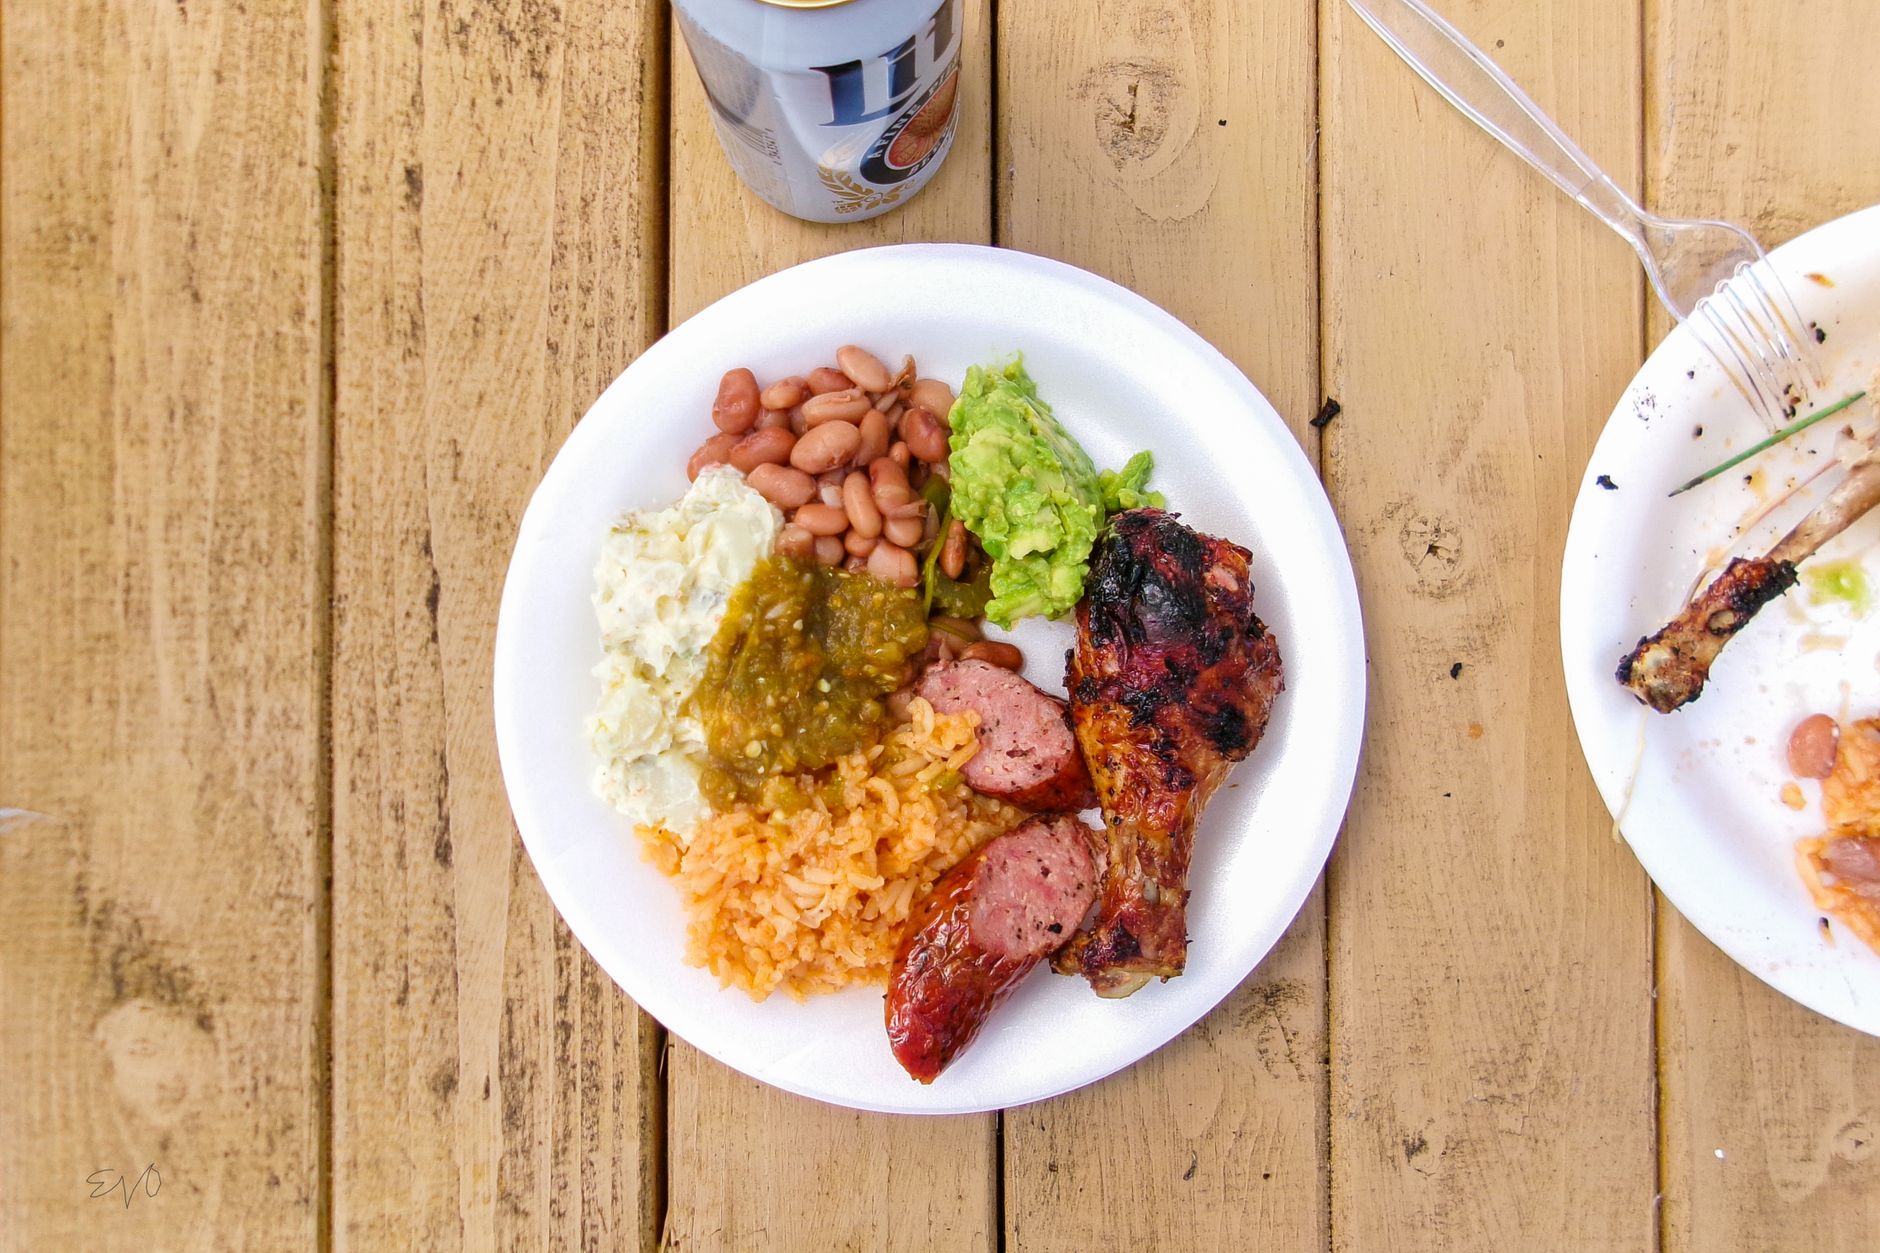
Beer can chicken is a popular cooking technique that elevates the traditional roast chicken experience to new heights, particularly when it is prepared in a smoker. The result is tender, juicy meat that is infused with flavors from the beer and any spices you choose to use. This method not only helps keep the chicken moist but also creates a deliciously crispy skin.
In this article, we’ll take a comprehensive look at smoking beer can chicken, covering everything from essential ingredients to step-by-step instructions, tips for success, and variation ideas. Whether you’re a seasoned pitmaster or a beginner, this guide will equip you with the knowledge to impress your friends and family with perfectly smoked beer can chicken.
What is Beer Can Chicken Smoker?
Beer can chicken smoker refers to the technique of cooking a whole chicken upright on a grill or in a smoker with a can of beer inserted into its cavity. This method allows the chicken to cook evenly while the beer steams the meat from the inside, adding flavor and moisture. The positioning also ensures that the skin gets wonderfully crispy.
Why Choose Beer Can Chicken?
There are several reasons to choose beer can chicken for your next cookout:
- Flavor Infusion: As the beer heats up, it releases steam that permeates the chicken, enhancing its flavor.
- Moisture Retention: The steam keeps the chicken moist and juicy throughout the cooking process.
- Crispy Skin: Cooking the chicken upright promotes even cooking and leads to a crispy skin on all sides.
- Fun Presentation: The beer can method creates a unique and eye-catching presentation for gatherings and barbecues.
What You Will Need
To make smoked beer can chicken, you’ll require some basic tools and ingredients. Below is a comprehensive list.
Essential Equipment
- Smoker or grill with a lid
- Beer can chicken holder (optional but recommended)
- Meat thermometer
- Drip pan
- Tongs
- Basting brush
- Sharp knife
Ingredients
- 1 whole chicken (4-5 pounds)
- 1 can of beer (lager or pale ale works well)
- 2 tablespoons olive oil or melted butter
- 1 tablespoon salt
- 1 tablespoon pepper
- 2 teaspoons garlic powder
- 2 teaspoons paprika
- 1 teaspoon onion powder
- Optional: Additional spices (such as cayenne pepper, oregano, or thyme)
Preparation Steps
Follow these simple steps to prepare a delicious smoked beer can chicken:
- Choose Your Beer: Select a can of beer that complements your flavor preferences. Lighter beers like pilsners will impart a different flavor than darker beers like stouts. You can also experiment with flavored beers such as fruit ales for a unique twist.
- Prepare the Chicken: Remove the giblets and any neck parts from the chicken cavity. Pat the chicken dry with paper towels. This dryness helps the skin crisp up during the cooking process.
- Season the Chicken: Rub the chicken with olive oil or melted butter, ensuring an even coating. Combine the salt, pepper, garlic powder, paprika, and onion powder in a small bowl and mix well. Rub the spice mixture all over the chicken, including inside the cavity and under the skin for maximum flavor.
- Prepare the Beer Can: Open the can of beer and drink or pour out about half of it. You can also create additional flavor by adding herbs or spices into the beer can. Puncture a few extra holes in the top of the can to allow more steam to escape.
- Insert the Beer Can: Carefully place the beer can inside the chicken’s cavity, ensuring the chicken stands upright. If you have a beer can chicken holder, use it for added stability.
- Preheat the Smoker: Preheat your smoker to a steady temperature of around 350°F (175°C). If you’re using a charcoal grill, prepare for indirect cooking.
- Add Wood Chips (if desired): If you prefer a smokier flavor, consider adding wood chips like hickory or apple to your smoker. Soak them in water for about an hour before using.
Smoking the Chicken
Now that your chicken is prepared and your smoker is set up, it’s time to cook!
- Place the Chicken in the Smoker: Carefully transfer the chicken to the middle of the smoker. If using a grill, place the chicken over the cooler side away from direct heat.
- Monitor the Temperature: Close the smoker and maintain a temperature of around 350°F. Use a meat thermometer to monitor the internal cooking temperature.
- Check for Doneness: The chicken is finished cooking when it reaches an internal temperature of 165°F (75°C) at the thickest part of the thigh. This usually takes around 1.5 to 2 hours, but cooking times may vary depending on the size of the chicken and the consistency of the smoker temperature.
- Baste if Desired: Optional: Every 30 minutes, you can baste the chicken with its drippings or a mixture of butter and herbs for added flavor.
- Rest Your Chicken: Once the chicken is done, carefully remove it from the smoker using tongs, allowing it to rest for 10-15 minutes. This resting period lets the juices redistribute, ensuring a tender and juicy chicken.
Common Mistakes and Troubleshooting
While making beer can chicken can be straightforward, there are a few common pitfalls to avoid:
Undercooked or Overcooked Chicken
A meat thermometer is essential to check the chicken’s doneness. Relying solely on cooking time can lead to dry chicken or food safety issues. Always check the internal temperature.
Flaccid Skin
If the skin doesn’t crisp up, ensure that the chicken was patted dry before applying the rub and that the cooking temperature was maintained. Starting with a hotter smoker can help.
Beer Explosion
Make sure to pour out half the beer before inserting the can into the chicken; too much liquid can cause pressure to build and lead to a messy explosion in the smoker.
Variations and Flavor Ideas
Beer can chicken is highly customizable. Here are a few variations to consider:
Flavorful Marinades
Instead of a dry rub, you can marinate the chicken in a mixture of beer and your favorite herbs and spices for several hours before cooking.
Different Alcohols
Experiment with different types of alcohol for steaming. Hard cider, wine, or flavored sodas can create unique flavors when used in place of beer.
Herb Stuffing
For added flavor, you can stuff fresh herbs like rosemary, thyme, or garlic cloves into the chicken cavity along with the beer can.
Serving Suggestions
Beer can chicken pairs well with a variety of sides. Here are some classic and crowd-pleasing suggestions:
- Grilled vegetables (zucchini, bell peppers, corn)
- Potato salad or coleslaw
- Garlic bread or cornbread
- Macaroni and cheese
Make-Ahead and Storage Tips
Beer can chicken is best enjoyed fresh, but you can prepare the chicken the night before. Rub it with the seasoning and refrigerate it, covered, until you’re ready to cook it. Smoking larger quantities for meal prepping is also a great time-saver.
Store any leftovers in an airtight container in the refrigerator for up to three days. Reheat in the oven until warmed through or in the microwave, but the skin may not retain its crispiness.
Summary and Next Steps
Smoking beer can chicken is a flavorful and visually appealing way to prepare a whole chicken. By following the guidelines outlined in this article, you can create a moist and tasty dish that impresses guests and family alike. Don’t forget to experiment with your spice blends and cooking techniques as you get more comfortable with the method.
For more delicious chicken recipes, consider exploring our beer can chicken recipe or learn how long to smoke chicken thighs for another delightful variation. Happy smoking!