
There’s something deeply satisfying about biting into a crisp, tangy pickle fresh from the jar, and homemade Claussen pickles deliver that exact magic without the store trip. The briny snap, the garlicky punch, and that perfect dill flavor are entirely within reach in your own kitchen, and the process is far simpler than you’d expect.
This recipe replicates the beloved Claussen style by focusing on what makes them special: a hot-pack canning method that creates that signature crunch, a balanced brine with just the right salt and vinegar ratio, and fresh aromatics that transform humble cucumbers into something craveable. You’ll understand why people have strong opinions about their pickle brand once you taste homemade versions.
Whether you’re a pickling newcomer or a seasoned preserver, this recipe walks you through every detail so you end up with shelf-stable jars of pickles that taste every bit as good as the deli counter version, and cost a fraction of the price.
Why You’ll Love This Recipe
Homemade Claussen-style pickles beat store-bought on flavor, freshness, and cost, while giving you complete control over the ingredients and crunch level. You’ll feel like a genuine food hero pulling homemade pickles from your pantry.
- Crisp, satisfying crunch that stays fresh for months when properly canned.
- Bold dill and garlic flavor you can adjust to your taste preferences.
- Hot-pack method ensures shelf stability without any guesswork or special equipment.
- Budget-friendly once you have basic canning supplies; costs pennies per jar.
- Impressive gift for pickle lovers and a genuine conversation starter.
My Experience Making This Recipe
I made my first batch of Claussen-style pickles on a whim after buying expensive jars at the grocery store one too many times. The process was less intimidating than I’d imagined, and the moment I pulled those finished jars from the water bath, I felt genuinely proud.
The kitchen smells incredible when the brine is simmering: vinegar, dill, and garlic filling the air in the best way possible. My family cracked open the first jar within days, and they’ve been asking me to make another batch ever since.
What surprised me most was how fast the pickles were ready to eat; unlike some pickling methods, you can taste one within a week and the flavor deepens beautifully over the following month. The crunch held up perfectly even after four months in the pantry, which spoke volumes about the hot-pack method’s effectiveness.
Recipe Overview
- Recipe Name: Claussen-Style Dill Pickles
- Servings: Makes 4 quarts
- Prep Time: 30 minutes
- Cook Time: 10 minutes
- Total Time: 50 minutes (plus processing and cooling)
- Course: Condiment, Preserve
- Cuisine: American
- Calories per Serving: 15 calories (per 1-ounce pickle spear)
Equipment You Will Need
- Large stainless steel pot for the brine (at least 6-quart capacity)
- Water bath canner or large pot with rack for processing jars
- Four quart-sized mason jars with lids and bands
- Jar lifter for safely removing hot jars
- Funnel sized to fit jar openings
- Large wooden spoon or ladle
- Measuring cups and spoons
- Cutting board and sharp knife
- Clean kitchen towels
- Bubble remover tool (or a thin knife)
Ingredients for Claussen-Style Dill Pickles
- 4 pounds pickling cucumbers (Kirby or small cucumbers, 3 to 4 inches long)
- 6 cups white vinegar (5% acidity)
- 4 cups water
- 1/4 cup pickling salt (or kosher salt, not table salt)
- 8 cloves fresh garlic, peeled and halved
- 8 dill flower heads or 1/2 cup fresh dill fronds (2 per jar)
- 1 tablespoon black peppercorns
- 4 dried red chili peppers (optional, 1 per jar for gentle heat)
- 2 teaspoons mustard seeds (optional, 1/2 teaspoon per jar)
- 4 bay leaves (1 per jar)
Ingredient Notes and Substitutions
- Pickling cucumbers: These are smaller and thinner-skinned than slicing varieties, which means they pickle faster and stay crunchier. If you can’t find Kirby cucumbers, use any small cucumber, but cut them to roughly 3 to 4 inches long for even pickling.
- White vinegar: The 5% acidity is crucial for safe preservation and the clean, sharp taste that defines Claussen-style pickles. Apple cider vinegar works but will darken the brine and shift the flavor toward sweetness; rice vinegar is too mild and won’t provide proper preservation.
- Pickling salt: This has no additives that cloud brine or interfere with preservation. Kosher salt works, but table salt contains iodine and anti-caking agents that ruin clarity and flavor, so skip it entirely.
- Fresh dill: Dill flowers (the dried seed heads) are ideal because they add structure and prevent softening, but fresh dill fronds work if flowers are unavailable; use double the amount. Dried dill loses the bright flavor that makes these pickles special.
- Garlic: Fresh garlic cloves provide that signature pungent bite; garlic powder is flat and one-dimensional by comparison. Smash or halve cloves so they release more flavor into the brine.
How to Make Claussen-Style Dill Pickles
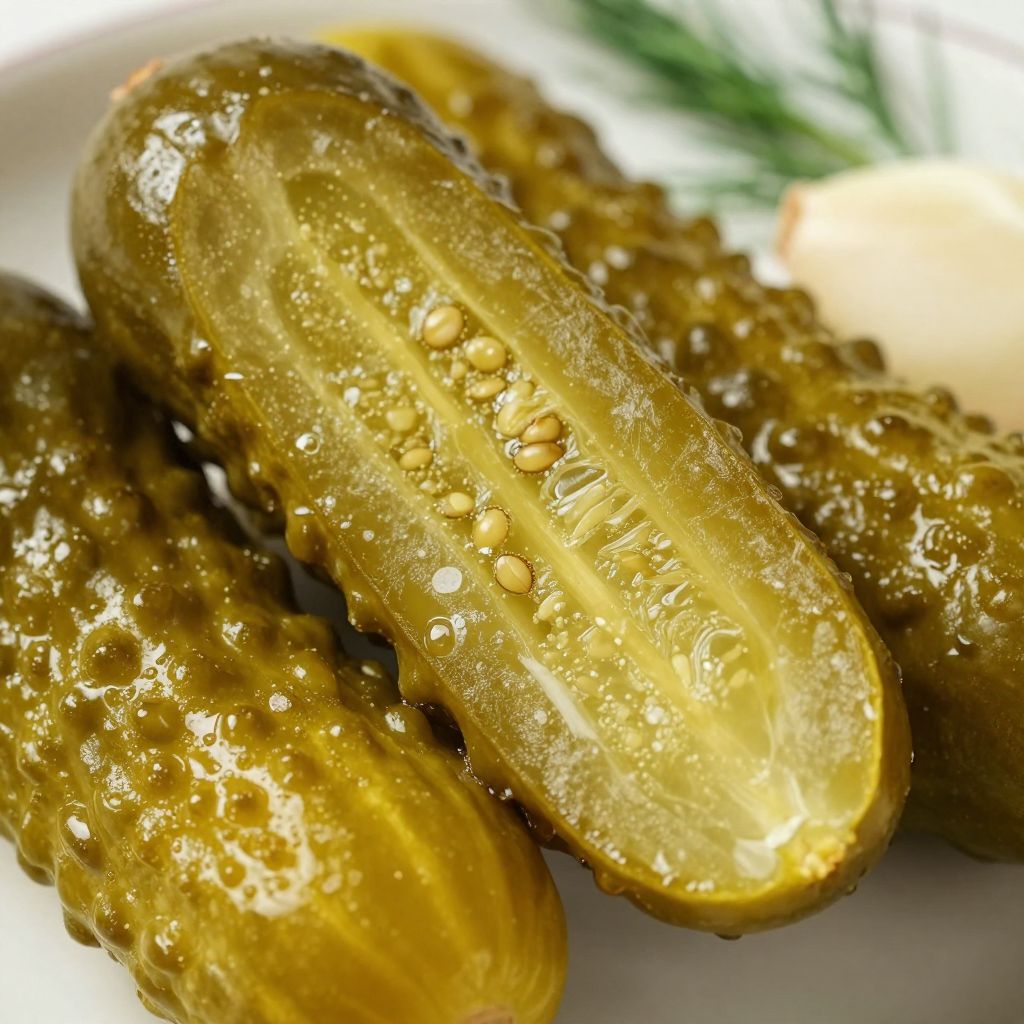
Step 1: Prepare Your Equipment
Start by washing your jars, lids, and bands in hot soapy water, then rinse thoroughly. Place your water bath canner on the stove and fill it three-quarters full with water, then bring it to a simmer so it’s ready when you need it.
Step 2: Select and Trim Your Cucumbers
Choose firm, fresh pickling cucumbers without any soft spots or blemishes, as these will yield the crunchiest results. Rinse them thoroughly under cold water, pat dry, and trim the blossom end (the end opposite the stem) by about 1/4 inch, since the blossom end contains enzymes that cause softening during storage.
Step 3: Prepare the Aromatics
Peel your garlic cloves and cut them in half lengthwise to expose their inner surface and release maximum flavor into the brine. Measure out your dill flowers or fronds, peppercorns, bay leaves, and any optional additions (chili peppers, mustard seeds) and set them nearby so you can pack them quickly when you’re ready.
Step 4: Make the Brine
In your large pot, combine 6 cups white vinegar, 4 cups water, and 1/4 cup pickling salt, then bring the mixture to a rolling boil over high heat. Stir occasionally to ensure the salt dissolves completely, which usually takes about 5 to 7 minutes; you want no granules visible at the bottom of the pot.
Step 5: Pack the Jars
Place 2 dill flower heads, 2 garlic halves, a small handful of peppercorns, 1 bay leaf, and any optional additions into the bottom of each hot jar. Pack your cucumber spears vertically into each jar as tightly as possible without crushing them, leaving about 1 inch of headspace at the top; you want them snug so they stay submerged and don’t float.
Step 6: Fill with Hot Brine
Pour your hot brine slowly into each jar using a funnel, filling each jar to within 1/2 inch of the rim, which is the proper headspace for quart jars. Make sure your cucumbers stay submerged and no air pockets remain; use a bubble remover or thin knife to gently nudge any trapped air out.
Step 7: Seal and Process the Jars
Place hot lids on each jar and screw the bands on tightly (but not overly so; a firm quarter-turn is sufficient). Using your jar lifter, carefully place each jar into the simmering water bath, making sure they’re covered by at least 1 inch of water, then bring the water to a full rolling boil.
Step 8: Process and Cool
Process the jars at a rolling boil for 10 minutes (adjust by adding 1 minute for every 1,000 feet of altitude above sea level if you live in a higher elevation). After 10 minutes, turn off the heat, remove the canner from the burner, and let the jars sit in the cooling water for 5 minutes before lifting them out and placing them on a clean kitchen towel to cool completely.
Pro Tip: The moment you hear that satisfying “pop” as each jar cools and the seal forms, you’ll know your pickles are shelf-stable and ready for long-term storage. Don’t be tempted to tighten the bands after processing; this can actually prevent proper sealing.
Tips for the Best Claussen-Style Dill Pickles
- Use the freshest cucumbers possible and can them within 24 hours of picking or buying; older cucumbers lose their crunch even with proper technique.
- Keep your brine at a rolling boil the entire time you’re filling jars, as a hot brine is essential for the hot-pack method’s effectiveness and crunch retention.
- Don’t skip trimming the blossom end of your cucumbers; those enzymes really do cause mushiness, and this one step makes a noticeable difference.
- Pack your cucumbers tightly so they stay submerged in brine; any that float above the liquid risk spoilage and discoloration.
- Let your processed jars cool completely at room temperature before moving them to storage; this allows the seal to set properly and prevents breakage.
- Store finished pickles in a cool, dark place for up to one year; they’re safe to eat within one week, but flavor deepens beautifully over the first month.
Common Mistakes to Avoid
- Using slicing cucumbers or overly large pickling cucumbers results in soft, mushy pickles that never achieve that signature Claussen crunch no matter how perfect your brine is.
- Skipping the blossom end trim is a frequent mistake that leads to soft pickles within weeks; those enzymes aren’t myth.
- Packing jars too loosely allows cucumbers to float and oxidize, leading to discoloration and potential spoilage even in sealed jars.
- Using table salt or iodized salt clouds your brine and adds off-flavors that have nothing to do with your actual pickling spices.
- Processing jars in water that’s below a rolling boil compromises the seal and shelf stability, so always maintain a vigorous boil throughout the processing time.
Serving Suggestions
Claussen-style pickles are endlessly versatile and work as a snack straight from the jar, a condiment, or a crunchy component in dishes where you want that briny pop. Pull them out whenever you want something that cuts through richness or adds interest to a simple meal.
- Serve alongside deli sandwiches, burgers, or barbecue as the classic accompaniment.
- Chop and mix into potato salad, tuna salad, or egg salad for briny crunch and flavor.
- Slice and add to charcuterie boards for a sour, crunchy element that balances rich cured meats.
- Use pickle juice in salad dressings, marinades, or cocktails for a sharp, complex flavor boost.
- Snack straight from the jar as a low-calorie, sodium-rich option when you want something pickled and satisfying.
Variations to Try
- Spicy Claussen Pickles: Add 1 sliced fresh jalapeño or 1/2 teaspoon red pepper flakes per jar for heat that builds as the pickles age without overwhelming the dill flavor.
- Garlic-Forward Claussen Pickles: Increase garlic to 4 cloves per jar and add 1/4 teaspoon garlic powder to the brine for a more aggressive garlicky punch that stands up to bold sandwiches.
- Sweet and Sour Claussen Pickles: Replace 1 cup of the water with apple cider vinegar and add 2 tablespoons honey to the brine for a slightly sweet-sour balance that’s gentler than straight dill.
- Half-Sour Claussen Style: Reduce the vinegar to 4 cups and increase water to 6 cups, then refrigerate instead of processing for pickles that are less acidic and crunchier from skipping the hot-pack method.
- Mustard Seed Claussen Pickles: Add 1/2 teaspoon mustard seeds and 1/4 teaspoon turmeric per jar for a subtly different flavor profile with floral, slightly bitter notes.
Dietary Adaptations
- Gluten-Free: This recipe is naturally gluten-free since it contains no grain products; verify that any pre-made spice blends are certified gluten-free if you’re using them.
- Dairy-Free: This recipe contains no dairy at all, making it safe for anyone avoiding milk and animal products.
- Vegan and Vegetarian: Claussen-style pickles are vegan by default since they’re made from vegetables, vinegar, and spices with no animal products.
- Low-Sodium/Low-Carb/Keto: Reduce the salt to 3 tablespoons for a lower-sodium version, though this sacrifices some preservation safety and crunch; the recipe naturally contains minimal carbs and fits any carb-restricted diet.
Storage and Reheating
Refrigerator
Properly processed and sealed Claussen-style pickles are shelf-stable and don’t need refrigeration, but once you open a jar, store the remainder in the refrigerator with the lid tightly sealed. Opened jars keep for up to 3 months in the refrigerator as long as the brine covers the remaining pickles.
- Check the seal before storing an unopened jar; if the lid doesn’t flex and is completely sealed, it can live in the pantry.
- If a seal fails or pops open during storage, move the jar to the refrigerator immediately.
Freezer
Freezing pickles changes their texture significantly, making them mushy when thawed, so freezing is not recommended for whole pickles. However, pickle juice freezes well in ice cube trays and works beautifully in dressings and marinades after thawing.
- Pour brine into ice cube trays and freeze for easy portions to use in recipes.
- Keep frozen brine cubes for up to 3 months in a freezer bag.
Reheating
Claussen-style pickles are never heated and are served cold or at room temperature as-is. If you want warm pickles for a specific recipe, chop them and add to a hot dish just before serving to preserve their crunch.
- Serve straight from the jar at room temperature or chilled for the best texture.
- Add chopped pickles to warm foods at the last moment if you want them in a cooked dish.
Nutrition Information
| Nutrient | Amount |
|---|---|
| Calories | 15 |
| Total Fat | 0.2g |
| Saturated Fat | 0g |
| Carbohydrates | 2.5g |
| Fiber | 0.5g |
| Sugar | 0.8g |
| Protein | 0.5g |
| Sodium | 480mg |
| Cholesterol | 0mg |
This nutrition information is approximate and based on a standard 1-ounce serving (one medium pickle spear). Values may vary depending on how tightly you pack your jars and the exact size of your cucumbers.
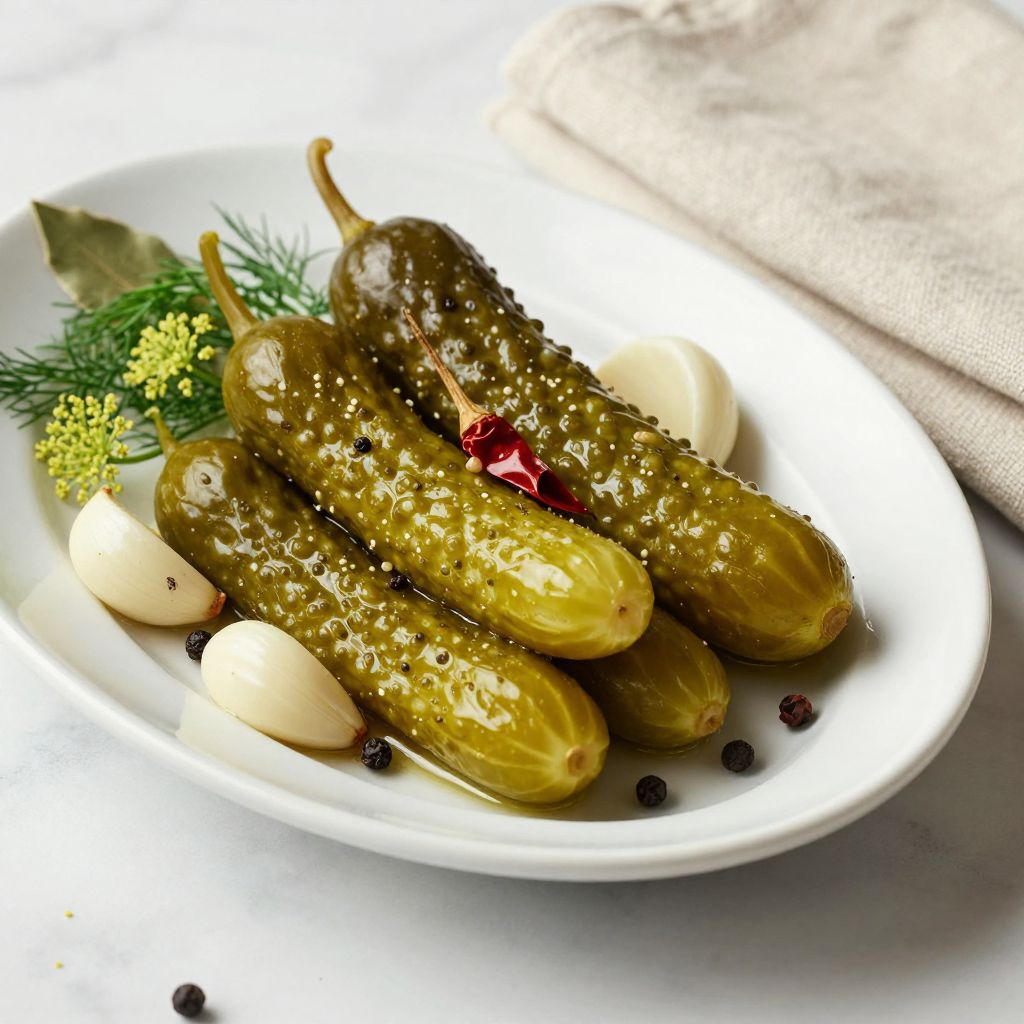
Frequently Asked Questions
Why did my pickles turn out soft instead of crispy?
Soft pickles almost always result from using older cucumbers, skipping the blossom end trim, or not keeping your brine hot enough during processing. Ensure you use the freshest Kirby cucumbers available and never skip that trim step.
Can I make this recipe without canning equipment?
Yes, you can make refrigerator pickles by skipping the hot-pack processing step and storing your jars in the refrigerator immediately after filling them. These pickles won’t be shelf-stable, but they’re ready to eat within a week and stay fresh for about 2 months refrigerated.
How long before I can eat my pickles?
You can taste one within 3 to 5 days, though the flavor continues deepening for about 4 weeks. Most people find them perfect somewhere in that sweet spot between one and two weeks after canning.
What does it mean if a jar lid doesn’t seal?
A lid that doesn’t seal (stays flat and flexes when you press it) means the jar isn’t shelf-stable and must be refrigerated. You can reprocess it with a new lid, store it in the refrigerator, or eat the pickles immediately.
Can I use dried dill instead of fresh dill flowers?
Dried dill works in a pinch, but use only half the amount of fresh because the flavor concentrates during drying, and it doesn’t provide the same structural support that prevents softening. Fresh dill really does make a significant difference in the final texture and flavor.
Is this recipe safe for canning at high altitudes?
Yes, but you need to increase the processing time by 1 minute for every 1,000 feet of altitude above sea level. At 5,000 feet, for example, process for 15 minutes instead of 10.
Final Thoughts
Making Claussen-style dill pickles at home transforms your pantry and changes how you think about homemade preserves. The investment in a few basic supplies and an afternoon pays dividends in crunchy, delicious pickles that taste better than anything you can buy.
Pull that first jar off the shelf a month from now and taste something you created with your own hands; that satisfaction is worth every step of the process. Your sandwiches, your salads, and your taste buds will thank you.
Explore More Pickle Recipes
If you love this recipe, explore other pickle styles to expand your canning skills and discover new flavor combinations that match your taste preferences.
- Try making half-sour pickles for a crunchy, less acidic version that skips the hot-pack method.
- Discover sweet pickle recipes that balance vinegar with honey for a gentler flavor profile.
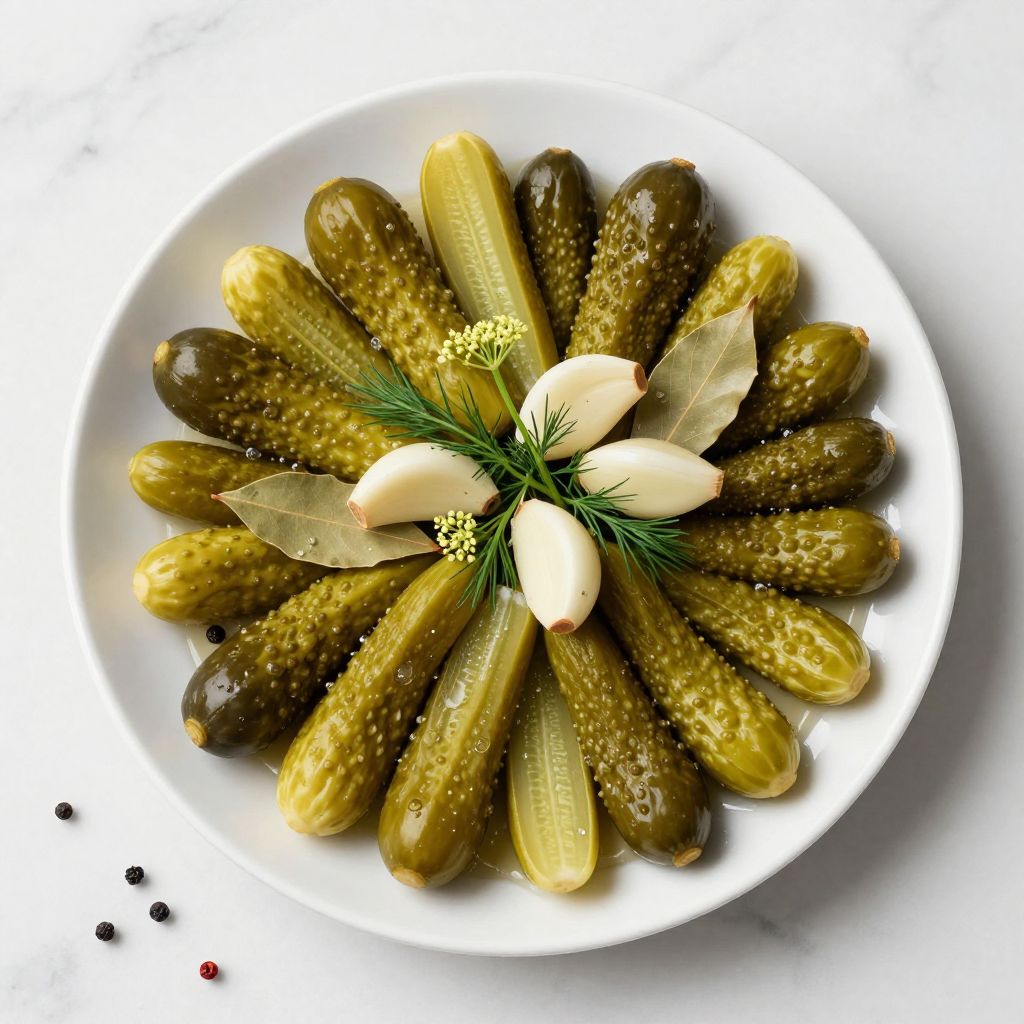
Claussen-Style Dill Pickles
Ingredients
Equipment
Method
- Wash 4 quart jars, lids, and bands in hot soapy water and rinse well.
- Fill a water bath canner three-quarters full with water and bring to a simmer.
- Rinse cucumbers, trim 1/4 inch off blossom ends, and pat dry.
- Peel and halve garlic cloves; measure dill, peppercorns, bay leaves, chili peppers, and mustard seeds.
- In a large pot, combine 6 cups vinegar, 4 cups water, and 1/4 cup pickling salt; bring to a rolling boil, stirring until salt dissolves (5 to 7 minutes).
- Pack 2 dill heads, 2 garlic halves, peppercorns, 1 bay leaf, chili pepper, and mustard seeds into each jar; add cucumber spears, leaving 1 inch headspace.
- Using a funnel, pour hot brine into jars to within 1/2 inch of rim; remove air bubbles with a bubble remover or thin knife.
- Wipe jar rims, place lids and bands on jars, and tighten bands firmly by hand.
- Lower jars into simmering water bath, ensure water covers jars by at least 1 inch, and bring to a rolling boil.
- Boil jars for 10 minutes (add 1 minute per 1,000 ft if at high altitude), then turn off heat and let jars sit in water for 5 minutes.
- Use a jar lifter to remove jars and place on a towel to cool completely; wait for lids to pop and seal.