
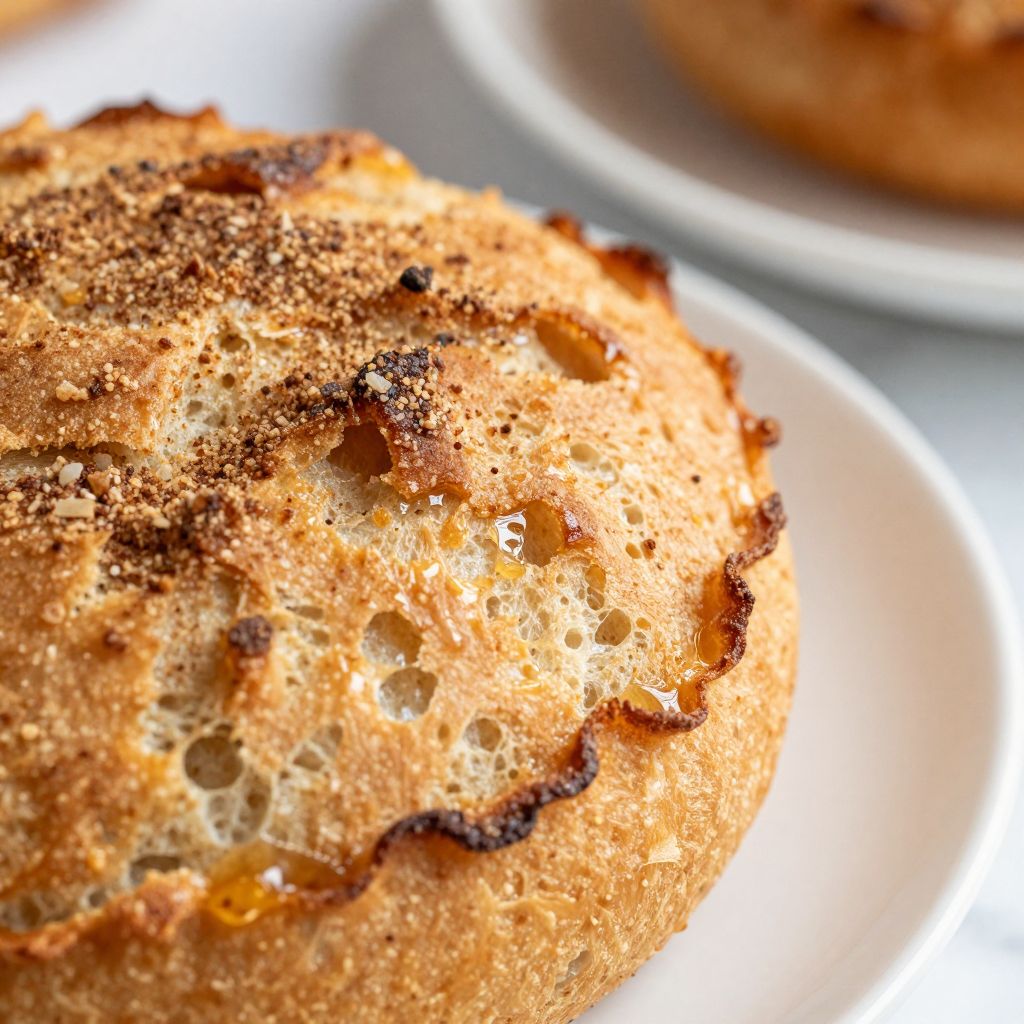
Picture this: a cast-iron skillet sizzling over an open flame, golden-brown bread puffing up before your eyes, and the aroma of fried dough filling the air with pure comfort.
Squaw bread is a beloved Native American staple that deserves a permanent spot in your kitchen rotation. This fried bread is crispy on the outside, pillowy soft on the inside, and incredibly versatile. Whether you tear into it plain, top it with honey and cinnamon, or use it as a base for savory toppings, this recipe delivers every single time.
The best part? You only need basic pantry ingredients and about 30 minutes from start to finish. This bread comes together quickly, fries in minutes, and tastes freshly made each time you pull it from the oil.
Why You’ll Love This Recipe
Squaw bread hits all the marks for a standout comfort food. It’s fast, forgiving, and absolutely delicious whether you’re a seasoned baker or picking up a spatula for the first time.
- Ready to eat in under 30 minutes with minimal hands-on effort
- Crispy exterior with a soft, airy interior that melts in your mouth
- Works equally well as a sweet treat or savory dish
- Makes enough to feed a crowd without breaking the bank
- No special equipment or baking skills required
My Experience Making This Recipe
The first time I made squaw bread, I was skeptical that something so simple could taste so incredible. I mixed the dough, let it rise briefly, and stepped back to watch the magic happen as each piece hit the hot oil.
My kitchen filled with the most amazing aroma, and within minutes I had a stack of golden, pillowy bread. My family demolished the entire batch in what felt like seconds, with everyone grabbing pieces before they could even cool down.
I’ve made this bread dozens of times since then, and it never disappoints. Whether I’m serving it at a casual weeknight dinner or bringing it to a potluck, people always ask for the recipe.
Recipe Overview
- Recipe Name: Squaw Bread
- Servings: 12 pieces
- Prep Time: 15 minutes
- Cook Time: 15 minutes
- Total Time: 30 minutes
- Course: Bread/Side Dish
- Cuisine: Native American
- Calories per Serving: 185
Equipment You Will Need
- Large mixing bowl
- Measuring cups and spoons
- Wooden spoon or dough hook
- Cutting board or work surface
- Knife for portioning dough
- Large cast-iron skillet or heavy-bottomed pot
- Meat thermometer or deep-fry thermometer
- Slotted spoon or spider strainer
- Paper towels and wire rack
Ingredients for Squaw Bread
- 3 cups all-purpose flour
- 1 tablespoon sugar
- 2 teaspoons baking powder
- 1 teaspoon salt
- 2 tablespoons shortening or lard
- 1 cup warm water
- Oil for frying (vegetable or canola)
Ingredient Notes and Substitutions
- All-purpose flour provides structure and lift when combined with baking powder. You can substitute bread flour for a chewier texture, though the dough will be slightly stiffer and require a touch more water.
- Baking powder creates the fluffy, pillowy texture this bread is famous for. Don’t skip it or use expired baking powder, as your bread will turn out flat and dense instead of airy.
- Shortening or lard produces the most authentic results and creates the crispest crust. Butter works as a substitute but will brown faster and create a slightly different flavor profile.
- Warm water activates the baking powder and helps the dough come together. Cold water will slow everything down, while very hot water can kill the leavening agent.
- Vegetable oil is ideal for frying at high heat without smoking. Never use olive oil, as it has a lower smoke point and will impart a strong flavor that doesn’t belong here.
How to Make Squaw Bread
Step 1: Mix the Dry Ingredients
Combine flour, sugar, baking powder, and salt in your large mixing bowl. Whisk these ingredients together for about 30 seconds to evenly distribute the baking powder throughout the flour, which ensures even rising when you fry the bread.
Step 2: Add the Fat and Water
Create a well in the center of the dry mixture and add the shortening and warm water. Use a wooden spoon to stir everything together until a shaggy dough forms.
Step 3: Knead the Dough
Turn the dough out onto your work surface and knead it for 2 to 3 minutes until it becomes smooth and slightly elastic. You want a soft dough that doesn’t stick to your hands, so add a tiny sprinkle of flour if needed, but avoid over-working it.
Step 4: Let the Dough Rest
Place the dough back in the bowl and let it rest for 10 minutes at room temperature. This brief rest allows the flour to fully hydrate and makes the dough much easier to stretch and shape.
Step 5: Divide and Shape the Dough
Divide your dough into 12 equal pieces. Take each piece and gently stretch it into an oval or round shape about 1/4 inch thick, then set it on a lightly floured surface or parchment paper.
Step 6: Heat Your Oil
Pour oil into your skillet to a depth of about 1 inch and heat it to 375 degrees Fahrenheit. Use a thermometer to check the temperature, as this is critical for achieving that perfect golden crust and fluffy interior.
Step 7: Fry the Bread
Carefully place 2 to 3 pieces of dough into the hot oil, making sure not to crowd the skillet. Fry for 1 to 2 minutes on the first side until golden brown, then flip and cook the other side for another 1 to 2 minutes.
Step 8: Drain and Serve
Remove the fried bread with a slotted spoon and place it on a wire rack lined with paper towels. Serve warm, and enjoy it plain or with your favorite toppings.
Pro Tip: Keep your oil temperature consistent at 375 degrees Fahrenheit; if it’s too cool, the bread will absorb excess oil and taste greasy, and if it’s too hot, the outside will burn before the inside finishes cooking.
Tips for the Best Squaw Bread
- Use a thermometer to monitor your oil temperature throughout frying. Adjusting heat up or down by even 10 degrees can mean the difference between perfection and disappointing results.
- Don’t let your dough rest longer than 15 minutes total, or it will start to become tough and dense. The goal is a quick, light bread, not a yeasted loaf.
- Work quickly when frying so each batch is ready at roughly the same time. This means everyone gets warm bread instead of some pieces cooling while you finish cooking.
- Stretch your dough pieces gently without pressing out all the air. The little air pockets in the dough create that signature pillowy texture when they expand in hot oil.
- Have all your toppings and accompaniments ready before you start frying. Once this bread comes out of the oil, you want to serve it immediately while it’s at its best.
- If you’re making a large batch, keep finished pieces warm in a low oven (around 200 degrees) while you fry the remaining dough.
Common Mistakes to Avoid
- Overmixing the dough develops too much gluten and creates tough, chewy bread instead of light and fluffy texture. Stir just until the ingredients come together, then move on to kneading.
- Skipping the rest period tempts you to fry immediately, but those 10 minutes make a huge difference in how the dough puffs up in the oil. Patience here pays off significantly.
- Using oil that’s too cool results in greasy, heavy bread that absorbs oil instead of frying crisp. This happens more often than you’d think, so use that thermometer.
- Crowding the skillet lowers the oil temperature and prevents even cooking. Fry just 2 to 3 pieces at a time for best results.
- Flattening the dough too much before frying eliminates the airiness inside. A gentle stretch is all you need.
Serving Suggestions
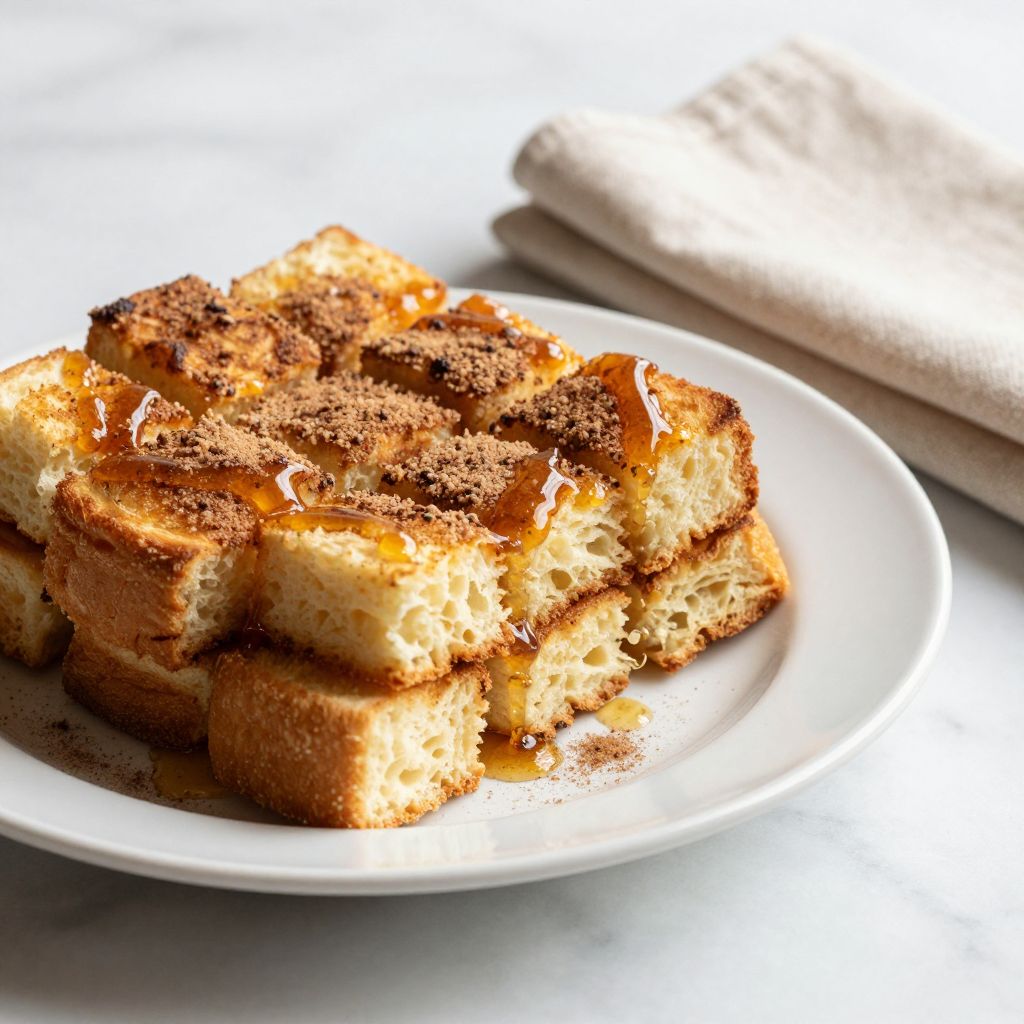
Squaw bread is endlessly flexible, working beautifully as a sweet snack or savory side. Here are some of our favorite ways to enjoy it right out of the skillet.
- Drizzle with honey and sprinkle cinnamon sugar for a sweet treat that rivals any donut
- Top with seasoned ground beef, lettuce, tomato, and cheese for an open-faced taco experience
- Serve alongside chili, stew, or hearty soups for dipping and soaking up every drop
- Brush with garlic butter and herbs for a savory bread basket option
- Dust with powdered sugar for a simple, elegant dessert or breakfast item
Variations to Try
- Herb Squaw Bread: Add 1 teaspoon dried oregano, basil, or Italian seasoning to the dry ingredients for a savory twist that pairs beautifully with soups and stews.
- Cheese and Garlic Version: Mix 1/2 cup shredded cheddar cheese and 1/2 teaspoon garlic powder into the dry ingredients, then brush fried bread with garlic butter right after frying.
- Whole Wheat Squaw Bread: Replace 1 cup of all-purpose flour with whole wheat flour for added nutrition and a slightly nutty flavor, though the texture will be a touch denser.
- Sweet Cornmeal Bread: Substitute 1/2 cup of flour with cornmeal for a slightly grainier texture and subtle corn flavor that works wonderfully with honey or cinnamon sugar.
- Stuffed Squaw Bread: Before frying, place a small amount of filling (like a piece of cheese or seasoned meat) inside each dough oval, seal the edges, and fry as usual for a surprise element.
Dietary Adaptations
- Gluten-Free: Use a quality 1:1 gluten-free all-purpose flour blend with xanthan gum already included; the texture will be slightly different but still delicious and satisfying.
- Dairy-Free: This recipe is naturally dairy-free if you use vegetable shortening instead of lard or butter, making it perfect for those with dairy sensitivities.
- Vegan: Already vegan as written since it uses plant-based shortening and no animal products, making this bread friendly for plant-based eaters.
- Low-Carb or Keto: Swap all-purpose flour for almond flour or a keto flour blend, though the texture and rise will be noticeably different from the traditional version.
Storage and Reheating
Refrigerator
Place cooled squaw bread in an airtight container or resealable bag and store for up to 3 days. The bread will firm up and lose some of its crispiness over time, but it’s still perfectly edible.
- Store in airtight container on the counter for up to 1 day for best texture
- Refrigerate in airtight container for up to 3 days
Freezer
Squaw bread freezes beautifully for up to 2 months when properly wrapped. Wrap each piece individually in plastic wrap, then place all pieces in a freezer bag to prevent freezer burn.
- Thaw at room temperature for about 30 minutes before serving
- Wrap pieces individually to make thawing easier for smaller portions
Reheating
Reheat refrigerated or frozen bread in a 350-degree oven for 5 to 10 minutes until warmed through. For an extra crispy exterior, you can also reheat briefly in a hot skillet with a tiny bit of oil.
- Oven method works best for maintaining crispy texture
- Avoid microwave, which makes the bread tough and chewy
Nutrition Information
| Nutrient | Amount |
|---|---|
| Calories | 185 |
| Total Fat | 8 g |
| Saturated Fat | 2 g |
| Carbohydrates | 25 g |
| Fiber | 1 g |
| Sugar | 1 g |
| Protein | 4 g |
| Sodium | 380 mg |
| Cholesterol | 0 mg |
These values are approximate and based on standard ingredient measurements. Actual nutrition will vary based on your specific brands and any substitutions you make.
Frequently Asked Questions
Can I make the dough ahead of time?
Yes, you can prepare the dough and refrigerate it for up to 8 hours. Just cover it tightly and bring it to room temperature for 15 minutes before shaping and frying.
What’s the difference between squaw bread and regular fry bread?
Squaw bread and fry bread are essentially the same thing with slight regional variations. Both use simple ingredients and frying as the cooking method, though some recipes vary slightly in ratios or seasonings.
Why is my bread sinking instead of puffing up?
Sinking usually means your oil temperature is too low or your dough has been overworked. Make sure your oil hits 375 degrees and handle the dough gently when shaping.
Can I use active dry yeast instead of baking powder?
Not recommended, as yeast requires more rise time and creates a different texture and flavor profile. Baking powder gives you that quick, pillowy result this recipe is known for.
Is this recipe authentically Native American?
This recipe reflects one traditional preparation style, though variations exist across different tribes and regions. It’s a beloved comfort food that’s evolved over time with many family recipes.
Final Thoughts
Squaw bread is one of those rare recipes that seems too simple to be this delicious. In just 30 minutes, you can create something warm, crispy, and comforting that brings people together around your table.
Give this recipe a try this week, and watch it become a household favorite. Whether you serve it sweet or savory, with family or friends, this bread delivers pure satisfaction every single time.
Explore More Bread Recipes
If you loved making squaw bread, you’ll enjoy exploring other traditional fried bread recipes from different cultures. Check out our collection of classic bread-making techniques and flavor combinations that bring warmth and joy to any meal.
Try our Navajo fry bread recipe for another delicious take on this style of cooking, or explore our fry bread recipe for additional variations and serving ideas you’ll love.

Squaw Bread
Ingredients
Equipment
Method
- Combine flour, sugar, baking powder, and salt in a large mixing bowl and whisk to distribute the baking powder evenly.
- Create a well in the center of the dry ingredients and add the shortening and warm water, stirring with a wooden spoon until a shaggy dough forms.
- Turn the dough out onto a floured work surface and knead for 2 to 3 minutes until smooth and slightly elastic.
- Place the dough back in the bowl and let it rest for 10 minutes at room temperature.
- Divide the dough into 12 equal pieces and gently stretch each into a 1/4-inch-thick oval or round shape.
- Pour oil into a skillet to a depth of 1 inch and heat to 375°F (190°C) using a deep-fry thermometer.
- Fry 2 to 3 pieces of dough at a time for 1 to 2 minutes per side, until golden brown and puffed.
- Remove the bread with a slotted spoon, drain on paper towels set over a wire rack, and serve warm.