
Picture this: a rich, creamy sauce bursting with *umami* goodness, drizzled over fresh veggies or grilled chicken. That’s the magic of **Authentic Thai Peanut Sauce**. It’s not just a dip; it’s a flavor-packed companion that elevates everything from salads to spring rolls. This recipe is quick, versatile, and utterly delicious, making it a must-have in your kitchen arsenal. Let’s get ready to whip up something that will have everyone asking for seconds!
Why You’ll Love This Recipe
This sauce is a delightful addition to countless dishes. Here are a few reasons why it stands out:
- Rich, creamy texture that coats food perfectly.
- Versatile enough for salads, grilled meats, or stir-fries.
- Quick to make with just a few simple ingredients.
- Perfect balance of sweet, salty, and nutty flavors.
- Great for meal prep and storage.
My Experience Making This Recipe
I remember the first time I tasted **Authentic Thai Peanut Sauce** at a local Thai restaurant. The complex flavors danced on my palate, and I knew I had to recreate it at home. After a few trials, I found the perfect balance that brought back those delightful memories.
The aroma of peanuts, garlic, and a hint of lime fills the kitchen as you whip this up. It was a hit at my last gathering, and no one could resist going back for more—it just has that irresistible quality!
Recipe Overview
- Recipe Name: Authentic Thai Peanut Sauce
- Servings: 4
- Prep Time: 10 minutes
- Cook Time: 0 minutes
- Total Time: 10 minutes
- Course: Sauce/Dip
- Cuisine: Thai
- Calories per Serving: 100
Equipment You Will Need
- Measuring cups and spoons
- Mixing bowl
- Whisk or fork
- Storage container
Ingredients for Authentic Thai Peanut Sauce
- 1/2 cup creamy peanut butter
- 1/4 cup soy sauce
- 2 tablespoons honey or maple syrup
- 1 tablespoon rice vinegar
- 1 tablespoon lime juice
- 1 clove garlic, minced
- 1 teaspoon sesame oil
- 1 tablespoon water (or more for desired consistency)
- 1/2 teaspoon red pepper flakes (optional)
Ingredient Notes and Substitutions
- Peanut butter: Adds creaminess and flavor; almond or cashew butter works too.
- Soy sauce: Provides saltiness; tamari is a gluten-free alternative.
- Honey: Sweetens the sauce; agave syrup is a great vegan substitute.
- Rice vinegar: Gives a tangy kick; apple cider vinegar can replace it.
- Garlic: Enhances flavor; garlic powder can be used in a pinch.
How to Make Authentic Thai Peanut Sauce
Step 1: Gather Ingredients
Start by gathering all your ingredients. This makes the process smoother and more enjoyable.
Step 2: Mix Peanut Butter and Soy Sauce
In a mixing bowl, combine the **peanut butter** and **soy sauce**. This combination creates the rich base of your sauce.
Step 3: Add Sweetness
Mix in the **honey** (or maple syrup) to balance the saltiness. This adds that delightful sweetness that makes the sauce irresistible.
Step 4: Stir in Liquids
Add the **rice vinegar** and **lime juice** next. These ingredients add brightness and acidity, cutting through the richness of the peanut butter.
Step 5: Incorporate Garlic and Sesame Oil
Add the minced **garlic** and **sesame oil**. This step introduces aromatic elements that enhance the overall flavor.
Step 6: Adjust Consistency
Pour in the **water** and whisk until smooth. Adjust the amount of water to get your desired sauce thickness.
Step 7: Add Spice (Optional)
If you like a kick, sprinkle in the **red pepper flakes**. This will add a nice heat that complements the creamy texture.
Step 8: Taste and Store
Give your sauce a taste and adjust any flavors as needed. Transfer it to a storage container, and it’s ready to use!
Pro Tip: For an even richer flavor, let the sauce sit for at least 30 minutes before serving.
Tips for the Best Authentic Thai Peanut Sauce
- Use high-quality peanut butter for the best flavor.
- Fresh lime juice brightens the sauce; avoid bottled if possible.
- Adjust sweetness to your preference; taste as you go.
- For a nut-free version, try sunflower seed butter.
- Store in the fridge for up to a week for maximum freshness.
Common Mistakes to Avoid
- Using chunky peanut butter can lead to a grainy texture.
- Not adjusting the water may result in a sauce that’s too thick.
- Skipping the lime juice can make the sauce overly rich.
- Forgetting to taste can lead to an unbalanced flavor.
Serving Suggestions
This sauce pairs beautifully with many dishes. Here are some great serving ideas:
- Drizzle over grilled chicken or shrimp.
- Serve as a dip with fresh veggies.
- Mix into a cold noodle salad for added flavor.
- Use as a dressing for a Thai-inspired salad.
Variations to Try
- For a spicy version, add sriracha or chili paste.
- Incorporate coconut milk for a creamier sauce.
- Add finely chopped cilantro for a fresh twist.
- Mix in some ginger for a zingy flavor boost.
Dietary Adaptations
- Gluten-free: Use tamari instead of soy sauce.
- Dairy-free: This recipe is naturally dairy-free.
- Vegan: Substitute honey with maple syrup.
- Low-carb/Keto: Use sugar-free sweetener options.
Storage and Reheating
Refrigerator
Store your sauce in an airtight container in the fridge. It will stay good for about a week.
- Keep it sealed to maintain freshness.
- Give it a good stir before using it again.
Freezer
You can freeze this sauce for longer storage. Just make sure to use a freezer-safe container.
- It can last up to three months in the freezer.
- Thaw overnight in the fridge before using.
Reheating
Reheat gently in a saucepan over low heat. Add a splash of water if it’s too thick.
- Microwave in short bursts if preferred.
- Stir well to ensure even heating.
Nutrition Information
| Nutrient | Amount |
|---|---|
| Calories | 100 |
| Total Fat | 8g |
| Saturated Fat | 1g |
| Carbohydrates | 7g |
| Fiber | 1g |
| Sugar | 3g |
| Protein | 4g |
| Sodium | 400mg |
| Cholesterol | 0mg |
This nutritional information is an estimate and can vary based on ingredient brands and amounts.
Frequently Asked Questions
Can I use crunchy peanut butter instead of creamy?
While you can use crunchy peanut butter, it will change the texture of the sauce, making it grainy.
Can I make this sauce ahead of time?
Absolutely! It stores well in the fridge for up to a week, making it perfect for meal prep.
How should I store the leftovers?
Store leftovers in an airtight container in the refrigerator for up to a week.
What can I do if the sauce is too thick?
If the sauce is too thick, simply whisk in a little more water until you reach your desired consistency.
Can I substitute the soy sauce?
Yes, tamari works as a gluten-free option, and coconut aminos can be used for a lower sodium alternative.
Final Thoughts
Making your own **Authentic Thai Peanut Sauce** is easier than you might think. With just a few ingredients and a quick mix, you can transform your meals into something special.
I hope you enjoy making this sauce as much as I do. Don’t forget to explore other delicious recipes like Thai Cucumber Salad or try a sweet treat with Peanut Butter Fudge.
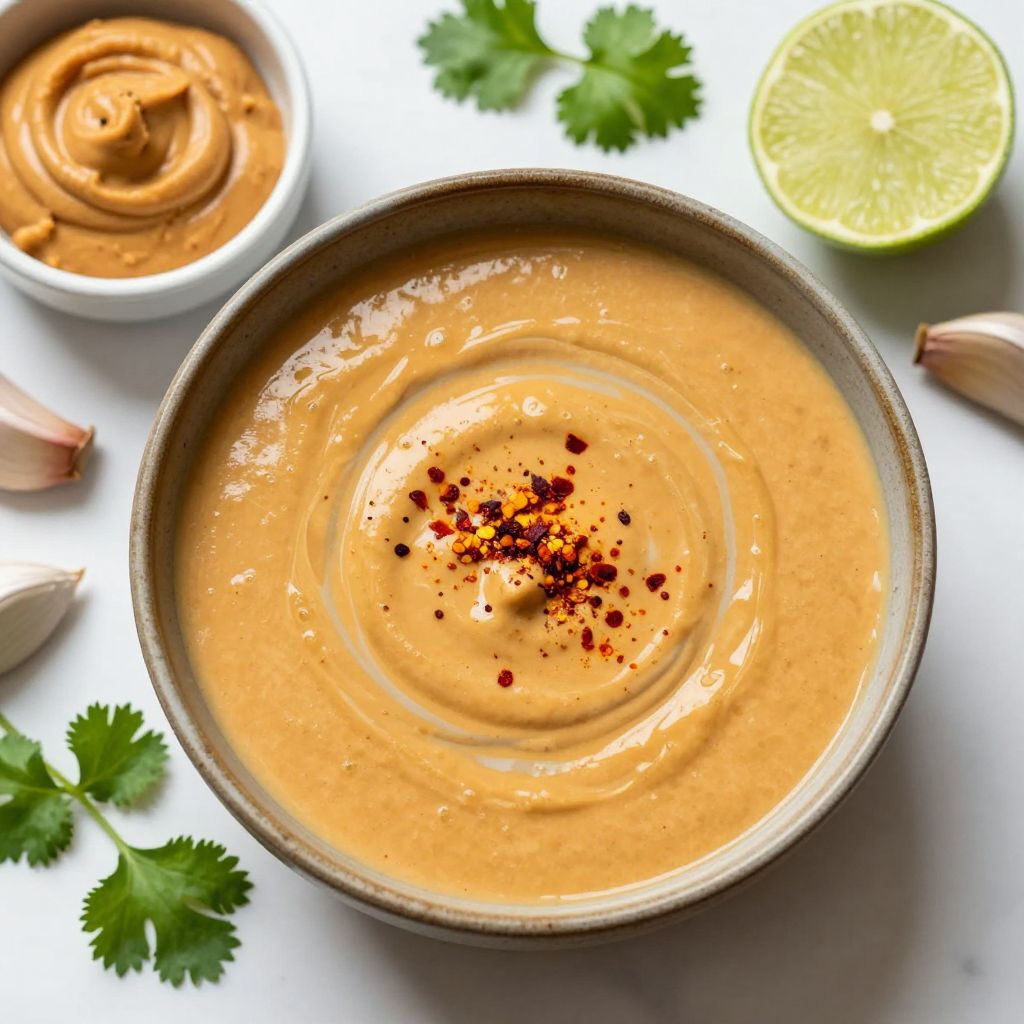
Authentic Thai Peanut Sauce
Ingredients
Equipment
Method
- Gather all your ingredients to make the process smoother.
- In a mixing bowl, combine the peanut butter and soy sauce.
- Mix in the honey (or maple syrup) to balance the saltiness.
- Add the rice vinegar and lime juice.
- Incorporate the minced garlic and sesame oil.
- Whisk in the water until smooth, adjusting for desired thickness.
- If desired, sprinkle in the red pepper flakes.
- Taste and adjust any flavors as needed before transferring to a storage container.