Eel sauce recipe delivers that glossy, sweet, and savory magic you crave from your favorite sushi restaurant. This Japanese condiment transforms ordinary dishes into something extraordinary with just four simple ingredients.
Whether you drizzle it over grilled eel, brush it on salmon rolls, or use it as a dipping sauce, homemade eel sauce beats the bottled stuff every time. Let me show you how to make this umami bomb in under 20 minutes.
Why You’ll Love This Recipe
Making eel sauce at home is ridiculously easy, and the results are restaurant quality. Here is why this recipe deserves a permanent spot in your kitchen rotation.
- Only four pantry staples required, and you probably have them already
- Ready in 15 minutes with zero fancy equipment
- Tastes fresher and more vibrant than store bought versions
- Customizable sweetness and thickness to match your preferences
- Stores beautifully for weeks, so you can make a big batch
My Experience Making This Recipe
I first made eel sauce after spending way too much money on those tiny bottles at the Asian grocery store. The homemade version blew my mind with how simple and delicious it turned out.
The aroma while it simmers is absolutely intoxicating. Sweet mirin mingles with savory soy sauce, and your kitchen smells like a high end sushi bar.
My family now requests it on everything from rice bowls to grilled chicken. One friend even asked if I could bottle it and sell it to her, which I took as the ultimate compliment.
Recipe Overview
- Recipe Name: Homemade Eel Sauce
- Servings: 8 servings (about 1 cup)
- Prep Time: 2 minutes
- Cook Time: 15 minutes
- Total Time: 17 minutes
- Course: Condiment, Sauce
- Cuisine: Japanese
- Calories per Serving: 65 calories
Equipment You Will Need
- Small saucepan (1 to 2 quart capacity)
- Whisk or wooden spoon
- Measuring cups and spoons
- Glass jar or airtight container for storage
- Silicone spatula for scraping every last drop
Ingredients for Eel Sauce
- Soy sauce (1/2 cup) provides the savory, salty backbone
- Mirin (1/2 cup) adds sweetness and authentic Japanese flavor
- Sake (1/4 cup) contributes depth and complexity
- Granulated sugar (1/4 cup) creates that signature glossy finish
Ingredient Notes and Substitutions
- Soy sauce forms the umami foundation of this sauce. Use tamari for a gluten free version, though the flavor will be slightly deeper.
- Mirin is a sweet Japanese rice wine that creates authentic flavor. Substitute with 1/2 cup dry sherry plus 2 tablespoons sugar if unavailable.
- Sake adds nuanced flavor and helps balance sweetness. Dry white wine or additional mirin works as a substitute.
- Sugar provides sweetness and helps achieve that glossy, syrupy consistency. Honey or brown sugar creates a slightly different but still delicious result.
How to Make Eel Sauce
Step 1: Gather and Measure Your Ingredients
Measure out all four ingredients before you start cooking. Having everything ready prevents scrambling while the sauce cooks, which happens faster than you might expect.
Step 2: Combine Liquids in the Saucepan
Pour the soy sauce, mirin, and sake into your small saucepan. The liquids should cover the bottom of the pan with about half an inch of depth.
Step 3: Add the Sugar
Add the granulated sugar to the liquid mixture. The sugar will sink to the bottom initially, which is perfectly normal.
Step 4: Stir Over Medium Heat
Place the saucepan over medium heat and stir continuously until the sugar dissolves completely. This takes about 2 to 3 minutes, and you will notice the mixture become uniform in color.
Step 5: Bring to a Gentle Boil
Allow the mixture to come to a gentle boil while stirring occasionally. Bubbles will form around the edges first before the entire surface becomes active.
Step 6: Reduce Heat and Simmer
Lower the heat to medium low and let the sauce simmer. Stirring every minute or two prevents scorching on the bottom of the pan.
Step 7: Watch for Thickening
Continue simmering for 10 to 12 minutes until the sauce reduces by about one third. The sauce should coat the back of a spoon and drip slowly when you lift it.
Step 8: Test the Consistency
Remove the pan from heat and let the sauce cool for 1 minute before testing. Remember that eel sauce thickens significantly as it cools, so pull it off the heat while it still seems slightly thin.
Step 9: Cool and Transfer
Allow the sauce to cool for 10 minutes in the pan. Transfer to a clean glass jar or container for storage once it reaches room temperature.
Pro Tip: The sauce will appear too thin when hot but thickens to perfect consistency as it cools. If you reduce it too much, simply whisk in a tablespoon of water to thin it out.
Tips for the Best Eel Sauce
- Use authentic mirin from the Asian aisle, not mirin style seasoning, which contains corn syrup and lacks depth
- Keep the heat at medium low during simmering to prevent the sugars from burning
- Stir frequently, especially toward the end when the sauce becomes thicker
- Remove from heat slightly before reaching desired thickness since cooling adds more body
- Use a light colored saucepan if possible so you can monitor browning on the bottom
- Make a double batch because you will use it on everything once you taste it
Common Mistakes to Avoid
- Reducing too much turns the sauce into hard candy when cooled, which is not the vibe you want
- Using high heat causes scorching and creates bitter, burnt flavors that ruin the batch
- Skipping the sake results in a one dimensional sauce that tastes flat compared to the real thing
- Not stirring enough leads to crystallized sugar on the bottom of your pan
- Testing consistency while hot tricks you into over reducing because the sauce thickens dramatically when cool
Serving Suggestions
Eel sauce shines as both a finishing drizzle and a cooking glaze. Its versatility might surprise you once you start experimenting.
- Drizzle over sushi rolls, especially salmon, shrimp tempura, or dragon rolls
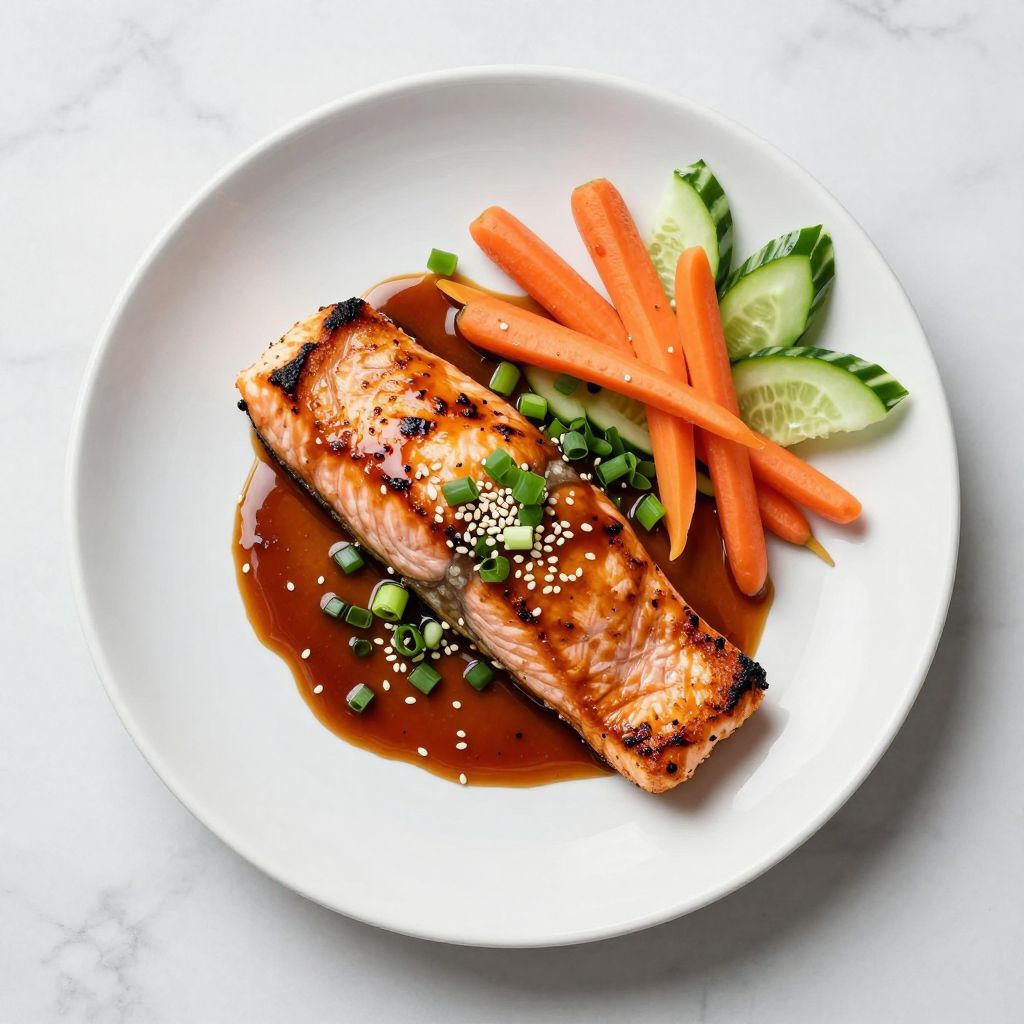
- Brush on grilled salmon, chicken, or pork during the last few minutes of cooking
- Use as a dipping sauce for dumplings, spring rolls, or tempura vegetables
- Toss with stir fried vegetables and rice for an instant flavor upgrade
- Mix into poke bowls or rice bowls as a finishing sauce
Variations to Try
- Spicy eel sauce adds 1 teaspoon of sriracha or chili garlic sauce for a kick that pairs beautifully with tuna rolls
- Ginger eel sauce includes 1 tablespoon of freshly grated ginger, simmered with the sauce and strained before serving
- Garlic eel sauce features 2 minced garlic cloves added during simmering for an aromatic twist
- Citrus eel sauce incorporates 1 tablespoon of fresh orange or yuzu juice stirred in after cooking
- Sesame eel sauce finishes with 1 teaspoon of toasted sesame oil for nutty undertones
Dietary Adaptations
- Gluten free: Replace soy sauce with tamari or coconut aminos, though expect a slightly different flavor profile
- Dairy free: This recipe contains no dairy, so it works for dairy free diets as written
- Vegan: All ingredients are plant based, making this naturally vegan friendly
- Low carb: Substitute sugar with a monk fruit or erythritol blend, reducing by half and adjusting to taste
Storage and Reheating
Refrigerator
Eel sauce keeps exceptionally well when properly stored in the fridge.
- Transfer to an airtight glass jar or squeeze bottle
- Store for up to 3 weeks
- The sauce will thicken when cold but loosens at room temperature
Freezer
Freezing extends the shelf life significantly for batch cooking enthusiasts.
- Freeze in ice cube trays for portion control
- Transfer frozen cubes to freezer bags
- Keeps for up to 3 months
Reheating
Bringing refrigerated sauce back to drizzling consistency takes just seconds.
- Microwave in 10 second intervals, stirring between each
- Warm gently in a saucepan over low heat
- Let sit at room temperature for 20 minutes if you prefer not to heat it
Nutrition Information
| Nutrient | Amount |
|---|---|
| Calories | 65 |
| Total Fat | 0g |
| Saturated Fat | 0g |
| Carbohydrates | 12g |
| Fiber | 0g |
| Sugar | 10g |
| Protein | 1g |
| Sodium | 520mg |
| Cholesterol | 0mg |
Nutritional values are estimates based on standard ingredients and may vary depending on specific brands used.
Frequently Asked Questions
Can I use rice vinegar instead of sake?
Rice vinegar adds acidity rather than the mellow depth that sake provides. Stick with sake, dry sherry, or additional mirin for best results.
Why does my eel sauce taste too salty?
Using regular soy sauce instead of a quality Japanese brand can make the sauce overly salty. Try using low sodium soy sauce or reducing the amount by 2 tablespoons.
Can I make eel sauce ahead of time?
Absolutely, and it actually improves after a day or two in the refrigerator. The flavors meld and deepen, making it even more delicious.
Why did my sauce turn into hard candy?
Over reduction causes the sugars to caramelize too much and harden when cooled. Add a few tablespoons of water and gently reheat while stirring to revive it.
Is eel sauce actually made from eel?
No, traditional eel sauce contains no eel whatsoever. The name comes from its classic use as a glaze for grilled eel dishes in Japanese cuisine.
Final Thoughts
Homemade eel sauce proves that some of the best condiments require minimal effort and maximum reward. You will never go back to store bought once you taste how fresh and vibrant this version tastes.
Give this recipe a try this week and prepare to put it on absolutely everything. Your sushi nights, rice bowls, and grilled proteins will thank you for the upgrade.
Homemade Eel Sauce
Ingredients
Method
- Measure all ingredients and set a small (1- to 2-quart) saucepan over the stove.
- Pour the soy sauce, mirin, and sake into the saucepan; the liquids should cover the bottom by about 1/2 inch.
- Add the granulated sugar to the pan and give the mixture a quick stir so the sugar is moistened.
- Place the pan over medium heat and whisk continuously for 2–3 minutes until the sugar is fully dissolved and the mixture is uniform in color.
- Increase heat slightly to bring the sauce to a gentle boil; small bubbles should cover the surface after about 1 minute.
- Reduce heat to medium-low and simmer the sauce for 10–12 minutes, stirring every minute to prevent scorching.
- Check thickness: the sauce should coat the back of a spoon and drip slowly. Remember it will thicken more as it cools.
- Remove the pan from heat and let the sauce stand for 1 minute, then stir once more to release steam.
- Cool for 10 minutes, transfer to a clean glass jar or airtight container, and let it reach room temperature before sealing and refrigerating.