
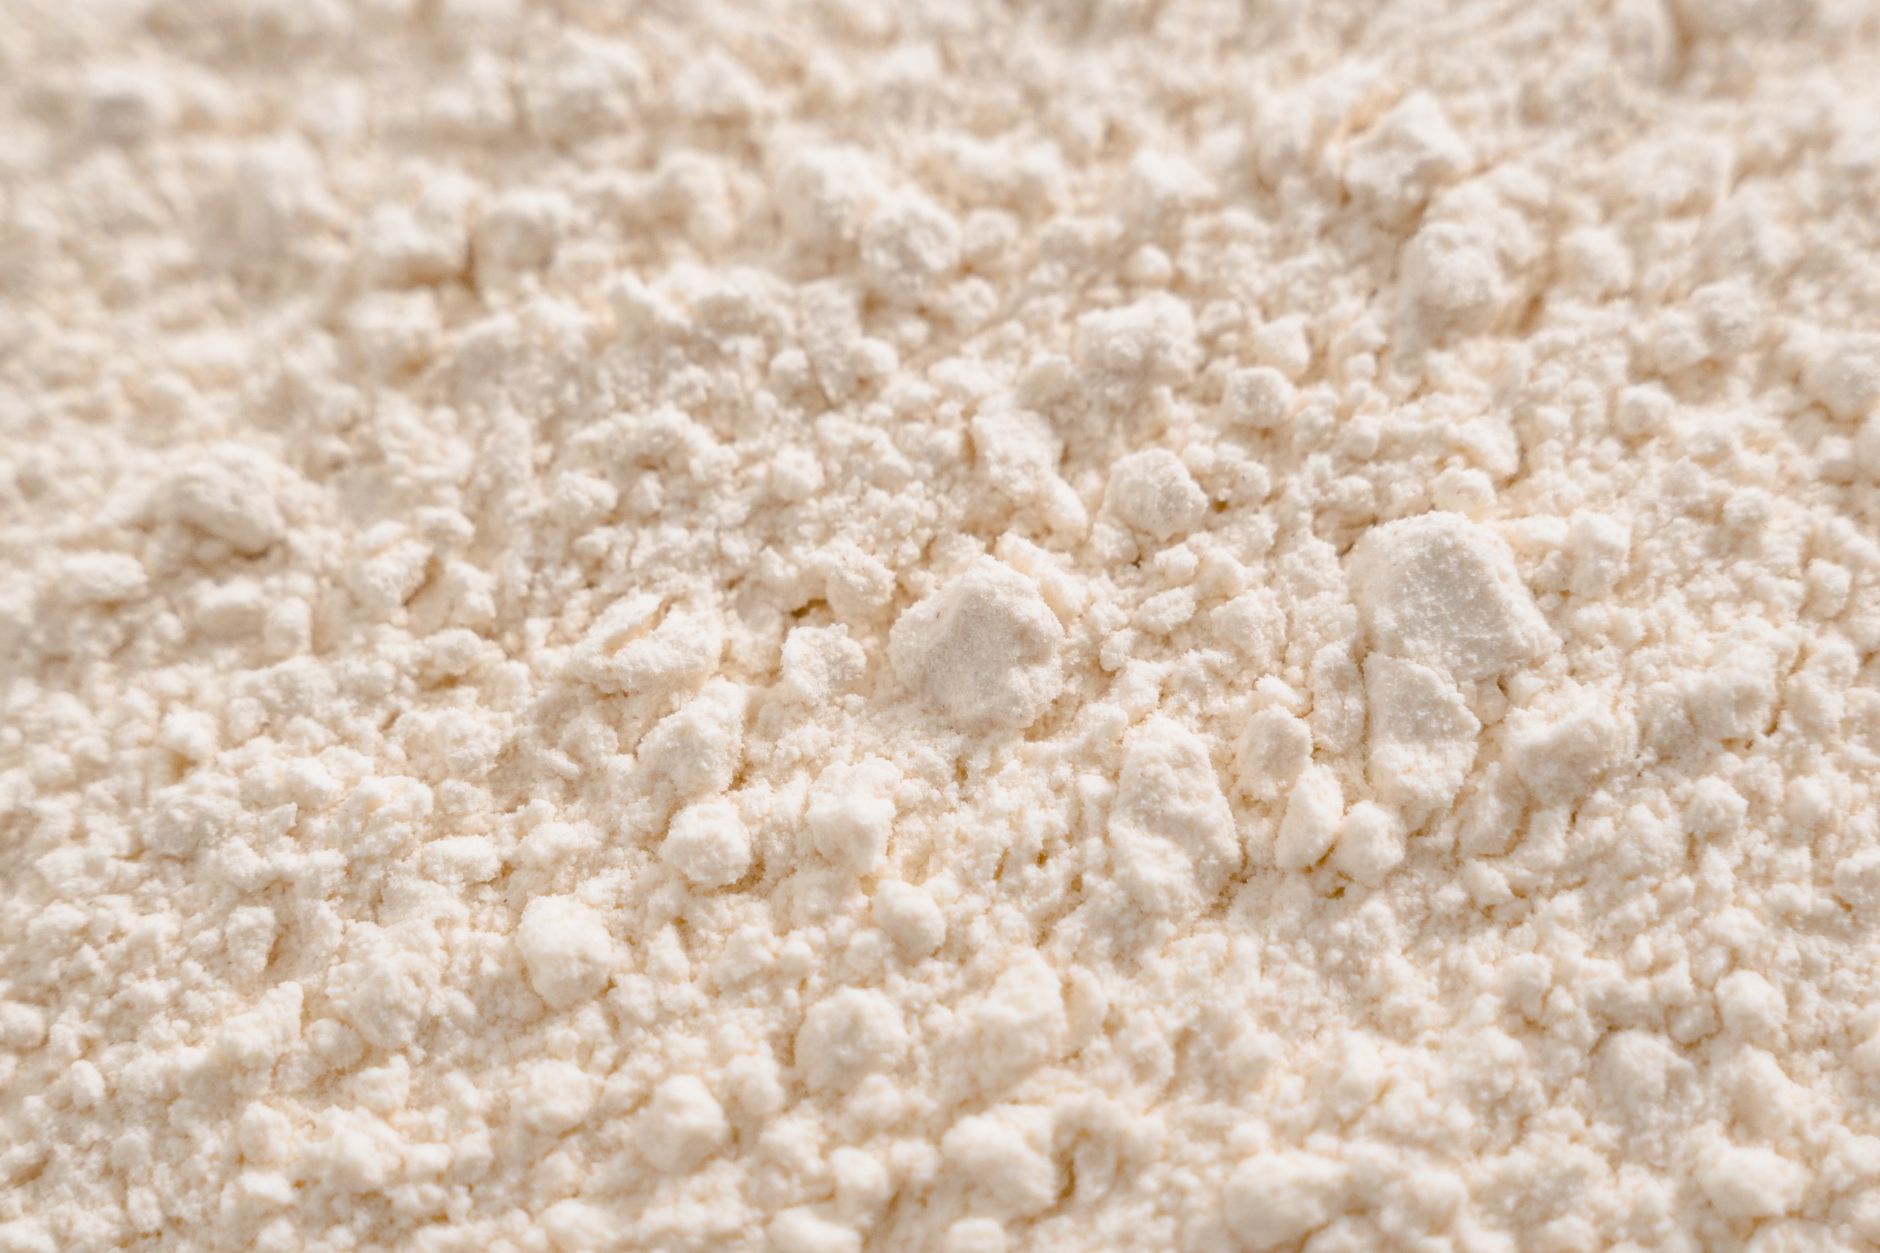
Yeast is a vital ingredient that plays a crucial role in baking and fermentation, but many may wonder, what does yeast actually look like? Understanding the appearance, texture, and type of yeast can significantly enhance your baking and cooking prowess. This guide will explore yeast’s physical characteristics, its various types, practical uses in the kitchen, and tips for working with yeast.
Unlike many other baking ingredients, yeast is a living organism—specifically, a single-celled fungi. The form in which you find yeast can vary widely, from dry granules to active, bubbling substances. With this understanding, you can select and use yeast confidently in your culinary adventures.
What Does Yeast Look Like?
Yeast can appear in multiple forms, with the most common being dry yeast, active yeast, and fresh or cake yeast. Each type has distinct characteristics that affect its usage in baking.
1. Dry Yeast
Dry yeast is perhaps the most recognized form of yeast found in supermarkets. Here’s what you need to know about its appearance:
- Color: It is typically a light tan or beige color.
- Texture: Dry yeast has a coarse, grainy texture, similar to finely ground coffee or sand.
- Shape: The granules can be round or oval, often appearing like tiny beads.
- Packaging: Commonly sold in packets or jars, it often comes labeled as ‘active dry yeast’ or ‘instant yeast.’
2. Active Yeast
While similar to dry yeast, active yeast requires a bit more attention:
- Color: Similar to dry yeast, active yeast also typically has a light tan hue.
- Texture: When rehydrated, it becomes gelatinous and soft but retains some of its original granularity.
- Appearance Post-Activation: Once mixed with warm water or milk and sugar, active yeast will bubble and froth. This is a telltale sign of its liveliness and readiness to use in baking.
3. Fresh Yeast
Fresh yeast, also known as cake yeast, has its own unique characteristics:
- Color: It is usually a light beige to off-white color.
- Texture: Fresh yeast has a soft and crumbly texture that resembles a moist cake.
- Appearance: It often comes in small blocks or cakes wrapped in foil or paper.
- Smell: Fresh yeast has a distinct musty, slightly sweet aroma that can enhance your baking experience.
Types of Yeast and Their Uses in the Kitchen
Yeast is not just a singular ingredient; it exists in various forms, each serving distinct purposes in the kitchen. Understanding these can help you choose the right type for your recipes.
Common Types of Yeast
- Active Dry Yeast: Ideal for bread-making and can be stored easily, making it a popular choice for home bakers.
- Instant Yeast: Similar to active dry but needs no activation. It can be mixed directly into dry ingredients, making it convenient for speedier baking.
- Fresh Yeast: Often preferred by professional bakers for its potent leavening power, it can be tricky to find but is excellent for yeast breads.
- Rapid Rise Yeast: This fast-acting yeast can rise quickly, perfect for those short on time.
Practical Uses of Yeast in Baking and Cooking
Yeast is crucial for various culinary tasks, particularly in baked goods.
- Breads: Yeast fermentation is essential for creating airy and light textures in bread.
- Pizza Dough: The yeast gives pizza dough its chewy and flavorful crust.
- Pastries: Croissants and brioche rely on yeast for their flaky texture.
- Fermentation: Yeast is also key in brewing beer and fermenting wine and other beverages.
How to Work with Yeast in Your Kitchen
Learning to work with yeast can seem intimidating at first. However, understanding how to activate and incorporate it into your recipes are fundamental skills that can elevate your culinary creations.
Activating Dry Yeast
- Combine: Mix the dry yeast with warm water (about 110°F or 43°C) and a pinch of sugar.
- Wait: Let the mixture stand for about 5 to 10 minutes. You should see bubbles or foaming forming on the surface—this indicates the yeast is viable.
- Use: Once activated, you can proceed to mix it into your dough. The yeast will help leaven the bread, making it rise.
Incorporating Yeast into Recipes
When you’re ready to mix yeast into your recipes, consider the following tips:
- Temperature: Be cautious of temperature. Too hot can kill the yeast, and too cold won’t activate it effectively.
- Flour Types: Different flours can absorb water differently, impacting the yeast’s activity. Adjust water as necessary.
- Humidity: Environmental factors like humidity can affect dough consistency. Don’t hesitate to adjust flour and liquid quantities as needed.
Common Mistakes When Working with Yeast
Understanding and avoiding common pitfalls can make a substantial difference in your baking successes.
- Not Activating Yeast: Skipping activation may lead to ineffective leavening, resulting in dense bread.
- Wrong Water Temperature: Using water that’s too hot will kill the yeast; if it’s too cold, the yeast won’t activate.
- Inaccurate Measurements: Baking is a precise science, especially regarding yeast. Be accurate to ensure success.
- Ignoring Dough Rising Times: Ensure you allow sufficient time for the dough to rise. Rushing can lead to disappointing results.
How to Store Yeast for Maximum Freshness
Proper storage of yeast is essential for maintaining its effectiveness and longevity.
- Dry Yeast: Keep unopened packets in a cool, dry place. After opening, store it in an airtight container in the refrigerator for up to six months.
- Fresh Yeast: Store in the refrigerator, tightly wrapped, and use it within a couple of weeks for optimal freshness.
- Freezing Yeast: You can freeze active dry yeast to extend its life. Just ensure it’s sealed tightly to prevent moisture from harming it.
Making Bread with Yeast: A Simple Recipe
To illustrate how yeast works in baking, we’ll detail a simple bread recipe that utilizes active dry yeast as a key ingredient.
Ingredients
- 3 1/4 cups all-purpose flour
- 1 packet (2 1/4 teaspoons) active dry yeast
- 1 teaspoon sugar
- 1 teaspoon salt
- 1 1/4 cups warm water (110°F)
Equipment Needed
- Large mixing bowl
- Measuring cups and spoons
- Mixing spoon
- Clean kitchen towel
- Loaf pan
- Oven
Step-by-Step Method
- Activate Yeast: In a small bowl, mix warm water, sugar, and yeast. Let it stand for about 10 minutes until foamy.
- Mix Dry Ingredients: In a large mixing bowl, combine flour and salt.
- Combine Mixtures: Add the activated yeast mixture to the dry ingredients and stir until a rough dough forms.
- Knead Dough: Transfer the dough to a lightly floured surface and knead for about 8 to 10 minutes until smooth.
- First Rise: Place the dough in a lightly greased bowl. Cover with a clean kitchen towel and let it rise in a warm area until doubled in size, about 1 to 1.5 hours.
- Shape and Second Rise: Punch down the dough, shape it into a loaf, and place it in a greased loaf pan. Cover again and allow to rise for about 30 to 45 minutes.
- Bake: Preheat the oven to 375°F (190°C). Bake the bread for about 30 to 35 minutes until golden brown and the loaf sounds hollow when tapped.
- Cool and Serve: Let the loaf cool in the pan for a few minutes before transferring it to a wire rack to cool completely.
Summary and Next Steps
Understanding what yeast looks like and how to work with it can significantly enhance your baking skills. Remember to choose the right type of yeast, activate it properly, and watch your dough rise for the best results. With practice, baking bread and other yeast-leavened delights can become second nature.
Consider exploring related recipes, cooking tips, or food guides to further improve your kitchen knowledge and skills. You can start with the King Arthur Sourdough Recipe or dive into a Sourdough Baguette Recipe to master the art of sourdough baking.