
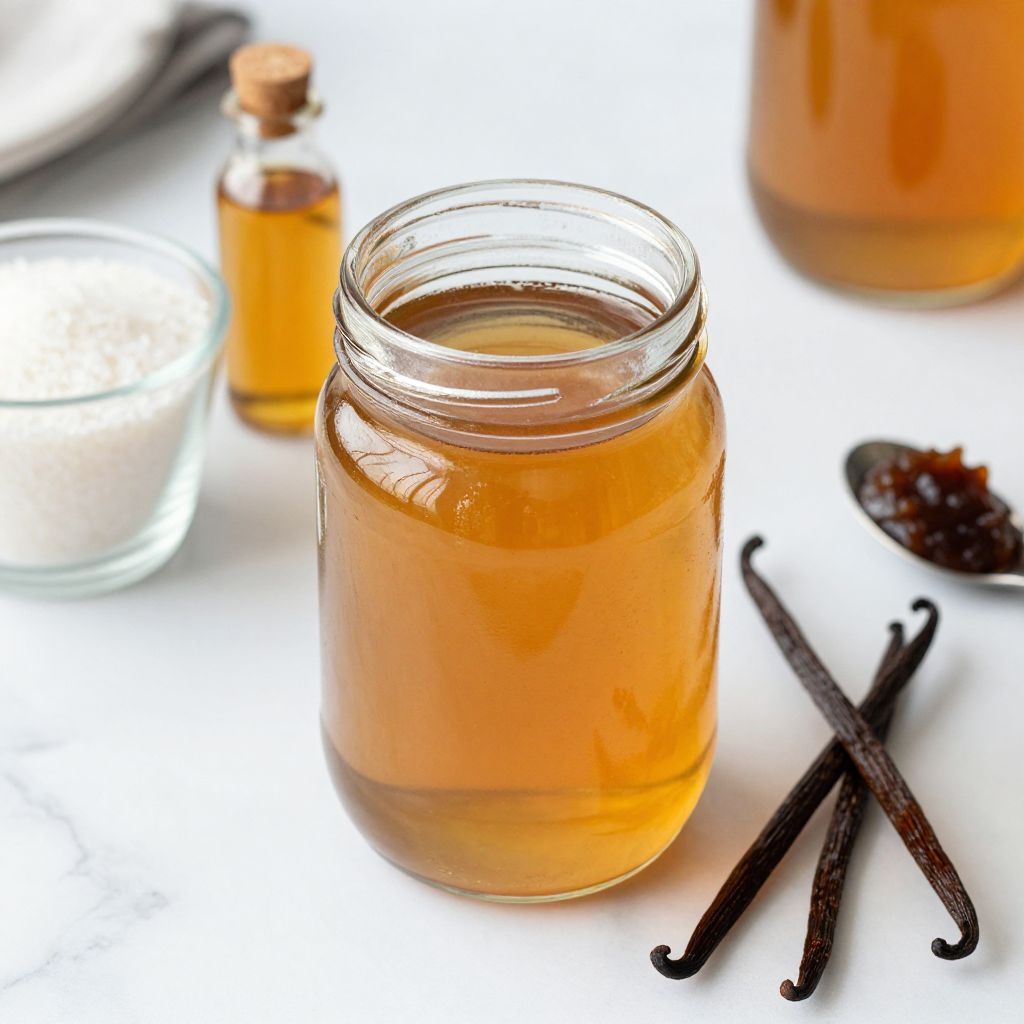
There’s nothing quite like the cozy aroma of vanilla wafting through your kitchen, is there? This Sugar Free Vanilla Syrup recipe is a delightful way to sweeten your favorite drinks without the guilt, making it perfect for those watching their sugar intake.
Rich in flavor yet light on calories, this syrup is incredibly versatile and can be used in everything from coffee to pancakes. Let’s jump right into the ingredients you’ll need to whip up this delicious syrup!
Why You’ll Love This Recipe
This syrup is a must-try for anyone wanting to add flavor without added sugar.
- Easy to make with just a few ingredients.
- Perfect for sweetening beverages and desserts.
- Customizable to suit your taste preferences.
- Low-calorie option without sacrificing flavor.
- Great for meal prep to keep your mornings easy.
My Experience Making This Recipe
When I first tried making this syrup, I was pleasantly surprised by how simple it was. Just a few minutes of simmering transformed basic ingredients into a sweet, rich syrup that I couldn’t stop using.
Everyone in my household loved it, and I found myself adding it to my morning coffee and even drizzling it over yogurt. It quickly became a staple in our kitchen!
Recipe Overview
- Recipe Name: Sugar Free Vanilla Syrup
- Servings: 16
- Prep Time: 5 minutes
- Cook Time: 10 minutes
- Total Time: 15 minutes
- Course: Condiment
- Cuisine: American
- Calories per Serving: 5
Equipment You Will Need
- Small saucepan
- Whisk
- Measuring cups
- Measuring spoons
- Glass jar or bottle for storage
Ingredients for Sugar Free Vanilla Syrup
- 1 cup water
- 1 cup erythritol (or other sugar substitute)
- 2 tablespoons vanilla extract
- 1 teaspoon pure vanilla bean paste (optional for extra flavor)
Ingredient Notes and Substitutions
- Water: Used as the base for the syrup. You can substitute with flavored water for an extra twist.
- Erythritol: A natural sugar substitute with no calories. You can also try stevia or monk fruit sweetener.
- Vanilla extract: Provides the classic vanilla flavor. A homemade version can be used if available.
- Vanilla bean paste: Adds texture and a richer flavor. You can skip it if you prefer a simpler syrup.
How to Make Sugar Free Vanilla Syrup
Step 1: Combine Water and Erythritol
In a small saucepan, combine the water and erythritol. This forms the base of your syrup and ensures a smooth consistency.
Step 2: Heat the Mixture
Place the saucepan over medium heat and stir until the erythritol dissolves completely. This usually takes about 5 minutes and helps to create a syrup-like texture.
Step 3: Bring to a Simmer
Once dissolved, bring the mixture to a gentle simmer. This will activate the sweetening agent and enhance the overall flavor.
Step 4: Add Vanilla Extract
Stir in the vanilla extract and vanilla bean paste, if using. This step adds that signature vanilla flavor that makes this syrup special.
Step 5: Simmer Further
Continue to simmer the mixture for an additional 3-5 minutes. This allows the flavors to meld together perfectly.
Step 6: Remove from Heat
After simmering, remove the saucepan from heat and let the syrup cool slightly. Cooling helps thicken the syrup even more.
Step 7: Transfer to a Jar
Pour the syrup into a glass jar or bottle for storage. Make sure to use a funnel if necessary to avoid spills.
Step 8: Store and Enjoy
Allow the syrup to cool completely at room temperature before sealing. Store it in the refrigerator for up to two weeks.
Pro Tip: For a richer flavor, use high-quality vanilla extract or even scrape fresh vanilla beans directly into the syrup.
Tips for the Best Sugar Free Vanilla Syrup
- Adjust sweetness by adding more or less erythritol based on your taste.
- Experiment with different flavored extracts like almond or hazelnut for a unique twist.
- Make a larger batch and store it in multiple jars for easy access.
- Use a whisk to ensure the erythritol is fully dissolved, avoiding graininess.
- Allow the syrup to cool completely before sealing to prevent condensation inside the jar.
Common Mistakes to Avoid
- Not stirring enough — this can lead to undissolved erythritol at the bottom.
- Overheating the mixture — boiling can affect the syrup’s flavor and texture.
- Using low-quality extracts — this can lead to a bland syrup that lacks depth.
- Skipping the cooling step — sealing hot syrup can cause condensation and dilute the flavor.
Serving Suggestions
This syrup elevates more than just drinks; it’s a versatile companion for many dishes.
- Pour it over pancakes or waffles for a sweet breakfast treat.
- Mix into coffee or tea for a delightful caffeine boost.
- Drizzle over yogurt or oatmeal for added sweetness.
- Add to smoothies for a hint of vanilla flavor.
Variations to Try
- For a caramel flavor, add a few drops of caramel extract.
- Try infusing with spices like cinnamon or nutmeg for a seasonal twist.
- Mix in a hint of cocoa powder for a chocolate-vanilla blend.
- Add a splash of almond extract for a nutty flavor profile.
Dietary Adaptations
- Gluten-free: This recipe is naturally gluten-free, suitable for all diets.
- Dairy-free: The syrup contains no dairy, making it a great choice for lactose intolerant individuals.
- Vegan/Vegetarian: All ingredients are plant-based, fitting for vegans.
- Low-carb/Keto: This syrup is low in carbs, perfect for keto diets.
Storage and Reheating
Refrigerator
Store the syrup in an airtight container in the refrigerator.
- Lasts for up to two weeks.
- Check for any signs of separation or cloudiness before use.
Freezer
To extend its life, you can freeze the syrup.
- Use ice cube trays for easy portioning.
- Thaw in the refrigerator before use.
Reheating
Gently reheat the syrup if it thickens in the fridge.
- Use a microwave or stovetop on low heat.
- Stir well to ensure even heating.
Nutrition Information
| Nutrient | Amount |
|---|---|
| Calories | 5 |
| Total Fat | 0g |
| Saturated Fat | 0g |
| Carbohydrates | 2g |
| Fiber | 0g |
| Sugar | 0g |
| Protein | 0g |
| Sodium | 0mg |
| Cholesterol | 0mg |
The nutritional values may vary depending on the specific ingredients used.
Frequently Asked Questions
Can I make this syrup ahead of time?
Absolutely! This syrup stores well, making it perfect for meal prep.
What can I substitute for erythritol?
Stevia or monk fruit sweetener are great alternatives, but adjust the amount as needed.
How should I store the syrup?
Keep it in an airtight container in the refrigerator for up to two weeks.
Will it thicken as it cools?
Yes, the syrup will thicken slightly once cooled, giving it a nice consistency.
Can I use this syrup in baking?
Yes! It can be used in baking recipes that call for liquid sweeteners.
Final Thoughts
Making your own Sugar Free Vanilla Syrup is a delightful way to add sweetness to your day without the sugar crash. It’s easy, delicious, and a great way to elevate your favorite beverages.
So why not give this recipe a try? You might just find yourself making it a regular in your kitchen.
If you enjoyed this recipe, check out our Vanilla Simple Syrup Recipe for a classic option or learn about substitutes for vanilla extract to keep your pantry stocked!
Sugar Free Vanilla Syrup
Ingredients
Equipment
Method
- In a small saucepan, combine the water and erythritol.
- Place the saucepan over medium heat and stir until the erythritol dissolves completely.
- Once dissolved, bring the mixture to a gentle simmer.
- Stir in the vanilla extract and vanilla bean paste, if using.
- Continue to simmer the mixture for an additional 3-5 minutes.
- After simmering, remove the saucepan from heat and let the syrup cool slightly.
- Pour the syrup into a glass jar or bottle for storage.
- Allow the syrup to cool completely at room temperature before sealing.