
There’s something heartwarming about the aroma of freshly made banana pudding wafting through the kitchen, isn’t there? This classic dessert brings back memories of family gatherings and sunny afternoons, making it a must-have for any occasion. It’s creamy, sweet, and layered with deliciousness, combining the rich flavor of ripe bananas and silky vanilla pudding. Plus, it’s a breeze to whip up, making it the perfect treat whether you’re entertaining guests or just satisfying your sweet tooth.
Why You’ll Love This Recipe
This banana pudding is a crowd-pleaser that never fails to impress. It’s a delightful balance of flavors and textures.
- Deliciously creamy with a hint of vanilla.
- Easy to prepare with simple ingredients.
- Can be made ahead of time for convenience.
- Customizable with your favorite toppings.
- A nostalgic dessert that brings everyone together.
My Experience Making This Recipe
Making this banana pudding is always a joyful experience for me. The moment I slice into the bananas and layer them with the pudding, I can already hear the oohs and aahs from my family.
Each spoonful is a reminder of my childhood, and it’s delightful to see everyone enjoy it just as much now. The combination of textures is simply irresistible, and I often find myself going back for seconds… or thirds.
Recipe Overview
- Recipe Name: Banana Pudding
- Servings: 8
- Prep Time: 20 minutes
- Cook Time: 0 minutes
- Total Time: 4 hours (includes chilling)
- Course: Dessert
- Cuisine: American
- Calories per Serving: 250
Equipment You Will Need
- Mixing bowl
- Whisk
- 9×13 inch baking dish
- Measuring cups and spoons
- Rubber spatula
Ingredients for Banana Pudding
- 2 cups whole milk
- 1/2 cup granulated sugar
- 1/3 cup cornstarch
- 1/4 teaspoon salt
- 1 teaspoon vanilla extract
- 3 ripe bananas, sliced
- 1 box vanilla wafers (about 11 ounces)
- 1 cup heavy whipping cream
- 2 tablespoons powdered sugar
Ingredient Notes and Substitutions
- Whole milk: Used for creaminess; you can substitute with 2% milk for a lighter version.
- Cornstarch: Thickens the pudding; arrowroot powder can be used as a gluten-free alternative.
- Vanilla extract: Adds flavor; vanilla bean paste is a great substitute for a richer taste.
- Heavy whipping cream: For whipped topping; you can use a dairy-free alternative for a vegan option.
How to Make Banana Pudding
Step 1: Prepare the Pudding Mixture
In a mixing bowl, whisk together the milk, sugar, cornstarch, and salt until smooth. This mixture will create the creamy base for your pudding.
Step 2: Cook the Pudding
Transfer the mixture to a medium saucepan over medium heat. Stir continuously until it thickens and starts to bubble, which usually takes about 5-7 minutes.
Step 3: Add Vanilla
Once thickened, remove the saucepan from heat and stir in the vanilla extract. This step adds that lovely flavor that makes the pudding irresistible.
Step 4: Cool the Pudding
Let the pudding cool for about 15 minutes at room temperature. This prevents the bananas from browning when added.
Step 5: Layer the Ingredients
In a 9×13 inch baking dish, start with a layer of vanilla wafers at the bottom. Then, pour half of the cooled pudding over the wafers.
Step 6: Add Bananas
Next, layer half of the sliced bananas over the pudding. This adds sweetness and texture, making each bite delightful.
Step 7: Repeat the Layers
Repeat the layers with the remaining wafers, pudding, and bananas. This creates a beautiful, layered dessert that looks as good as it tastes.
Step 8: Whip the Cream
In a separate bowl, beat the heavy whipping cream and powdered sugar until soft peaks form. This will be your light and fluffy topping.
Step 9: Top the Pudding
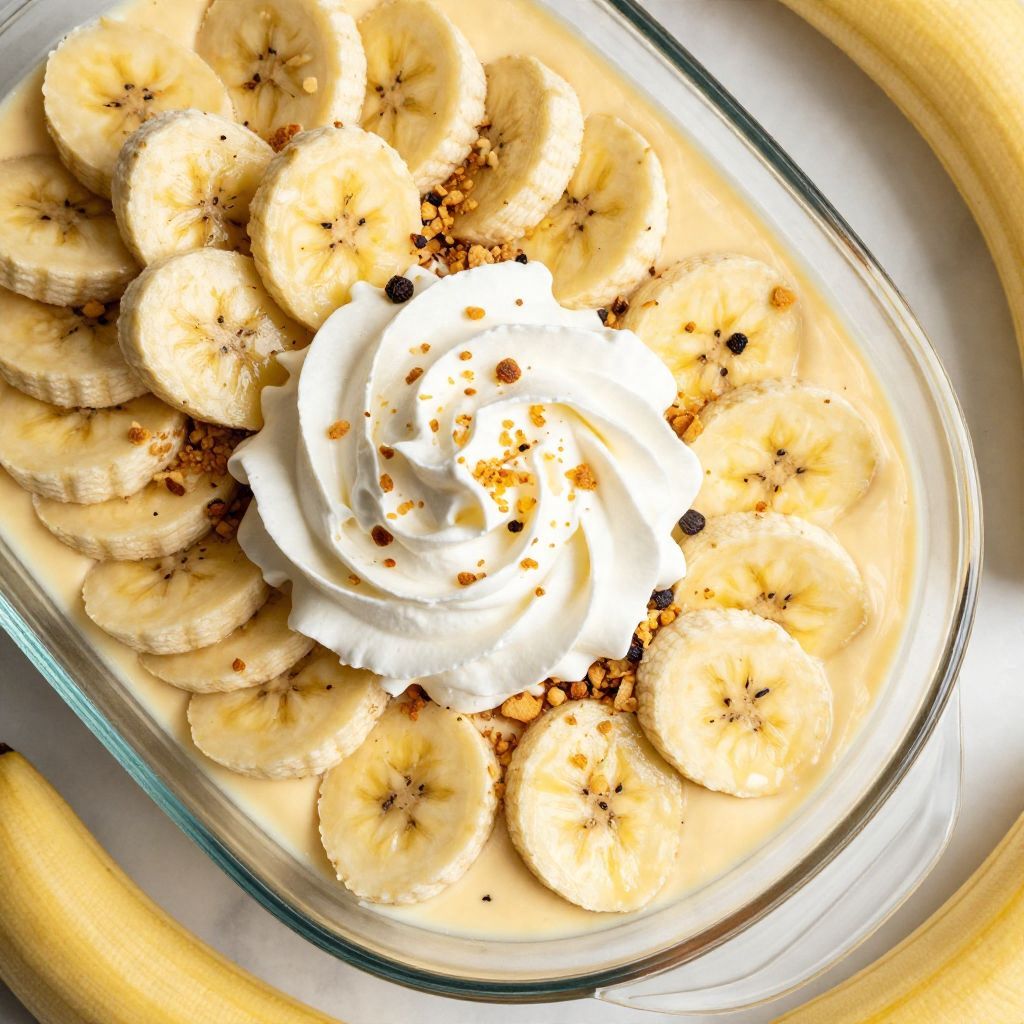
Spread the whipped cream over the final layer of bananas. This adds a nice finish to your banana pudding and a touch of elegance.
Step 10: Chill and Serve
Cover the dish and refrigerate for at least 4 hours, or overnight if possible. Chilling allows the flavors to meld beautifully.
Pro Tip: For an even creamier texture, let the pudding chill overnight, allowing it to set perfectly.
Tips for the Best Banana Pudding
- Use ripe bananas for the best flavor; they should be slightly speckled.
- Don’t skip the chilling time; it’s crucial for the pudding to set.
- For a twist, try adding a layer of chocolate pudding between the vanilla layers.
- Make sure to layer the wafers just before serving to keep them crunchy.
- Garnish with extra banana slices or crushed wafers for added texture.
Common Mistakes to Avoid
- Using under-ripe bananas can lead to a less sweet and flavorful pudding.
- Skipping the chilling time will result in a runny pudding, which isn’t appealing.
- Overcooking the pudding can make it lumpy; stir continuously to avoid this.
- Not layering the ingredients properly can lead to a messy presentation.
Serving Suggestions
This banana pudding is perfect on its own, but it pairs wonderfully with a few side treats.
- Chocolate chip cookies
- Freshly brewed coffee or tea
- Fruit salad for a refreshing contrast
- Brownies for an indulgent combo
Variations to Try
- Try adding a layer of peanut butter between the pudding and bananas for a nutty twist.
- Use chocolate wafers instead of vanilla for a chocolate banana pudding.
- Incorporate coconut flakes for a tropical flavor.
- Make it a banana cream pie by adding a pie crust.
Dietary Adaptations
- Gluten-free: Use gluten-free vanilla wafers to make this dessert suitable for gluten-sensitive individuals.
- Dairy-free: Substitute milk and cream with almond or coconut milk and whipped coconut cream.
- Vegan: Use plant-based milk and non-dairy whipped topping for a completely vegan dessert.
- Low-carb/Keto: Replace sugar with a keto-friendly sweetener and use almond flour cookies instead of wafers.
Storage and Reheating
Refrigerator
Store any leftover banana pudding in an airtight container in the fridge. It should last for up to 3 days.
- Keep it covered to prevent it from absorbing other smells.
- Enjoy it cold for the best texture.
Freezer
Freezing banana pudding is not ideal due to the texture change, but it can be done. If you must, freeze it in portions.
- Use a freezer-safe container to prevent freezer burn.
- Thaw in the fridge before serving for the best results.
Reheating
Reheating isn’t necessary, but if you prefer it warm, gently heat it on the stove. Stir it continuously to maintain a smooth texture.
- Do not microwave, as it can make the pudding lumpy.
- Serve immediately after reheating for the best experience.
Nutrition Information
| Nutrient | Amount |
|---|---|
| Calories | 250 |
| Total Fat | 12g |
| Saturated Fat | 7g |
| Carbohydrates | 30g |
| Fiber | 1g |
| Sugar | 15g |
| Protein | 3g |
| Sodium | 120mg |
| Cholesterol | 30mg |
This nutritional information is approximate and may vary based on specific ingredients used.
Frequently Asked Questions
Can I substitute the bananas in this recipe?
While bananas are the star ingredient, you can try using other fruits like strawberries or peaches for a different flavor.
Can I make this banana pudding ahead of time?
Yes, this dessert is perfect for making ahead; just assemble it a day in advance and let it chill overnight.
How should I store leftovers?
Store any leftovers in an airtight container in the fridge for up to three days for the best fresh taste.
What if my pudding turns out lumpy?
Lumps can occur if the pudding is cooked too quickly; always stir continuously and cook over medium heat for a smooth texture.
Can I use instant pudding instead of homemade?
Yes, you can use instant pudding mix for convenience, but homemade offers a richer flavor and texture.
Final Thoughts
Making this banana pudding is more than just a recipe; it’s about creating memories and indulging in delightful flavors. I encourage you to give it a try and share it with your loved ones for an experience they won’t forget.
If you enjoyed this recipe, be sure to explore more delicious desserts like Not Your Mama’s Banana Pudding and Biscoff Banana Pudding. Happy cooking!
Banana Pudding
Ingredients
Equipment
Method
- In a mixing bowl, whisk together the milk, sugar, cornstarch, and salt until smooth.
- Transfer the mixture to a medium saucepan over medium heat. Stir continuously until it thickens and starts to bubble, about 5-7 minutes.
- Once thickened, remove the saucepan from heat and stir in the vanilla extract.
- Let the pudding cool for about 15 minutes at room temperature.
- In a 9x13 inch baking dish, layer vanilla wafers at the bottom.
- Pour half of the cooled pudding over the wafers.
- Layer half of the sliced bananas over the pudding.
- Repeat the layers with the remaining wafers, pudding, and bananas.
- In a separate bowl, beat the heavy whipping cream and powdered sugar until soft peaks form.
- Spread the whipped cream over the final layer of bananas.
- Cover the dish and refrigerate for at least 4 hours, or overnight if possible.