
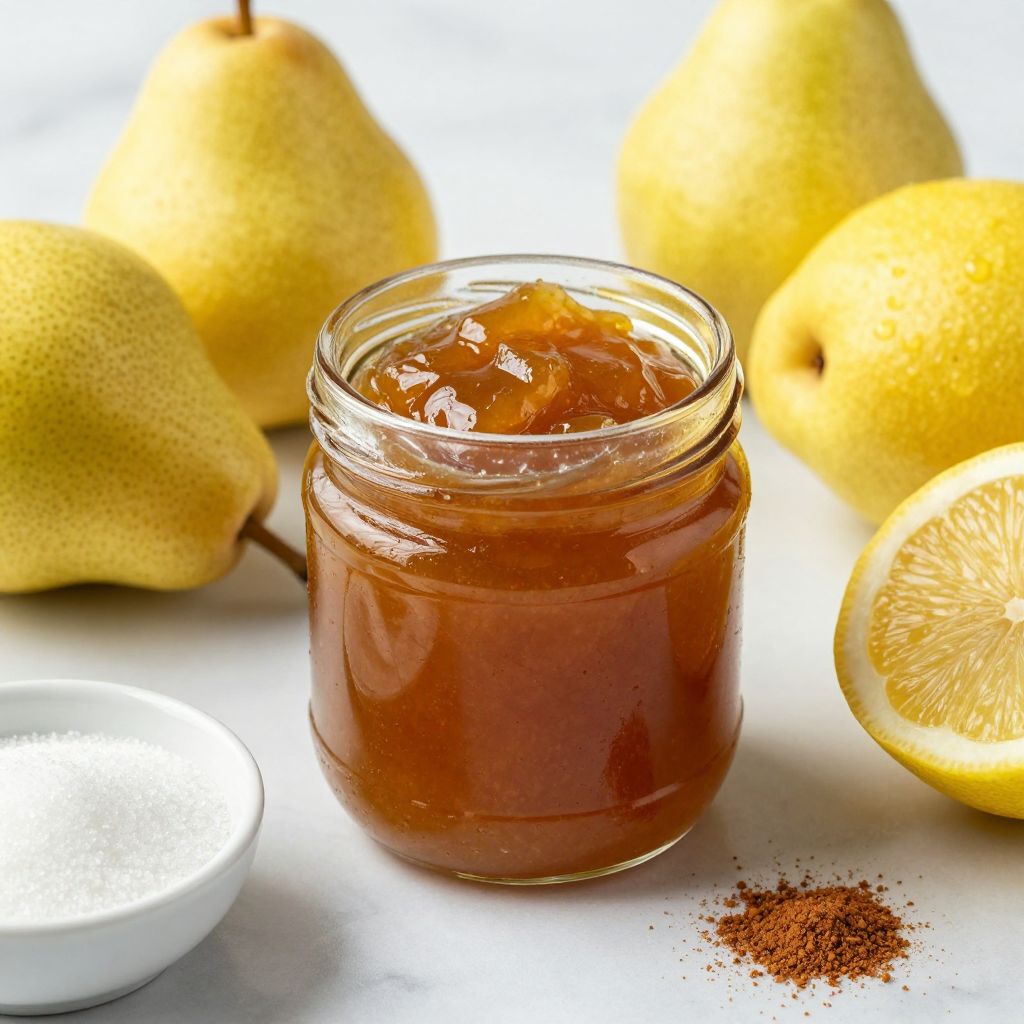
There’s something magical about the sweet, fragrant aroma of pears simmering on the stove, transforming into a luscious preserve that brings memories of cozy breakfasts. This Pear Preserves Recipe is not just a way to preserve the delightful taste of fresh pears; it’s a celebration of their delicate sweetness and versatility. With its smooth texture and rich flavor, this preserve is perfect for spreading on toast, drizzling over pancakes, or even using as a filling for pastries. Now, let’s gather our ingredients and dive into making this delightful spread!
Why You’ll Love This Recipe
This recipe is a must-try for anyone who adores fruit preserves. It captures the essence of pears in a way that you’ll be reaching for it again and again.
- Simple ingredients that highlight the pear’s natural sweetness.
- Perfect texture that spreads effortlessly on any bread.
- Versatile use in both sweet and savory dishes.
- Great for gifting or preserving the summer’s bounty.
- Can be made in small batches or scaled up for larger needs.
My Experience Making This Recipe
When I first made this pear preserve, I couldn’t believe how easy it was. The kitchen filled with the warm, inviting scent of pears, and I found myself daydreaming about all the ways I could use it.
After sharing a jar with a friend, I received rave reviews and a request for a second batch. It’s such a joy to see others enjoy the fruits of your labor, literally!
Recipe Overview
- Recipe Name: Pear Preserves
- Servings: About 4 cups
- Prep Time: 20 minutes
- Cook Time: 1 hour
- Total Time: 1 hour 20 minutes
- Course: Condiment
- Cuisine: American
- Calories per Serving: Approximately 150
Equipment You Will Need
- Large pot
- Wooden spoon
- Sharp knife
- Cutting board
- Jar funnel
- Canning jars with lids
- Water bath canner (optional, for long-term storage)
Ingredients for Pear Preserves
- 6 cups diced ripe pears (peeled and cored)
- 2 cups granulated sugar
- 1/4 cup lemon juice
- 1/4 teaspoon ground cinnamon
- 1/4 teaspoon ground nutmeg
- 1/4 teaspoon salt
Ingredient Notes and Substitutions
- Pears: They provide sweetness and texture; you can use any variety you like. Substitute with apples for a different flavor.
- Sugar: This helps to preserve the fruit; brown sugar can add a richer flavor. You can use honey, but adjust the quantity as it’s sweeter.
- Lemon juice: It adds acidity and helps with preservation; lime juice works too. You could use vinegar for a slightly tangy flavor.
- Spices: Cinnamon and nutmeg enhance the flavor; feel free to omit or adjust to your taste. You can also add ginger for a spicy kick.
How to Make Pear Preserves
Step 1: Prepare the Pears
Start by peeling, coring, and dicing your pears into small pieces. This ensures they cook down evenly and release their juices.
Step 2: Combine Ingredients
In a large pot, combine the diced pears, sugar, lemon juice, cinnamon, nutmeg, and salt. Stir well to coat the pears with the sugar and spices.
Step 3: Let the Mixture Rest
Allow the mixture to sit for about 30 minutes. This helps the pears release their natural juices, creating a syrupy base.
Step 4: Cook the Pear Mixture
Place the pot over medium heat and bring the mixture to a gentle boil. Stir frequently to prevent sticking and to help dissolve the sugar.
Step 5: Reduce Heat and Simmer
Once boiling, reduce the heat to low and let it simmer for about 45 minutes. This slow cooking will break down the pears and thicken the preserves.
Step 6: Check the Consistency
After 45 minutes, check the consistency. It should be thick enough to coat the back of a spoon. If it’s too runny, continue cooking for another 10 minutes.
Step 7: Jar the Preserves
Once the desired thickness is reached, remove the pot from heat. Pour the hot preserves into sterilized jars, leaving about 1/4 inch of headspace.
Step 8: Seal and Store
Wipe the rims of the jars with a clean cloth, then place the lids on tightly. If using for long-term storage, process in a water bath for 10 minutes.
Pro Tip: Always taste your preserves before jarring; adjust sugar or spices to your preference for the perfect balance.
Tips for the Best Pear Preserves
- Use ripe pears for the best flavor and natural sweetness.
- Don’t rush the cooking process; low and slow yields the best results.
- Experiment with spices to find your favorite combination.
- Make sure jars are properly sterilized to prevent spoilage.
- Taste as you go; you can always add more sugar or spices if needed.
Common Mistakes to Avoid
- Skipping the resting step; this can lead to a watery preserve.
- Cooking over high heat; it can burn the sugars and alter the flavor.
- Not checking the consistency; undercooked preserves can spoil faster.
- Using unsterilized jars; this increases the risk of spoilage.
Serving Suggestions
You can enjoy pear preserves in many delightful ways. Whether served on toast or paired with cheese, its versatility shines.
- Spread on warm, crusty bread.
- Swirled into yogurt or oatmeal.
- As a filling for pastries or tarts.
- Paired with cheese for a sweet and savory board.
Variations to Try
- Add a splash of vanilla extract for a sweet aroma.
- Incorporate chopped nuts for a delightful crunch.
- Mix in other fruits like cranberries for a tart twist.
- Add a splash of bourbon or rum for a grown-up version.
Dietary Adaptations
- Gluten-Free: This recipe is naturally gluten-free; enjoy it worry-free.
- Dairy-Free: No dairy ingredients are used, perfect for all diets.
- Vegan: The recipe is vegan-friendly; use plant-based sugar if desired.
- Low-Carb/Keto: Substitute sugar with a low-carb sweetener for a keto version.
Storage and Reheating
Refrigerator
Store the opened jar in the refrigerator for up to two weeks.
- Ensure the lid is tightly sealed.
- Use a clean spoon to avoid contamination.
Freezer
For longer storage, freeze the preserves in airtight containers for up to six months.
- Leave some space in the container for expansion.
- Label and date the containers for easy identification.
Reheating
To warm up, simply microwave in short bursts or heat gently in a saucepan.
- Stir frequently to ensure even heating.
- Don’t overheat; you want to preserve the flavor.
Nutrition Information
| Nutrient | Amount |
|---|---|
| Calories | 150 |
| Total Fat | 0g |
| Saturated Fat | 0g |
| Carbohydrates | 38g |
| Fiber | 1g |
| Sugar | 34g |
| Protein | 0g |
| Sodium | 1mg |
| Cholesterol | 0mg |
This nutritional information is approximate and can vary based on ingredient brands and specific measurements used.
Frequently Asked Questions
Can I use other fruits in this preserve?
Yes, you can mix in other fruits like apples or cranberries for a unique flavor.
How long can I store these preserves?
Properly sealed, they can last up to a year in a cool, dark place.
Can I make this ahead of time?
Absolutely! These preserves store well and can be made in advance for convenience.
Why is my preserve too runny?
If it’s too runny, it likely needs more cooking time to thicken; just simmer longer.
Can I adjust the sugar in the recipe?
Yes, you can reduce sugar, but be aware it may affect the preservation quality.
Final Thoughts
Making your own pear preserves is a rewarding experience that fills your home with warmth and deliciousness. I hope you give this recipe a try and enjoy every spoonful.
For more delightful fruit recipes, check out my Pear Jam Recipe and Pear Butter Recipe. Happy preserving!
Pear Preserves
Ingredients
Equipment
Method
- Start by peeling, coring, and dicing your pears into small pieces.
- In a large pot, combine the diced pears, sugar, lemon juice, cinnamon, nutmeg, and salt. Stir well to coat the pears.
- Allow the mixture to sit for about 30 minutes to release natural juices.
- Place the pot over medium heat and bring the mixture to a gentle boil, stirring frequently.
- Once boiling, reduce the heat to low and let it simmer for about 45 minutes, stirring occasionally.
- After 45 minutes, check the consistency; it should be thick enough to coat the back of a spoon.
- Once the desired thickness is reached, remove from heat and pour the hot preserves into sterilized jars.
- Wipe the rims of the jars, then seal them tightly. Process in a water bath for 10 minutes for long-term storage.