
Picture this: a sweltering summer day, the sun blazing down, and a scoop of creamy, dreamy ice cream melting blissfully in your hand. The best part? You can whip up this No Churn Ice Cream in your kitchen without an ice cream maker, making it a hassle-free treat perfect for any occasion. This recipe is incredibly easy, requiring just a few ingredients, and the texture is delightfully smooth, creamy, and utterly satisfying. Ready to dive into this sweet adventure? Let’s gather our ingredients and get started!
Why You’ll Love This Recipe
This No Churn Ice Cream is a hit for a reason. It’s the perfect solution for those hot days when you crave something sweet but don’t want the fuss of traditional ice cream making.
- Quick to prepare with minimal ingredients.
- Versatile; you can customize flavors and mix-ins.
- Rich and creamy texture without the need for churning.
- Perfect for entertaining or a cozy night in.
My Experience Making This Recipe
Making this No Churn Ice Cream was a delightful experience. I remember the first time I made it; my kitchen smelled like a sweet dream, and the anticipation was almost more than I could handle.
When I finally scooped into that frozen treat, the creamy texture took me straight to ice cream paradise. It was a crowd-pleaser at my last gathering, with everyone begging for seconds!
Recipe Overview
- Recipe Name: No Churn Ice Cream
- Servings: 6
- Prep Time: 15 minutes
- Cook Time: 0 minutes
- Total Time: 6 hours (including freezing)
- Course: Dessert
- Cuisine: American
- Calories per Serving: 350
Equipment You Will Need
- Mixing bowl
- Whisk or electric mixer
- Spatula
- Loaf pan or airtight container
- Measuring cups and spoons
Ingredients for No Churn Ice Cream
- 2 cups heavy whipping cream
- 1 cup sweetened condensed milk
- 1 teaspoon vanilla extract
- Pinch of salt
Ingredient Notes and Substitutions
- Heavy whipping cream: This gives the ice cream its rich texture. You can use light cream, but it will be less creamy.
- Sweetened condensed milk: This adds sweetness and creaminess. You could use evaporated milk and sugar as a substitute, but the flavor will differ.
- Vanilla extract: This enhances the flavor. Feel free to swap it with almond or mint extract for a different taste.
- Salt: A pinch balances the sweetness. If you’re avoiding salt, you can skip this ingredient.
How to Make No Churn Ice Cream
Step 1: Whip the Cream
In a mixing bowl, whip the heavy whipping cream until stiff peaks form. This step is crucial for achieving that airy texture that makes the ice cream feel light and fluffy.
Step 2: Mix the Condensed Milk
In a separate bowl, combine the sweetened condensed milk, vanilla extract, and a pinch of salt. This mixture adds sweetness and flavor to your ice cream.
Step 3: Fold the Mixtures Together
Gently fold the whipped cream into the condensed milk mixture. Be careful not to deflate the whipped cream; this helps maintain that wonderful texture.
Step 4: Customize Your Ice Cream
If you want to add mix-ins like chocolate chips or fruit, now is the time! Stir them in gently to distribute them evenly throughout the base.
Step 5: Transfer to Container
Pour the mixture into a loaf pan or airtight container. Make sure to smooth the top for an even freeze, and this will help with serving later.
Step 6: Freeze the Mixture
Cover the container tightly and freeze for at least 6 hours, or until the ice cream is firm. This step is essential for achieving that scoopable texture.
Step 7: Scoop and Serve
When you’re ready to enjoy, take the ice cream out of the freezer and let it sit for a few minutes. This makes scooping easier and helps achieve that perfect creamy consistency.
Step 8: Enjoy Your Creation
Serve your No Churn Ice Cream in bowls or cones, and watch it disappear! Enjoy it plain or topped with your favorite sauces.
Pro Tip: For the creamiest results, make sure your mixing bowl and beaters are chilled before whipping the cream.
Tips for the Best No Churn Ice Cream
- Use high-quality heavy cream for the richest flavor.
- Experiment with different extracts for unique flavors.
- Let the ice cream sit at room temperature for a few minutes before scooping.
- Store your ice cream in a sealed container to prevent freezer burn.
- Try layering different flavors in the container for a fun twist.
Common Mistakes to Avoid
- Overwhipping the cream can lead to a grainy texture. Stop as soon as stiff peaks form.
- Not freezing long enough will leave the ice cream too soft. Be patient and wait for it to set.
- Adding too many mix-ins can affect the creaminess. Stick to a few for the best texture.
- Using low-fat cream will result in a less creamy ice cream. Stick to heavy cream for the best results.
Serving Suggestions
This ice cream is a versatile dessert that pairs well with many treats. Try serving it alongside warm brownies or cake for a heavenly combination.
- Fresh fruit, like berries or bananas.
- Chocolate or caramel sauce drizzled on top.
- Crushed cookies or nuts for added texture.
- A sprinkle of sea salt to enhance flavors.
Variations to Try
- Chocolate: Add ½ cup of cocoa powder to the condensed milk mixture for chocolate lovers.
- Mint Chocolate Chip: Mix in peppermint extract and chocolate chips for a refreshing twist.
- Fruit-flavored: Puree fruits like strawberries or mangoes and fold them in for a fruity delight.
- Coffee: Add 2 tablespoons of instant coffee to the condensed milk for a caffeinated boost.
Dietary Adaptations
- Gluten-free: All ingredients are naturally gluten-free, so enjoy without worries.
- Dairy-free: Substitute coconut cream and a dairy-free condensed milk alternative.
- Vegan/vegetarian: Use coconut cream and dairy-free sweetened condensed milk.
- Low-carb/keto: Use heavy cream and a low-carb sweetener to keep it keto-friendly.
Storage and Reheating
Refrigerator
This ice cream is best stored in the freezer, but if you have leftovers, keep them tightly covered in the fridge for a short time.
- Consume within a few days for optimal flavor and texture.
Freezer
Store your ice cream in an airtight container in the freezer for up to 2 weeks. Make sure to keep it tightly sealed to prevent ice crystals.
- Allow it to sit at room temperature for a few minutes before serving.
Reheating
There is no reheating needed for ice cream, as you enjoy it frozen. Just scoop and serve straight from the freezer!
Nutrition Information
| Nutrient | Amount |
|---|---|
| Calories | 350 |
| Total Fat | 25g |
| Saturated Fat | 15g |
| Carbohydrates | 30g |
| Fiber | 0g |
| Sugar | 28g |
| Protein | 3g |
| Sodium | 50mg |
| Cholesterol | 70mg |
This information is approximate and can vary based on specific ingredients used.
Frequently Asked Questions
Can I make this ice cream without sweetened condensed milk?
You can try using a homemade version, but it will alter the texture and flavor significantly.
How long can I store this ice cream?
It can be stored in the freezer for up to 2 weeks, but it’s best enjoyed within a week for optimal freshness.
Can I use a different flavor of extract?
Absolutely! Feel free to experiment with flavors like almond or coconut for a unique twist.
What if my ice cream is too hard to scoop?
Let it sit at room temperature for a few minutes before scooping to soften it up for easy serving.
Can I make this ice cream ahead of time?
Yes, this recipe is perfect for making ahead of time and storing in the freezer until you’re ready to serve!
Final Thoughts
Making homemade No Churn Ice Cream is not just a fun activity; it also brings joy to every scoop. With endless flavor possibilities, you can create something special for any occasion.
So, why wait? Gather your ingredients, and let’s make some sweet memories together in the kitchen. And don’t forget to check out my other delicious recipes, like this Ninja Creami recipe or my KitchenAid ice cream recipe for more frozen delights!
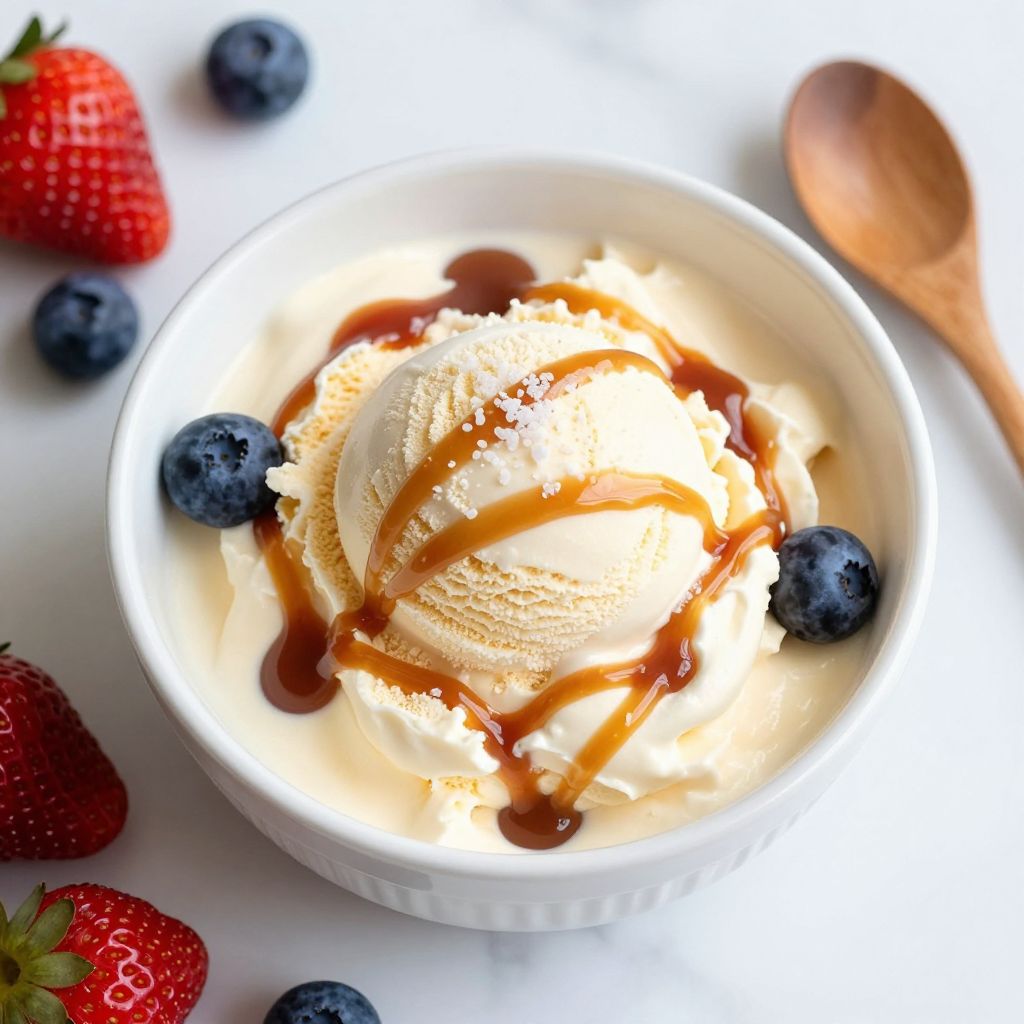
No Churn Ice Cream
Ingredients
Equipment
Method
- In a mixing bowl, whip the heavy whipping cream until stiff peaks form.
- In a separate bowl, combine the sweetened condensed milk, vanilla extract, and a pinch of salt.
- Gently fold the whipped cream into the condensed milk mixture.
- If desired, fold in any mix-ins like chocolate chips or fruit.
- Pour the mixture into a loaf pan or airtight container, smoothing the top.
- Cover the container tightly and freeze for at least 6 hours, or until the ice cream is firm.
- When ready to serve, let the ice cream sit at room temperature for a few minutes to soften before scooping.