
There’s something undeniably nostalgic about the sweet, crispy texture of a homemade Nilla Wafer. These delightful cookies bring back memories of childhood desserts and family gatherings, making them a perfect treat for any occasion. They’re not just delicious; they also offer a delightful crunch that pairs wonderfully with ice cream or banana pudding. Making your own Nilla Wafers is simpler than you might think, and the flavor is far superior to store-bought options. Let’s get started so you can savor the goodness of these classic cookies!
Why You’ll Love This Recipe
This recipe is a true gem for cookie lovers. It balances simplicity with incredible taste.
- Quick to prepare and bake.
- Perfectly crispy texture.
- Versatile for desserts or snacks.
- Made with common pantry ingredients.
- Great for sharing or enjoying solo.
My Experience Making This Recipe
Making Nilla Wafers in my kitchen felt like a cozy trip down memory lane. The aroma of vanilla and sugar filling the air was enough to make anyone feel at home.
When I shared them with family, the reactions were priceless. They devoured the cookies and couldn’t believe how much better they tasted than store-bought.
Recipe Overview
- Recipe Name: Nilla Wafer
- Servings: About 24 cookies
- Prep Time: 15 minutes
- Cook Time: 10 minutes
- Total Time: 25 minutes
- Course: Dessert
- Cuisine: American
- Calories per Serving: Approximately 55
Equipment You Will Need
- Baking sheet
- Parchment paper
- Mixing bowl
- Electric mixer
- Cookie scoop or spoon
- Cooling rack
Ingredients for Nilla Wafer
- 1 cup all-purpose flour
- 1/2 teaspoon baking powder
- 1/4 teaspoon salt
- 1/2 cup unsalted butter, softened
- 3/4 cup granulated sugar
- 1 large egg
- 1 teaspoon vanilla extract
Ingredient Notes and Substitutions
- All-purpose flour: This is the base for the cookies, providing structure. You can substitute with gluten-free flour if needed.
- Unsalted butter: It adds richness and flavor to the cookies. You can use margarine, but the taste may vary slightly.
- Granulated sugar: This sweetens the cookies and helps achieve that crispy texture. Brown sugar can be used for a chewier texture.
- Egg: Acts as a binder for the ingredients. A flax egg can be substituted for a vegan option.
- Vanilla extract: This enhances the flavor. You can use almond extract for a different twist.
How to Make Nilla Wafer
Step 1: Preheat the Oven
Start by preheating your oven to 350°F (175°C). This ensures even baking, giving your cookies that perfect golden-brown finish.
Step 2: Prepare the Baking Sheet
Line your baking sheet with parchment paper. This prevents the cookies from sticking and makes cleanup a breeze.
Step 3: Mix the Dry Ingredients
In a bowl, whisk together the flour, baking powder, and salt. This helps distribute the leavening agent evenly for better cookies.
Step 4: Cream the Butter and Sugar
In a separate bowl, beat the softened butter and sugar together until light and fluffy. This incorporates air, resulting in a lighter cookie.
Step 5: Add the Egg and Vanilla
Mix in the egg and vanilla extract until well blended. This adds moisture and flavor to your cookie dough.
Step 6: Combine Wet and Dry Ingredients
Gradually add the dry mixture to the wet ingredients, mixing until just combined. Over-mixing can lead to tough cookies, so be gentle.
Step 7: Scoop the Dough
Using a cookie scoop or spoon, drop tablespoons of dough onto the prepared baking sheet. Leave enough space between each scoop for spreading during baking.
Step 8: Bake the Cookies
Bake for 8 to 10 minutes, or until the edges are golden. Keep an eye on them; you want a crisp edge but a soft center.
Pro Tip: For extra flavor, try adding a pinch of cinnamon or nutmeg to the dough.
Tips for the Best Nilla Wafer
- Use room temperature ingredients for better mixing.
- Don’t skip the parchment paper; it makes a huge difference.
- Experiment with different extracts for unique flavors.
- Let cookies cool completely for optimal texture.
- Store in an airtight container to keep them fresh longer.
Common Mistakes to Avoid
- Overmixing the dough can lead to tough cookies.
- Not measuring ingredients accurately may affect the texture.
- Baking at the wrong temperature can cause uneven results.
- Skipping the cooling step can lead to crumbly cookies.
Serving Suggestions
These Nilla Wafers are delightful on their own or as part of a dessert. They pair wonderfully with coffee or tea.
- Serve with whipped cream and berries.
- Use as a crust for cheesecakes.
- Layer in banana pudding for a classic treat.
- Dip in chocolate for an extra indulgence.
Variations to Try
- Add chocolate chips for a sweet surprise.
- Incorporate crushed nuts for added crunch.
- Try lemon zest for a refreshing twist.
- Use almond flour for a nutty flavor.
Dietary Adaptations
- Gluten-free: Substitute all-purpose flour with a gluten-free blend.
- Dairy-free: Use a plant-based butter alternative.
- Vegan: Replace the egg with a flax egg.
- Low-carb/keto: Use almond flour and a sugar substitute.
Storage and Reheating
Refrigerator
Store in an airtight container for up to one week.
- Keep layers separated with parchment paper.
- Check for freshness before serving.
Freezer
Freeze cookies in a single layer, then transfer to a bag for longer storage.
- They can last up to three months in the freezer.
- Thaw at room temperature before enjoying.
Reheating
Reheat in the oven at low temperature for a few minutes to regain crispiness.
- Microwaving can make them chewy, so avoid that if you prefer crisp.
Nutrition Information
| Nutrient | Amount |
|---|---|
| Calories | 55 |
| Total Fat | 3g |
| Saturated Fat | 2g |
| Carbohydrates | 7g |
| Fiber | 0g |
| Sugar | 4g |
| Protein | 1g |
| Sodium | 50mg |
| Cholesterol | 15mg |
This information is an estimate and may vary based on specific ingredients and serving sizes.
Frequently Asked Questions
Can I use whole wheat flour instead of all-purpose flour?
Yes, but the texture will be denser and slightly different in flavor.
Can I make the dough ahead of time?
Absolutely! You can refrigerate the dough for up to 48 hours before baking.
How should I store leftover cookies?
Keep them in an airtight container at room temperature for up to a week.
Why are my cookies spreading too much?
This may happen if the butter was too warm or if the dough was not chilled.
Can I add chocolate to the recipe?
Definitely! Chocolate chips or cocoa powder can be mixed into the dough for a delicious twist.
Final Thoughts
Homemade Nilla Wafers are a delightful treat that will surely impress. With a few simple ingredients and steps, you can enjoy these cookies fresh out of the oven.
So, roll up your sleeves and try this recipe—you won’t regret it! If you love these, check out my Nilla Wafer Recipe and explore how to make Not Your Mama’s Banana Pudding for a classic dessert pairing.
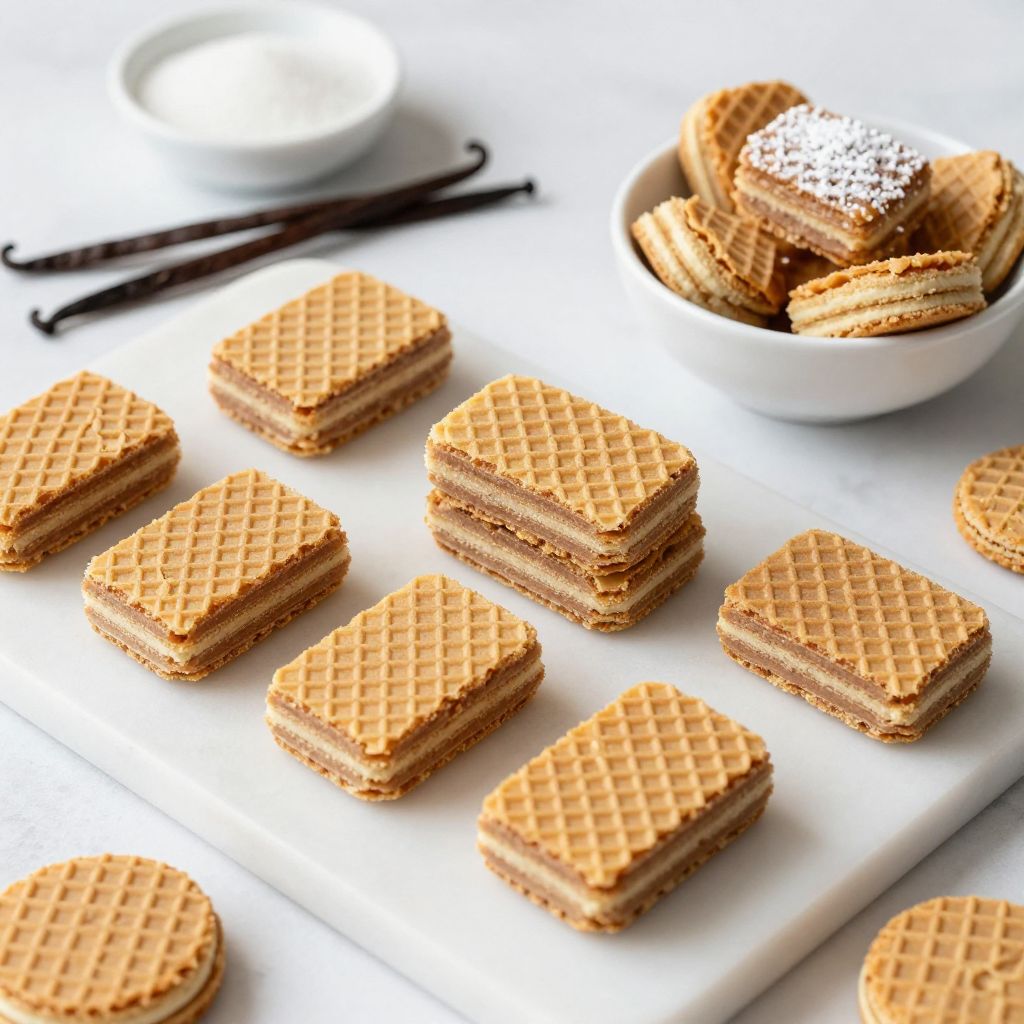
Nilla Wafer
Ingredients
Equipment
Method
- Preheat your oven to 350°F (175°C).
- Line your baking sheet with parchment paper.
- In a bowl, whisk together the flour, baking powder, and salt.
- In a separate bowl, beat the softened butter and sugar together until light and fluffy.
- Mix in the egg and vanilla extract until well blended.
- Gradually add the dry mixture to the wet ingredients, mixing until just combined.
- Using a cookie scoop or spoon, drop tablespoons of dough onto the prepared baking sheet.
- Bake for 8 to 10 minutes, or until the edges are golden.