
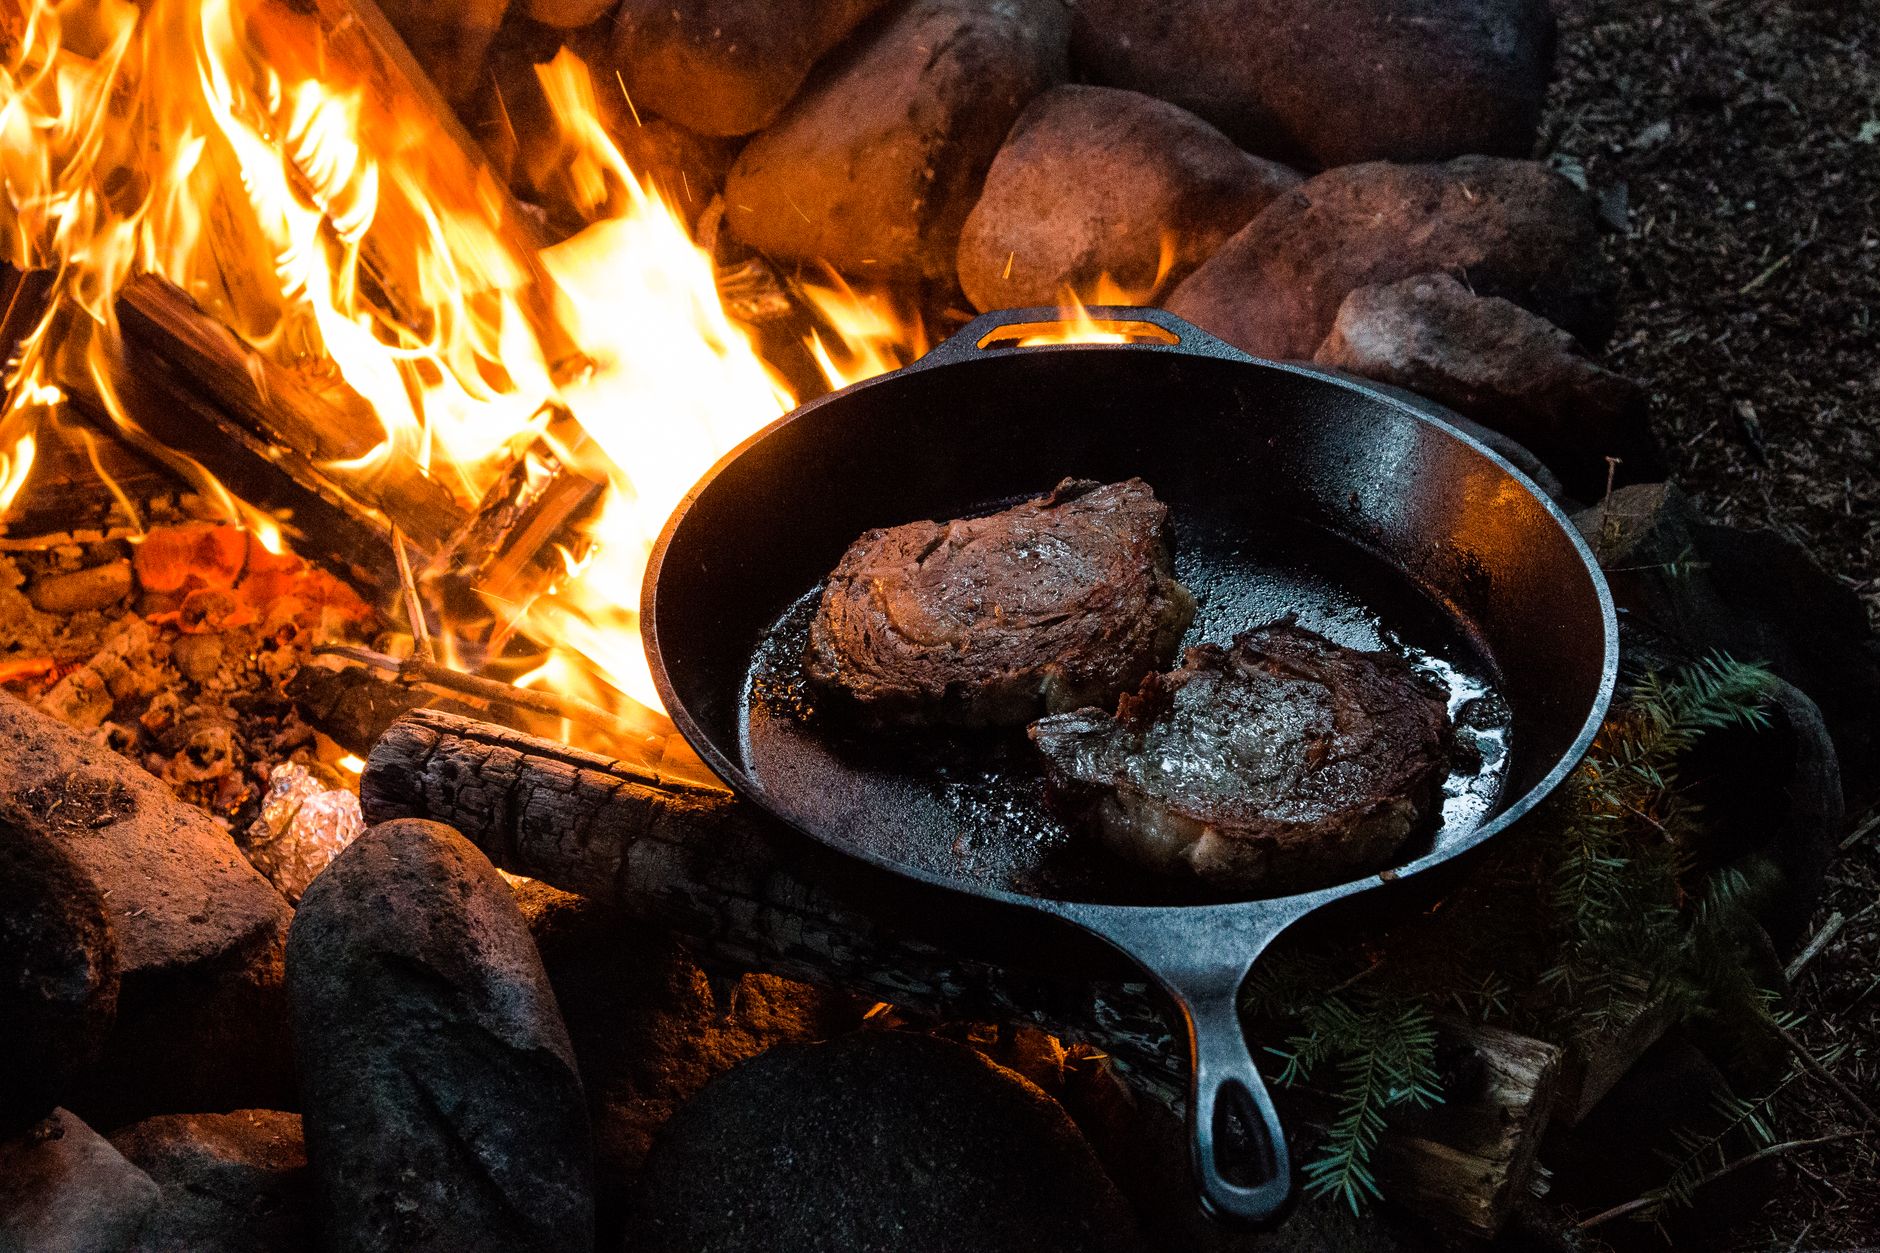
Reverse searing steak has become a popular technique among culinary enthusiasts for its ability to yield perfectly cooked meat. The process involves cooking the steak at a low temperature before finishing it off with a high-heat sear. This method not only enhances flavor but also ensures a juicy interior.
When utilizing a cooking temperature of 250°F, understanding how long to reverse sear your steak is crucial for achieving the desired doneness. This guide will walk you through the process and offer useful tips, techniques, and timing details essential for achieving the perfect reverse-seared steak.
How Long to Reverse Sear Steak at 250?
When reverse searing steak at 250°F, the cooking time typically ranges from 45 minutes to 1.5 hours, depending on the thickness of the cut and the desired doneness. For a 1-inch thick steak, expect about 45-60 minutes, while a 2-inch thick steak may take closer to 1.5 hours.
This slow cooking step allows the steak to cook evenly, retaining moisture and enhancing flavor before the final searing stage. Knowing the right timing and techniques will help you achieve consistently delicious results.
Understanding the Reverse Sear Method
The reverse sear method involves two main stages: low-temperature cooking followed by a high-temperature sear. This technique allows for better control over the steak’s doneness and results in a more evenly cooked piece of meat.
Here’s a clearer breakdown of the two-step process:
- Stage 1: Low-Temperature Cooking – The steak is cooked at a low temperature (in this case, 250°F) until it reaches the desired internal temperature for doneness.
- Stage 2: Searing – The steak is quickly seared at a high temperature in a hot skillet or on a grill to develop a crust and enhance flavor.
The Science Behind the Reverse Sear
Cooking steak at a low temperature allows for a gradual heat increase, ensuring that the meat cooks evenly. This reduces the chances of overcooking the exterior while the interior remains undercooked. When finished with a high-heat sear, the Maillard reaction occurs, which creates a flavorful crust.
Additionally, reverse searing helps the steak retain more of its natural juices, leading to a succulent and tender result. It’s particularly effective for thicker cuts, allowing them to reach the perfect medium-rare or medium doneness without drying out.
Choosing the Right Steak Cuts
Not all steak cuts work equally well for the reverse sear method. Here are some ideal cuts to consider:
- Ribeye – Known for its marbling, ribeyes are tender and flavorful, making them an excellent choice for reverse searing.
- New York Strip – With a balance of tenderness and flavor, new york strips are another favorite for this technique.
- Filet Mignon – Filets are renowned for their tenderness, making them a great option for reverse searing.
- T-bone – Offering both tenderloin and strip steak, T-bones can provide a contrast of textures when reverse seared.
- Porterhouse – Similar to T-bones but with a larger tenderloin section, porterhouses also work well with this method.
Thicker cuts (at least 1 inch in thickness) are generally preferred for the reverse sear method, as they allow for better temperature control and juiciness.
Essential Equipment for Reverse Searing
Before embarking on your reverse searing journey, ensure you have the necessary equipment:
- Oven – For cooking the steak at a low temperature.
- Meat Thermometer – A digital meat thermometer helps monitor internal temperature accurately and ensures the steak reaches the desired doneness.
- Cast Iron Skillet or Grill – For the final searing stage, a cast iron skillet or grill will develop the ideal crust.
- Cooling Rack – Useful for allowing air circulation around the steak during the initial cooking stage.
- Tongs – For flipping the steak without piercing it and losing valuable juices.
Preparing the Steak for Reverse Searing
Getting your steak ready is a simple but critical step in the reverse searing process. Follow these steps:
- Select your steak – Pick a high-quality cut that’s at least 1 inch thick.
- Season liberally – Use a combination of salt and pepper or your favorite steak seasoning to enhance flavor.
- Let it rest – Allow the seasoned steak to sit at room temperature for about 30-45 minutes before cooking. This helps achieve even cooking.
Cooking the Steak at 250°F
Once your steak is prepared, it’s time for the first cooking stage:
- Preheat your oven – Set your oven to 250°F (121°C).
- Prepare a baking sheet – Place a cooling rack on a baking sheet to allow airflow around the steak.
- Insert the steak – Place the prepared steak on the cooling rack and insert a meat thermometer into the thickest part of the steak.
- Cook until the desired temperature is reached – For rare, aim for 120°F (49°C); for medium-rare, 130°F (54°C); for medium, 140°F (60°C); for medium-well, 150°F (66°C). This process will typically take 45-90 minutes, depending on the steak’s thickness and starting temperature.
- Monitor frequently – Keep an eye on the internal temperature to ensure precise cooking.
Searing the Steak
Once your steak has reached the target internal temperature, it’s time for the final sear:
- Preheat your skillet or grill – Heat your cast iron skillet over high heat until it’s very hot. If using a grill, ensure it’s preheated to high heat as well.
- Add fat – Add a small amount of high smoke point oil (such as vegetable or canola oil) to the skillet. Alternatively, if on a grill, ensure the grates are well-oiled.
- Sear on both sides – Place the steak in the hot skillet or grill and sear for about 1-2 minutes on each side until a rich brown crust forms. You can also add aromatics like garlic or herbs during this stage for added flavor.
- Rest the steak – After searing, remove the steak from the heat and allow it to rest for about 5-10 minutes. This helps redistributes the juices and enhances flavor.
Common Mistakes to Avoid
While reverse searing can be straightforward, there are common pitfalls to watch for:
- Skipping the meat thermometer – Relying solely on time rather than checking internal temperature can lead to over or undercooking.
- Not resting the steak – Cutting into the steak immediately after cooking can release juices, resulting in a drier steak.
- Cooking at too high a temperature initially – Properly managing the temperature during the first cooking stage is crucial to avoid uneven doneness.
Variations and Flavor Enhancements
There’s ample room for creativity when reverse searing steak. Consider these variations to enhance your steak’s flavor:
- Marinades – Letting your steak marinate for a few hours or overnight can infuse deep flavor. Just be cautious to avoid overly acidic marinades that can break down protein too much.
- Using different seasonings – Spice blends such as smoked paprika, garlic powder, or even a coffee rub can add interesting flavor profiles.
- Finishing with flavored butter – Topping your steak with a compound butter (butter mixed with herbs, garlic, or spices) just before serving can elevate the taste.
Storage and Leftovers
Leftover steak can be stored in the refrigerator for 3-4 days. Follow these storage tips:
- Cool completely – Allow the steak to cool to room temperature before refrigerating.
- Wrap tightly – Use plastic wrap or airtight containers to prevent moisture loss.
- Reheating – Gently reheat leftovers in a skillet over low heat, or in a microwave at a lower power setting to maintain juiciness.
Serving Suggestions
Reverse-seared steak can be served in various ways. Consider these serving options:
- With sides – Pair with roasted vegetables, mashed potatoes, or a fresh salad for a complete meal.
- In sandwiches – Sliced steak can be used in sandwiches or wraps for a satisfying lunch.
- As a main course – Serve alongside delicious sauces, such as chimichurri or béarnaise, to add unique flavors.
Reverse searing is not only a reliable method for preparing steak but also a rewarding one that can yield impressive results. By understanding the timing, techniques, and equipment needed, you can enjoy a perfectly cooked steak every time.
For further exploration in the world of steaks, check out our steak seasoning recipe or try out a delicious Delmonico steak recipe for a fresh twist on traditional steak dishes.