
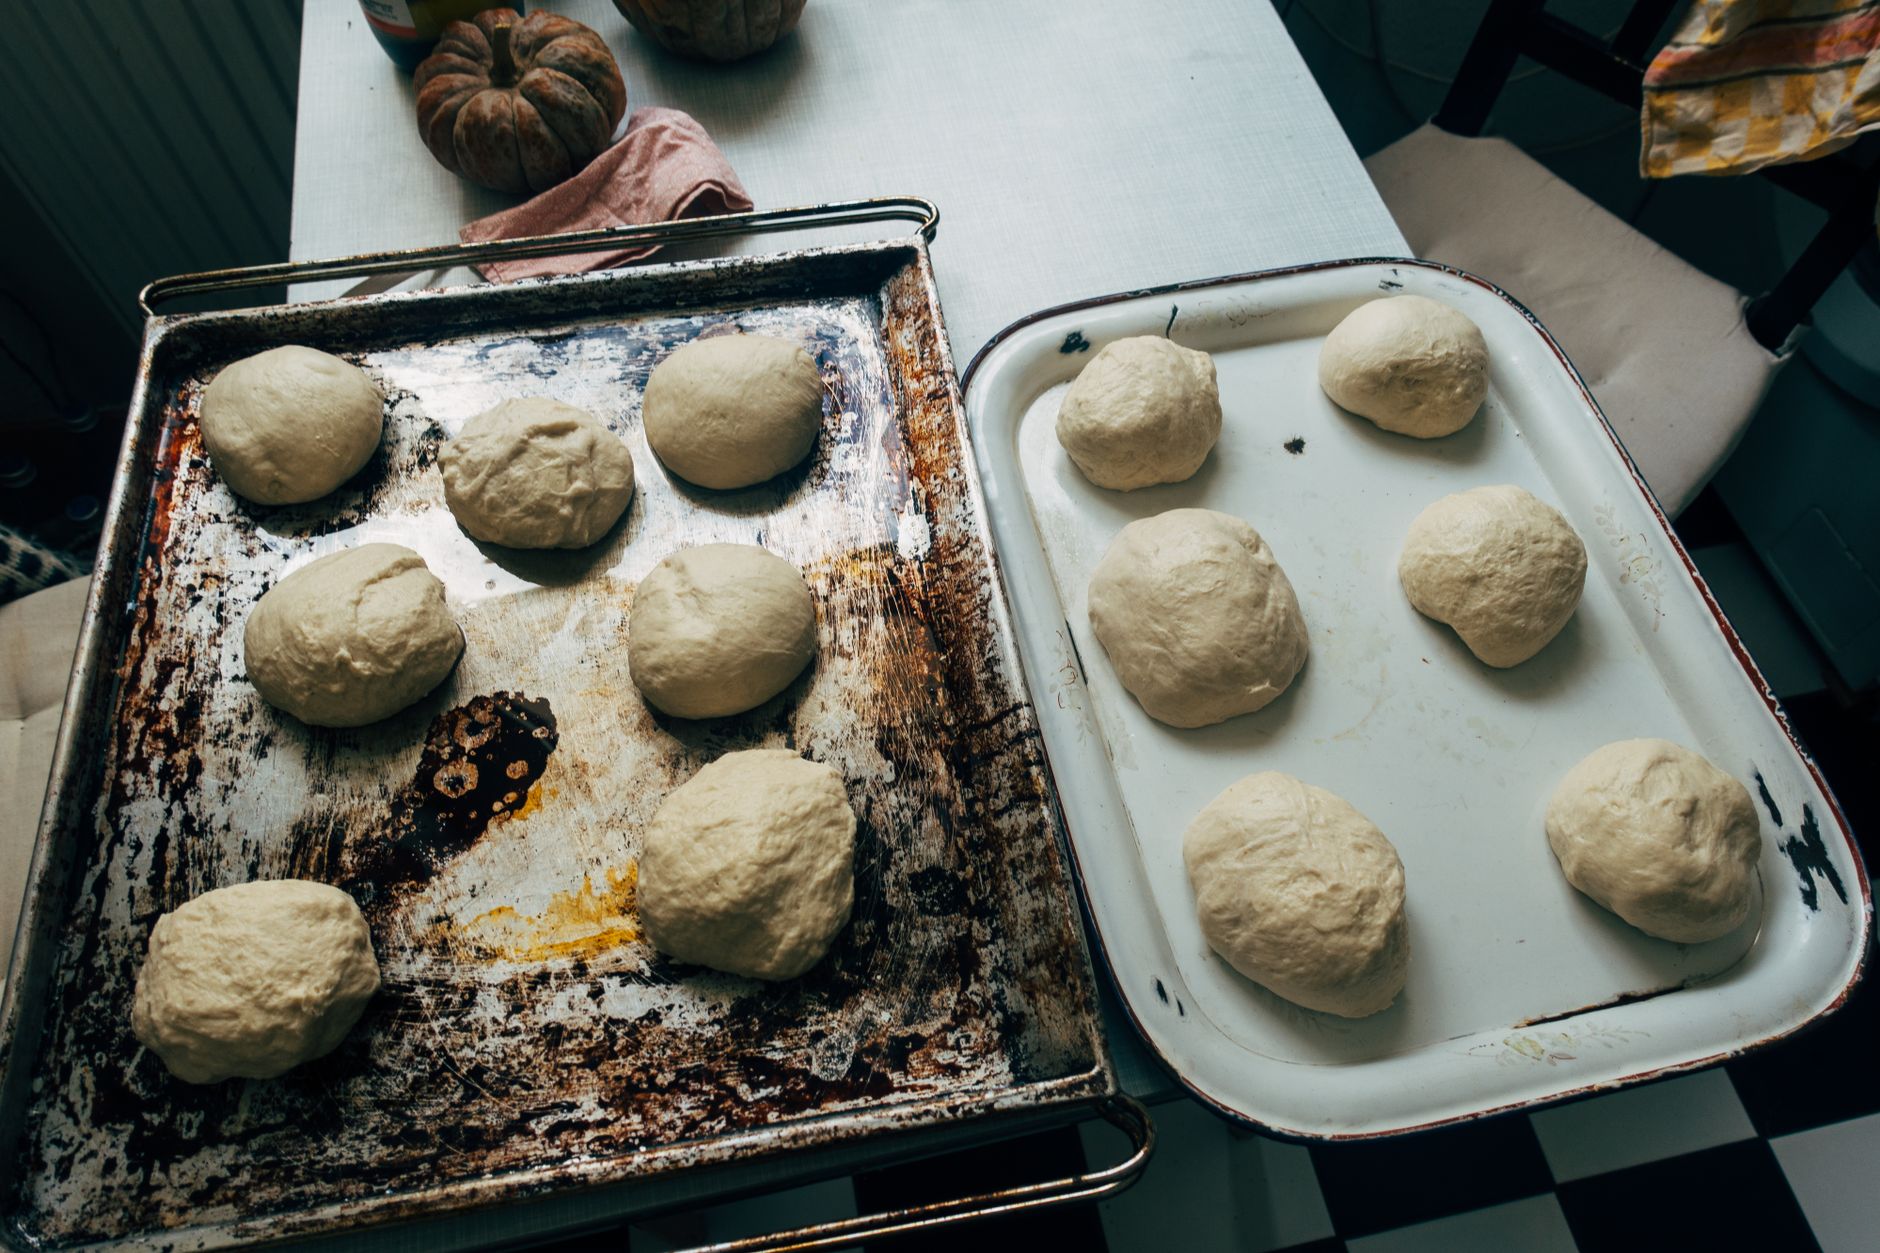
For home bakers, the anticipation of freshly baked bread begins with one simple stage: the rise. Understanding how long it takes for dough to rise can significantly impact the bread-making process. It’s crucial for achieving that perfect texture and flavor that everyone craves.
This article delves into the factors influencing dough rising time, helping you become more confident in your bread-making endeavors.
How Long Does It Take for Bread to Rise?
The time needed for bread to rise can vary widely. Generally, it takes about 1 to 2 hours for dough to double in size. However, this can be influenced by temperature, humidity, yeast type, and dough composition. Understanding these factors helps you achieve optimal results.
Factors Affecting Rising Time
Several elements affect how long your bread dough will take to rise. Familiarizing yourself with these factors can improve your baking skills and lead to better outcomes.
1. Yeast Type
The type of yeast you use significantly impacts the rising time.
- Active Dry Yeast: This type typically requires rehydration before use. It usually takes about 1 to 2 hours to rise.
- Instant Yeast: This yeast can be mixed directly into dry ingredients, allowing for quicker rise times, often within 1 hour.
- Fresh Yeast: This less common type, known for its short shelf life, generally has similar rising times to active dry yeast.
2. Dough Composition
The ingredients in your dough can also affect rising time, particularly:
- Flour Type: Higher-protein flours like bread flour can produce a stronger gluten network, which may require a longer rise.
- Fat Content: Doughs rich in fats (like brioche) may take longer to rise due to a denser structure.
- Sugar Content: High-sugar doughs may slow down yeast activity, resulting in longer rising times.
3. Temperature and Environment
The temperature of your kitchen can greatly influence the fermentation process:
- Warm Environments: Dough rises faster in warmer temperatures (75°F to 80°F). Rising may take only 1 hour.
- Cool Environments: Colder spaces (below 70°F) can slow yeast activity, extending rising time to 2 hours or more.
- Humidity: High humidity can encourage faster dough rising, while dry conditions may require extra time.
The Bread Rising Process
Bread rising, also known as proofing or fermentation, involves several stages that enhance flavor, texture, and overall bread quality. An overview of these processes follows.
1. First Rise (Bulk Fermentation)
This is the initial rise after kneading, allowing the dough to rest and expand. During this time, fermentation begins as yeast consumes sugars and produces carbon dioxide.
- Typical Time: 1 to 2 hours, until the dough has doubled in size.
2. Shaping
After the first rise, the dough is gently deflated, shaped into loaves, and placed in a baking pan. This shaping redistributes the yeast and creates a tighter gluten structure.
3. Second Rise (Proofing)
After shaping, the dough undergoes a second rise. This is the last opportunity for the dough to develop flavors and increase in size.
- Typical Time: 30 minutes to 1 hour, or until the dough has doubled again.
Visual Cues for Rising Bread
Knowing what to look for during the rising process is essential. Here’s how to determine if your dough has risen adequately:
- Size Increase: Look for the dough to double in volume. A well-risen dough should feel light and airy.
- Touch Test: Gently poke the dough; it should spring back slowly. If it doesn’t, it may need more time or has over-proofed.
- Surface Texture: The surface should be smooth and slightly puffy.
Common Mistakes in Dough Rising
Even experienced bakers can make errors during the rising process. Here are common pitfalls and how to avoid them:
1. Insufficient Rise Time
Rushing the rising process can result in dense bread with a poor texture. Allow enough time for the dough to rise adequately.
2. Too Warm or Cold Environment
Overly warm areas can lead to over-proofing, while cold spots can stifle the yeast. Aim for a moderately warm environment, around 75°F to 80°F.
3. Not Using Enough Yeast
Inadequate yeast can hinder the rising process significantly. Always follow your recipe’s yeast recommendations for the best results.
4. Neglecting to Knead Properly
Failed gluten development leads to poor rise and texture. Adequate kneading is crucial to achieve a well-structured dough.
Tips for Perfecting Your Rise
To enhance your bread-making skills, consider the following tips:
- Use a thermometer to check dough and room temperature for optimal yeast activity.
- Create a warm area for rising by placing dough in an oven with just the light on or near a heating source.
- Autolyse your flour and water before adding yeast to improve dough texture and flavor.
- Cover the dough adequately with plastic wrap or a damp cloth to prevent a crust from forming.
Proofing Alternatives
On occasions when you might need a quicker rise, consider these alternatives:
1. Warm Water Activation
When mixing your yeast, use warm water (about 100°F) to speed up activation.
2. Sugar Addition
A little sugar can provide an extra food source for the yeast, enhancing fermentation speed.
3. Rapid Rise Yeast
Switch to instant yeast if you need quicker results; it eliminates the proofing step and performs efficiently in dough.
Storage and Make-Ahead Guidance
If you want to prepare bread dough ahead of time, here’s how:
1. Refrigerating Dough
You can store dough in the refrigerator to slow down the fermentation process. Allow it to rise until doubled before refrigerating. When ready to bake, remove it from the fridge and allow it to come to room temperature before shaping and performing a second rise.
2. Freezing Dough
Dough can also be frozen after the first rise. Shape it into loaves, then wrap tightly in plastic and foil. When ready to bake, let it thaw overnight in the refrigerator and allow it to perform the second rise before baking.
Baking the Bread
After the dough has risen to your satisfaction, it’s time to bake. Here’s an overview of the final steps before putting your bread in the oven:
- Preheat your oven according to the recipe, typically between 375°F and 450°F.
- Carefully score the top of your loaf to allow steam to escape, enhancing the crust’s texture.
- Bake for the specified time, usually between 25 to 45 minutes, depending on the type of bread.
- Monitor for doneness; the bread should sound hollow when tapped on the bottom and have a golden-brown crust.
In Summary
The time it takes for bread to rise can depend on a multitude of factors, from yeast selection to environmental conditions. By understanding these variables and implementing some helpful strategies, you can control the rising process more effectively. So next time you bake, take the time to master the rising technique!
Interested in more delicious bread recipes? Check out our Honey Wheat Bread Recipe and Einkorn Bread Recipe for fresh options to fill your kitchen with the aroma of freshly baked bread.