
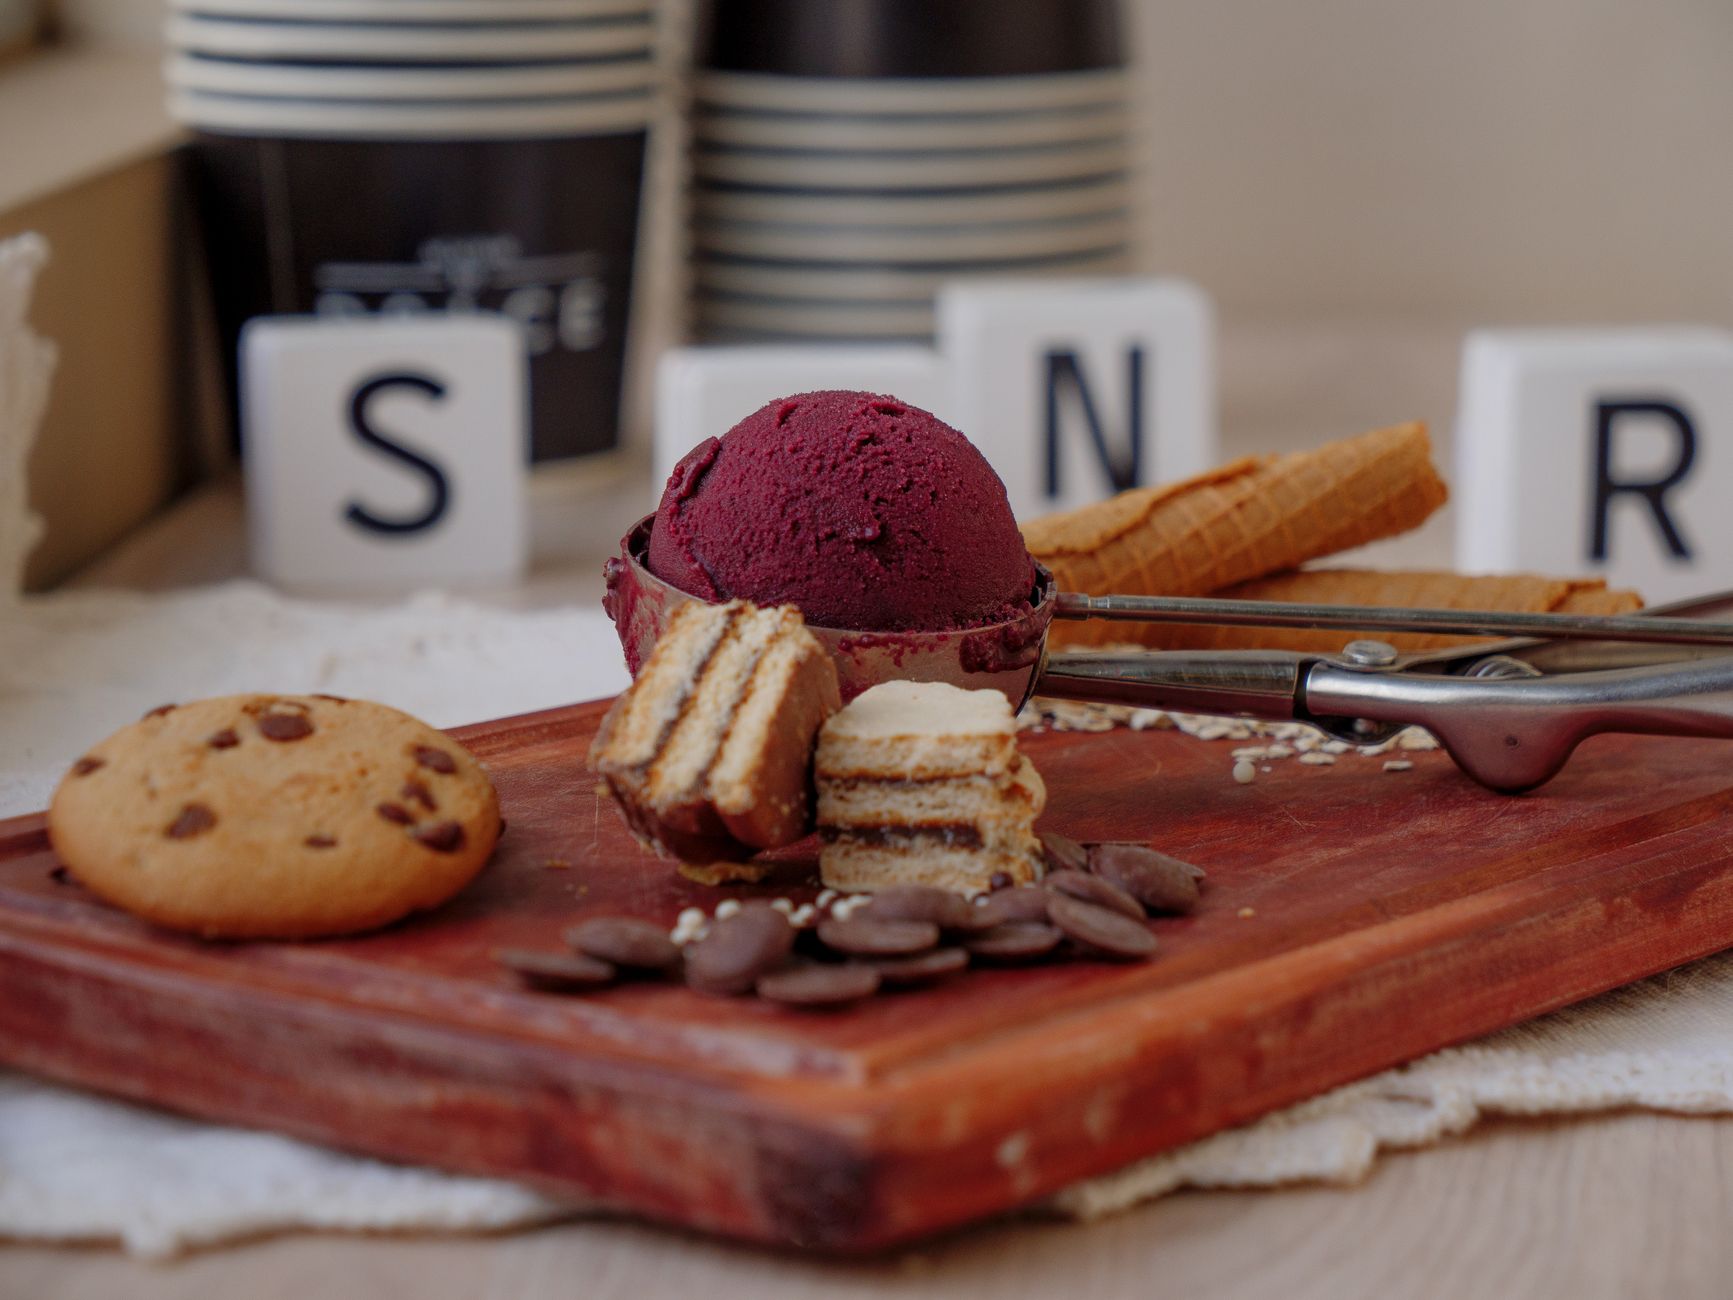
Wafers are light, thin, and crispy treats loved around the world. They come in various flavors and can be enjoyed on their own or used as ingredients in desserts. Understanding how wafers are made will not only help you appreciate them more but also allow you to create your own at home. Let’s dive into the process of making these delightful treats, from ingredients to methods and serving tips.
This comprehensive guide will uncover the steps involved in wafer production, discuss essential ingredients, and provide serving suggestions. Whether you want to make classic vanilla wafers or experiment with flavors, you will be well-equipped to embark on your wafer-making journey.
How Are Wafers Made?
Wafers are made by a simple mixture of basic ingredients, followed by a precise baking process that creates their signature crisp texture. The primary ingredients typically include flour, sugar, eggs, and flavorings. The method involves mixing, spreading, and baking to achieve perfection.
Ingredients for Making Wafers
The ingredient list for making wafers is minimal, yet essential. Below is a breakdown of the key ingredients, along with optional additions for flavor:
- All-purpose flour – 1 cup (120g), provides the base structure.
- Cornstarch – 1/4 cup (30g), helps achieve a lighter texture.
- Granulated sugar – 1/2 cup (100g), adds sweetness and crispness.
- Eggs – 2 large, act as a binder and contribute to the wafer’s structure.
- Butter – 1/2 cup (1 stick or 115g), melted for richness and flavor.
- Milk – 1/4 cup (60ml), adds moisture and helps create a smooth batter.
- Vanilla extract – 1 teaspoon, for a classic vanilla flavor.
- Optional flavorings – cocoa powder, almond extract, or other extracts can be added for variety.
Essential Equipment
Having the right tools will make the wafer-making process easier and more enjoyable. Here’s what you will need:
- Mixing bowl – for combining the batter ingredients.
- Whisk or electric mixer – to achieve a smooth batter.
- Spatula – for spreading the batter evenly on the baking surface.
- Parchment paper – to line the baking sheets for easy removal.
- Baking sheets – to hold the wafers while baking.
- Oven – preheated at 350°F (175°C) to cook the wafers.
- Cooling rack – for cooling the wafers after baking.
The Method of Making Wafers
Now that you have your ingredients and equipment ready, let’s go through the step-by-step process of making wafers:
- Preheat the oven: Set your oven to 350°F (175°C) to ensure it’s ready for baking when you finish preparing the batter.
- Prepare the baking sheets: Line your baking sheets with parchment paper to prevent sticking and ensure even baking.
- Mix the dry ingredients: In a mixing bowl, whisk together the all-purpose flour, cornstarch, and granulated sugar until well combined.
- Combine wet ingredients: In another bowl, whisk the eggs until frothy. Add melted butter, milk, and vanilla extract (and any optional flavorings) to the eggs and whisk until smooth.
- Combine wet and dry ingredients: Slowly pour the wet mixture into the dry ingredients, stirring gently until a smooth batter forms. Be careful not to overmix, as this can affect the texture.
- Spread the batter: Using a spatula, spread a thin layer of the batter onto the lined baking sheet, making sure it is even and covers the desired area (aim for about 1/8 inch thick).
- Bake: Place the baking sheet in the preheated oven and bake for about 10-12 minutes or until the edges are lightly golden.
- Cool: Remove the sheet from the oven and let the wafers cool for a few minutes before transferring them to a cooling rack to cool completely.
- Repeat: Continue the process with the remaining batter until all the wafers are made.
Common Mistakes and Troubleshooting
While making wafers can be straightforward, common mistakes can occur. Here’s how to troubleshoot:
- Wafers are too thick: Ensure you are spreading the batter thinly; a thicker batter takes longer to bake and may not crisp up properly.
- Wafers are chewy: This can result from overmixing the batter or not baking long enough. Keep an eye on them towards the end of the baking time.
- Wafers stick to the parchment paper: Make sure to use parchment paper as it helps prevent sticking. If not available, lightly grease the baking sheet.
- Wafers burnt on the edges: Watch your oven’s temperature closely; consider using an oven thermometer to ensure accuracy if you suspect your oven runs hot.
Serving Suggestions for Wafers
Wafers are incredibly versatile and can be served in numerous ways:
- As a snack: Enjoy them plain or dusted with powdered sugar for an easy treat.
- With ice cream: Use wafers as a crunchy topping for your favorite ice cream flavor.
- In desserts: Crush wafers and use them as a base for cheesecakes or layered desserts. They can also be folded into mousse or whipped cream.
- As a garnish: Place wafer pieces on cakes or cupcakes for an elegant touch with a satisfying crunch.
Variations and Flavor Options
One of the beauties of wafer-making is the ability to experiment with flavors. Here are some popular variations:
- Chocolate wafers: Substitute 1/4 cup of all-purpose flour with cocoa powder for a rich chocolate flavor.
- Almond wafers: Replace vanilla extract with almond extract for a robust nutty aroma.
- Coconut wafers: Add shredded coconut to the batter for a tropical twist.
- Spiced wafers: Incorporate spices such as cinnamon or nutmeg for a warm flavor profile.
Making Ahead and Storage Tips
Wafers can be made in advance, which is perfect for planning. Here are some guidelines:
- Make-ahead: Once the wafers are baked and cooled completely, they can be stored for later use. Place them in an airtight container at room temperature for up to a week.
- Long-term storage: For longer storage, consider freezing the wafers. Lay them flat in a single layer in a freezer-safe container or bag, separating layers with parchment paper. They can last up to three months frozen.
- Reheating: If you prefer crispy wafers, you can reheat them in a low oven (around 300°F/150°C) for a few minutes. Keep an eye on them to avoid burning.
Final Thoughts
Wafers are a delightful addition to any dessert repertoire or snack table. Their simplicity in preparation makes them accessible for both novice bakers and seasoned cooks. Understanding how wafers are made not only empowers you to create them at home but also opens up a world of creativity in flavoring and serving. Experiment with different ingredients and pairings to find your favorite versions.
Get started today, and don’t forget to check out our recipes for vanilla wafers at vanilla wafer recipe and learn more about popcorn’s journey from kernel to snack at how is popcorn made.