
On chilly mornings, nothing beats the cozy feeling of a warm cup of tea laced with homemade Elderberry Syrup. This delightful syrup not only adds a burst of flavor but also packs a punch of health benefits, thanks to the antioxidant properties of elderberries. It’s easy to make at home, and once you try it, you’ll find yourself reaching for this syrup all year round, especially during cold and flu season.
Why You’ll Love This Recipe
This Elderberry Syrup recipe is a must-try for several reasons.
- Simple ingredients make it accessible and cost-effective.
- Versatile enough to use in drinks, desserts, or even as a natural remedy.
- Rich in flavor with a hint of sweetness that enhances every dish.
- Provides a wonderful boost to your immune system.
My Experience Making This Recipe
As I stirred the bubbling pot of elderberries, the air filled with a sweet, fruity aroma that made my kitchen feel like a warm embrace. My family gathered around, curious about what I was concocting, and soon we were all anticipating the delightful syrup that would soon grace our morning pancakes.
Once ready, the syrup was a hit! We drizzled it over everything, and the health benefits became a delightful bonus in our family’s daily routine.
Recipe Overview
- Recipe Name: Elderberry Syrup
- Servings: 16
- Prep Time: 10 minutes
- Cook Time: 45 minutes
- Total Time: 55 minutes
- Course: Condiment
- Cuisine: American
- Calories per Serving: 38
Equipment You Will Need
- Medium saucepan
- Wooden spoon
- Fine mesh strainer or cheesecloth
- Glass jar or bottle for storage
- Measuring cups and spoons
Ingredients for Elderberry Syrup
- 1 cup dried elderberries
- 4 cups water
- 1 to 2 cups honey (to taste)
- 1 teaspoon cinnamon
- 1 teaspoon ginger
- 1 tablespoon lemon juice
Ingredient Notes and Substitutions
- Dried elderberries: These are the star of the show, bringing flavor and health benefits. You can use fresh elderberries if available, but they may require more cooking time.
- Honey: This sweetener adds delicious flavor and acts as a preservative. Maple syrup or agave can be used as vegan alternatives.
- Cinnamon: Warmth and spice elevate the syrup’s taste. You could substitute with allspice for a different flavor profile.
- Ginger: Adds a zesty kick and extra health benefits. You can use ground ginger or fresh ginger, adjusting the amount as needed.
- Lemon juice: This brightens the syrup and balances sweetness. Lime juice can be used in a pinch.
How to Make Elderberry Syrup
Step 1: Combine Ingredients
In a medium saucepan, combine the dried elderberries and water. This mixture forms the base of your syrup.
Step 2: Bring to a Boil
Heat the mixture over medium-high heat until it reaches a boil. Boiling helps to extract the flavors and nutrients from the elderberries.
Step 3: Simmer
Once boiling, reduce the heat and let it simmer for about 30-40 minutes. This slow cooking allows the flavors to deepen and develop.
Step 4: Mash the Berries
After simmering, use a wooden spoon to mash the elderberries gently. This releases even more flavor and juice into the syrup.
Step 5: Strain the Mixture
Using a fine mesh strainer or cheesecloth, strain the liquid into a bowl. This step separates the solids from the syrup, giving you a smooth texture.
Step 6: Add Sweetness
While the liquid is still warm, stir in the honey until fully dissolved. Adjust the sweetness to your taste, keeping in mind that it will thicken as it cools.
Step 7: Flavor Boost
Add the cinnamon, ginger, and lemon juice to the syrup. These ingredients enhance the flavor complexity and add health benefits.
Step 8: Store the Syrup
Pour the syrup into a clean glass jar or bottle. Allow it to cool completely before sealing and storing it in the refrigerator.
Pro Tip: Use a glass jar with a tight lid to maintain freshness and flavor for longer storage.
Tips for the Best Elderberry Syrup
- Always use high-quality dried elderberries for the best flavor.
- Adjust the sweetness based on your preference; start with less honey and add more if needed.
- Store in a dark, cool place to maintain its potency.
- Consider adding a splash of vanilla extract for a unique flavor twist.
- Make a larger batch and share with friends and family for a healthy gift.
Common Mistakes to Avoid
- Not simmering long enough can result in a weak flavor. Give it time to develop.
- Using too little water can lead to a syrup that is too thick. Follow the water ratio for optimal results.
- Skipping the straining process will leave you with a gritty syrup. Strain well for a smooth texture.
- Not adjusting sweetness can lead to an overly sweet or bland syrup. Taste as you go!
Serving Suggestions
This syrup is a fantastic addition to many dishes. Here are a few ideas to inspire you:
- Drizzle it over pancakes or waffles for a fruity touch.
- Add it to tea for a soothing, flavorful drink.
- Use it as a topping for yogurt or oatmeal.
- Mix it into smoothies for a health boost.
Variations to Try
- Add vanilla for a sweet, aromatic twist.
- Incorporate turmeric for additional anti-inflammatory benefits.
- Experiment with herbs like thyme for a unique flavor.
- Mix with citrus zest for a refreshing burst of flavor.
Dietary Adaptations
- Gluten-free: This recipe is naturally gluten-free.
- Dairy-free: No dairy is used, making it suitable for dairy-free diets.
- Vegan/Vegetarian: Use agave or maple syrup as a vegan alternative to honey.
- Low-carb/Keto: Substitute honey with a low-carb sweetener for a keto-friendly option.
Storage and Reheating
Refrigerator
Store the syrup in an airtight container in the fridge.
- It will last for up to 3 months.
- Always check for signs of spoilage before use.
Freezer
If you want to keep it longer, freeze in ice cube trays.
- Once frozen, transfer to a zip-top bag for easy portioning.
- Use within 6 months for the best quality.
Reheating
To use frozen syrup, simply thaw in the refrigerator or at room temperature.
- You can also gently warm it on the stove if desired.
Nutrition Information
| Nutrient | Amount |
|---|---|
| Calories | 38 |
| Total Fat | 0g |
| Saturated Fat | 0g |
| Carbohydrates | 10g |
| Fiber | 1g |
| Sugar | 9g |
| Protein | 0g |
| Sodium | 1mg |
| Cholesterol | 0mg |
This information is approximate and can vary based on specific ingredients used.
Frequently Asked Questions
Can I use fresh elderberries instead of dried?
Yes, fresh elderberries can be used, but increase the cooking time to extract the flavors properly.
How do I store the syrup?
Store it in an airtight container in the refrigerator, where it lasts up to 3 months.
Can I make this syrup ahead of time?
Absolutely! It can be made in batches and stored for later use.
What if my syrup is too thick?
Add a little water to thin it out until you reach your desired consistency.
Can I use this syrup in recipes?
Yes, it’s great for pancakes, teas, desserts, and even cocktails!
Final Thoughts
Making Elderberry Syrup at home is an enjoyable experience that adds warmth and flavor to your kitchen. With its countless uses and health benefits, you’ll wonder how you ever lived without it.
So gather your ingredients and give this recipe a try. You won’t be disappointed, and your immune system will thank you!
Explore more delicious recipes like this Elderberry Syrup Recipe or whip up a quick Honey Sesame Chicken for a delightful meal.
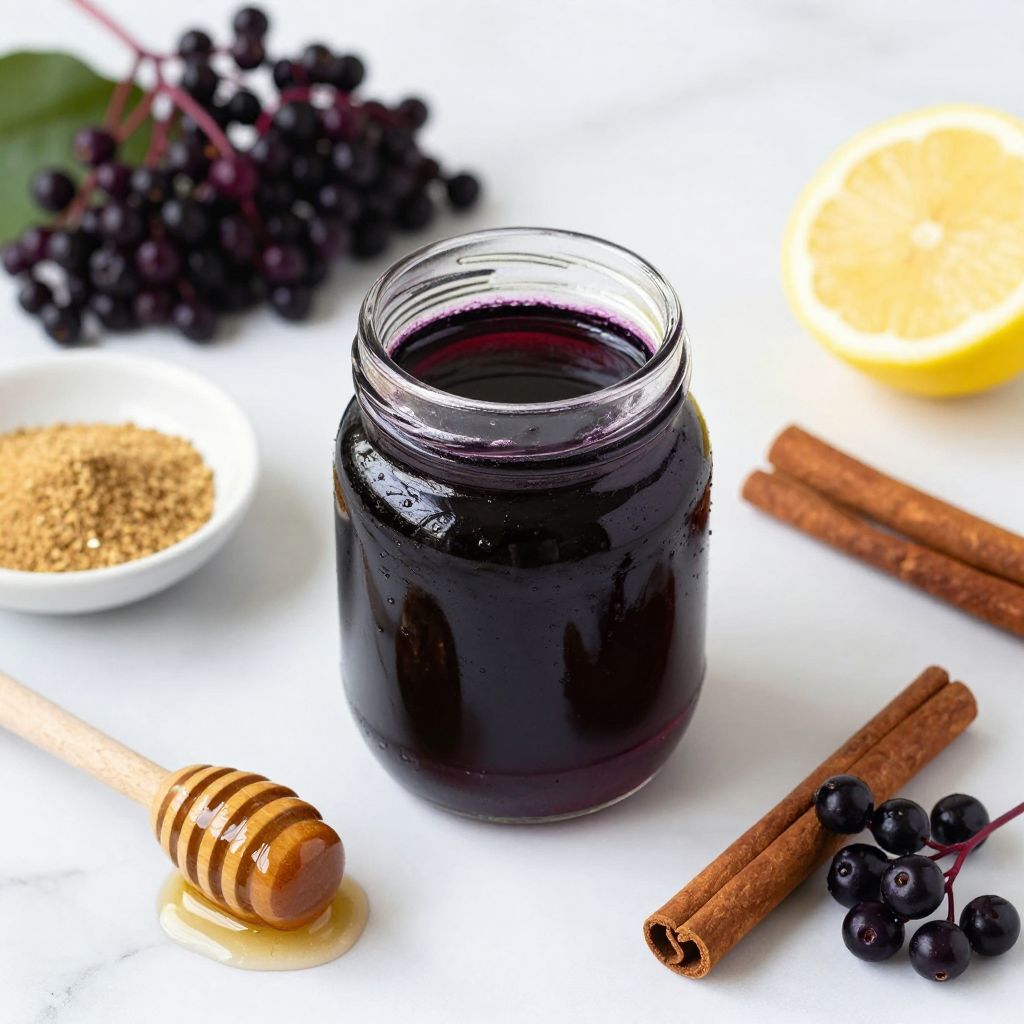
Elderberry Syrup
Ingredients
Equipment
Method
- In a medium saucepan, combine the dried elderberries and water.
- Heat the mixture over medium-high heat until it reaches a boil.
- Once boiling, reduce the heat and let it simmer for about 30-40 minutes.
- After simmering, use a wooden spoon to mash the elderberries gently.
- Using a fine mesh strainer or cheesecloth, strain the liquid into a bowl.
- While the liquid is still warm, stir in the honey until fully dissolved.
- Add the cinnamon, ginger, and lemon juice to the syrup.
- Pour the syrup into a clean glass jar or bottle. Allow it to cool completely before sealing and storing it in the refrigerator.