
There’s something magical about the aroma of oil sizzling with spices, isn’t there? Making your own Chili Crisp Oil at home not only fills your kitchen with irresistible scents, but it also allows you to customize flavors just the way you like them.
This recipe is a delightful combination of heat, crunch, and umami that transforms ordinary dishes into something extraordinary. With its rich texture and versatility, this chili oil brings a punch of flavor to everything from noodles to roasted vegetables.
Why You’ll Love This Recipe
You will adore this Chili Crisp Oil for so many reasons.
- Customizable heat level to suit your taste.
- Great for drizzling over dishes or using as a cooking oil.
- Simple ingredients that pack a flavorful punch.
- Perfect for meal prep and long-lasting in storage.
- Adds a beautiful crunch and depth to your meals.
My Experience Making This Recipe
When I first made this chili oil, I was amazed at how easy it was. The rich, spicy aroma filled my kitchen, making my mouth water before it even hit the table.
Once I tasted it, I knew I had struck gold. It added the perfect kick to my stir-fried noodles and became a staple condiment in my fridge.
Recipe Overview
- Recipe Name: Chili Crisp Oil
- Servings: 16
- Prep Time: 10 minutes
- Cook Time: 10 minutes
- Total Time: 20 minutes
- Course: Condiment
- Cuisine: Asian
- Calories per Serving: 60
Equipment You Will Need
- Small saucepan
- Heatproof bowl
- Fine mesh strainer
- Storage jar
- Spatula
Ingredients for Chili Crisp Oil
- 1 cup vegetable oil
- 1/4 cup crushed red pepper flakes
- 2 tablespoons minced garlic
- 2 tablespoons minced shallots
- 1 tablespoon sesame seeds
- 1 teaspoon salt
- 1 teaspoon sugar
- 1/2 teaspoon black pepper
Ingredient Notes and Substitutions
- Vegetable oil: It provides a neutral flavor. You can substitute with canola or peanut oil.
- Crushed red pepper flakes: They add heat and color. You can use fresh chilies for a different flavor.
- Minced garlic: It enhances the aroma and flavor. Garlic powder can be a quick substitute.
- Minced shallots: They provide a mild sweetness. Onions can work, but they are stronger in flavor.
- Sesame seeds: They add a nutty crunch. You can skip them if you prefer a smoother texture.
How to Make Chili Crisp Oil
Step 1: Heat the Oil
In a small saucepan, heat the vegetable oil over medium heat. This allows the flavors to infuse without burning them.
Step 2: Add Aromatics
Once the oil is hot, add the minced garlic and shallots. Stir frequently to prevent them from browning too quickly.
Step 3: Incorporate Spices
After about 2 minutes, add the crushed red pepper flakes, salt, sugar, and black pepper. This is where the magic begins, as the spices release their flavors into the oil.
Step 4: Cook Until Golden
Continue to cook for another 2-3 minutes, until the garlic and shallots turn golden brown. Be careful not to let them burn, as bitterness can ruin the oil.
Step 5: Remove from Heat
Once golden, remove the saucepan from heat and let it cool slightly. Cooling helps the flavors meld together.
Step 6: Strain the Oil
Pour the mixture through a fine mesh strainer into a heatproof bowl. This separates the crunchy bits from the flavorful oil.
Step 7: Store the Crisp
Transfer the solids to a jar for later use, if desired. They can be used as a topping for extra crunch.
Step 8: Bottle Your Oil
Finally, pour the strained oil into a clean storage jar. Seal tightly, and your chili crisp oil is ready to elevate your dishes!
Pro Tip: Let the oil sit for a day before using to deepen the flavors.
Tips for the Best Chili Crisp Oil
- Use high-quality oil for the best flavor.
- Adjust the heat by varying the amount of red pepper flakes.
- Store in a cool, dark place to maintain freshness.
- Experiment by adding spices like star anise or cinnamon for unique flavors.
- Try using it in marinades for grilled meats or vegetables.
Common Mistakes to Avoid
- Burning the garlic and shallots can make the oil bitter.
- Using low-quality oil can lead to an unpleasant flavor.
- Not straining the oil well can leave unwanted crunchiness.
- Skipping the cooling step can result in a less flavorful oil.
Serving Suggestions
This chili crisp oil is incredibly versatile and can be used in various ways.
- Drizzle over noodles for added flavor.
- Use as a dipping oil for bread.
- Add to stir-fries for an extra kick.
- Top your pizza with a splash for a spicy twist.
Variations to Try
- Add fresh herbs like cilantro or basil for a fresh twist.
- Incorporate lime zest for a zesty flavor.
- Use different types of chili flakes for unique heat levels.
- Swap out garlic for ginger for a different aromatic profile.
Dietary Adaptations
- Gluten-free: All ingredients are naturally gluten-free.
- Dairy-free: This recipe contains no dairy.
- Vegan/Vegetarian: It is suitable for all diets.
- Low-carb/Keto: This oil fits well into low-carb diets.
Storage and Reheating
Refrigerator
Store in an airtight jar in the refrigerator for up to a month.
- Keep it sealed to maintain freshness.
- Use a clean spoon to avoid contamination.
Freezer
For longer storage, you can freeze the oil in ice cube trays.
- Transfer cubes to a freezer bag once frozen.
- Use within three months for best flavor.
Reheating
Reheat gently on the stove or in the microwave before using.
- Heat until warm, but avoid boiling.
- Stir before using to redistribute flavors.
Nutrition Information
| Nutrient | Amount |
|---|---|
| Calories | 60 |
| Total Fat | 7g |
| Saturated Fat | 1g |
| Carbohydrates | 2g |
| Fiber | 0g |
| Sugar | 0g |
| Protein | 0g |
| Sodium | 100mg |
| Cholesterol | 0mg |
This information may vary based on the specific ingredients used.
Frequently Asked Questions
Can I use different oils for this recipe?
Yes, you can use oils like olive or peanut for distinct flavors. Just remember that each oil has a unique taste.
How long does the chili oil last?
It can last up to a month in the refrigerator. For longer storage, freezing is a great option.
Can I make this oil ahead of time?
Absolutely! Make it in advance and let the flavors develop.
Why did my oil not get crispy?
Not cooking the aromatics long enough can cause this. Ensure they are golden brown for the best crunch.
Can I add other spices to this recipe?
Sure! Feel free to experiment with spices like star anise or cumin for an interesting twist.
Final Thoughts
Making your own Chili Crisp Oil is a fun and rewarding experience that elevates your cooking. With each drizzle, you add a touch of warmth and flavor that transforms simple meals into culinary delights.
Don’t hesitate to try this recipe and make it your own. For more delicious recipes, check out my Chili Oil Recipe and explore a flavorful Chili Seasoning Recipe.
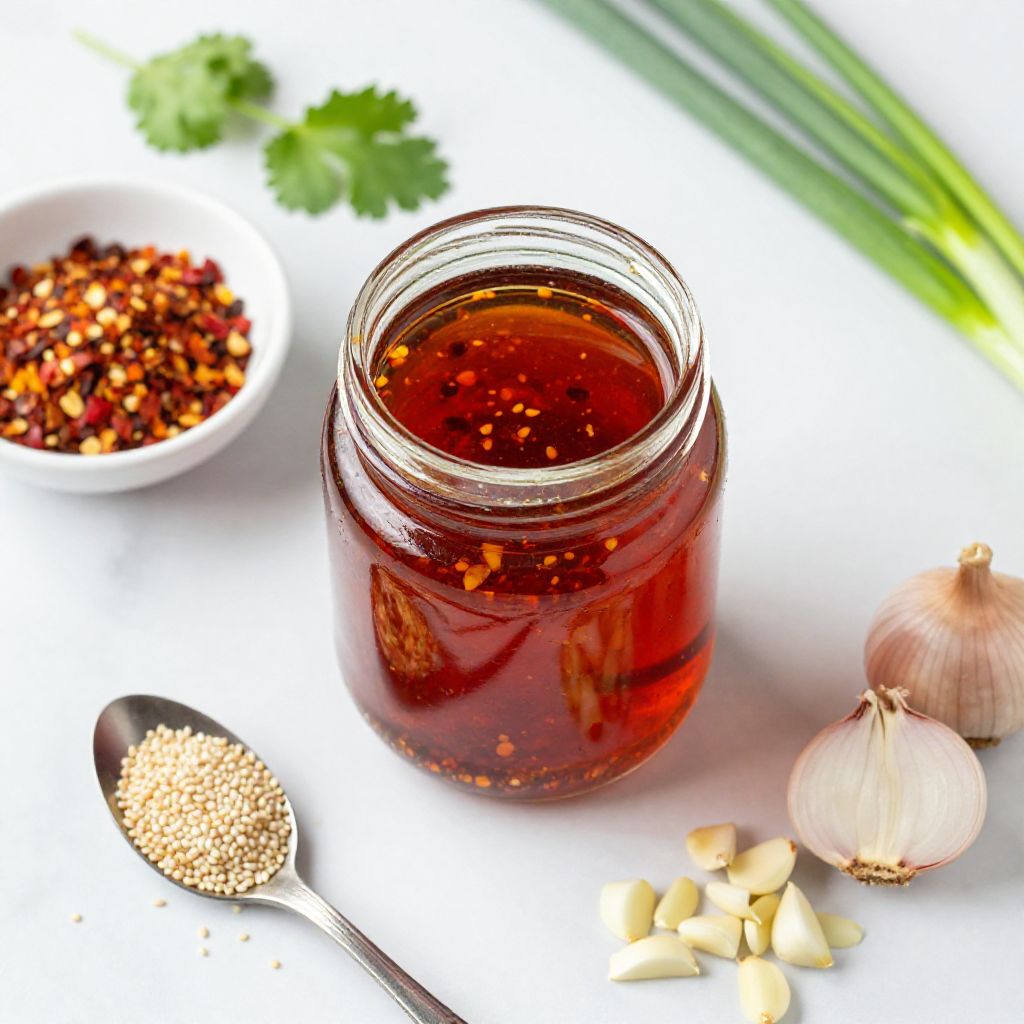
Chili Crisp Oil
Ingredients
Equipment
Method
- In a small saucepan, heat the vegetable oil over medium heat.
- Once the oil is hot, add the minced garlic and shallots, stirring frequently to prevent browning.
- After about 2 minutes, add the crushed red pepper flakes, salt, sugar, and black pepper.
- Continue to cook for another 2-3 minutes, until the garlic and shallots turn golden brown.
- Remove the saucepan from heat and let it cool slightly.
- Pour the mixture through a fine mesh strainer into a heatproof bowl.
- Transfer the solids to a jar for later use if desired.
- Pour the strained oil into a clean storage jar and seal tightly.