
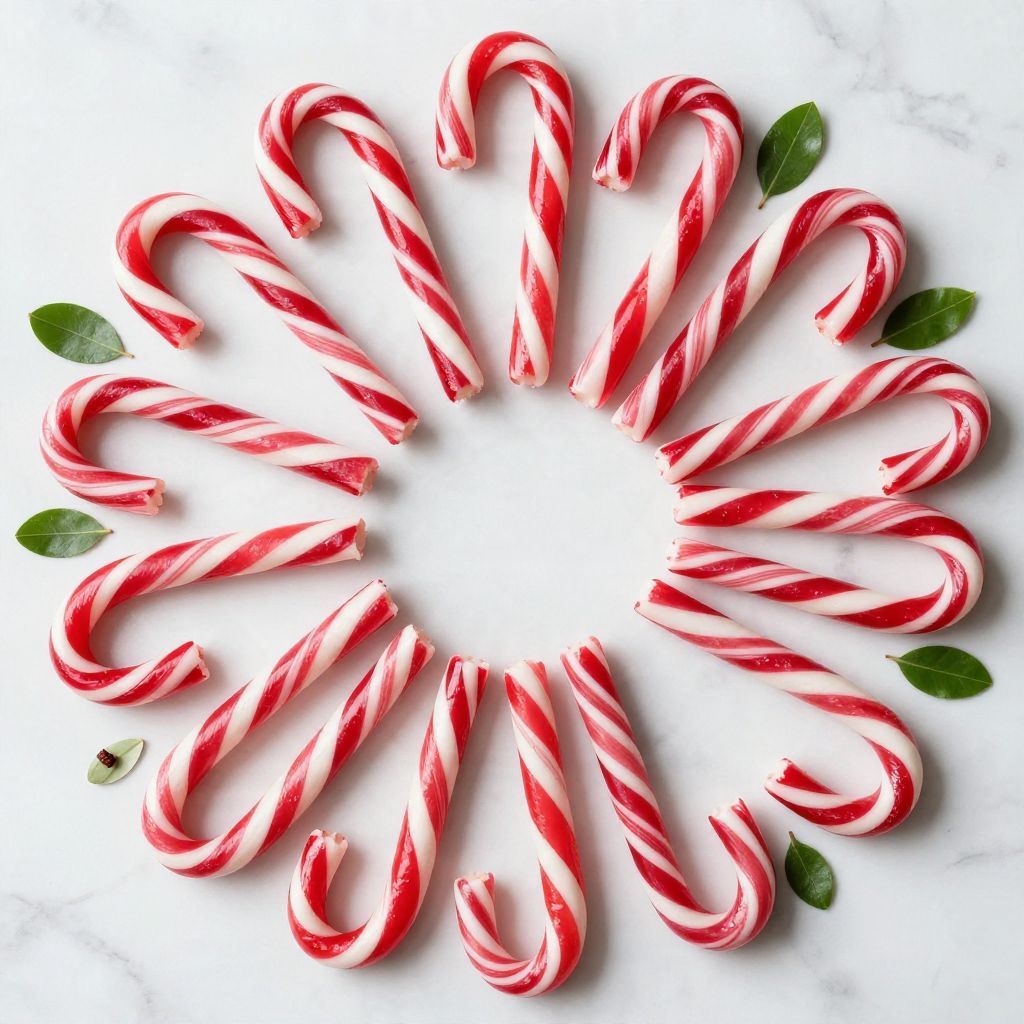
The moment you unwrap a candy cane, the crisp sound and the sweet minty aroma instantly transport you to cozy winter nights. This recipe is not just about candy; it captures the essence of holiday traditions and the joy of creating something special from scratch.
Making candy canes at home is a delightful way to share cheer with family and friends. They are not only visually stunning but also bursting with that iconic mint flavor that makes your taste buds dance.
Why You’ll Love This Recipe
This recipe is a holiday classic that brings warmth and nostalgia.
- Easy to follow instructions that anyone can master.
- Customizable flavors and colors for a personal touch.
- Perfect for gifting or decorating your holiday space.
- Brings the family together for a fun kitchen activity.
My Experience Making This Recipe
The first time I made candy canes, I was amazed by how simple yet rewarding the process was. Watching the sugar mixture transform into shiny candy was like magic in my kitchen.
As I twisted and shaped the canes, I felt a wave of nostalgia for the holiday seasons of my childhood. Sharing them with family brought smiles and laughter, making it a cherished tradition.
Recipe Overview
- Recipe Name: Candy Cane Recipe
- Servings: 12 canes
- Prep Time: 30 minutes
- Cook Time: 15 minutes
- Total Time: 45 minutes
- Course: Candy
- Cuisine: American
- Calories per Serving: 60
Equipment You Will Need
- Heavy-bottomed saucepan
- Candy thermometer
- Wooden spoon
- Marble countertop or silicone mat
- Parchment paper
- Greased spatula
- Food coloring (optional)
- Mint extract
Ingredients for Candy Cane Recipe
- 2 cups granulated sugar
- 1 cup corn syrup
- 1/2 cup water
- 1/2 teaspoon peppermint extract
- Red food coloring (optional)
Ingredient Notes and Substitutions
- Sugar: It provides sweetness and structure. You can use coconut sugar for a different flavor.
- Corn syrup: This prevents crystallization. Honey can be used, but it will alter the flavor.
- Peppermint extract: This gives the classic minty flavor. Use spearmint for a milder taste.
- Food coloring: This adds festive color. Omit if you prefer classic white.
How to Make Candy Cane Recipe
Step 1: Prepare Your Surface
Start by greasing your marble countertop or silicone mat with a bit of oil. This prevents the candy from sticking and makes handling easier.
Step 2: Combine Ingredients
In a heavy-bottomed saucepan, combine sugar, corn syrup, and water. Stir gently until the sugar dissolves, ensuring you don’t create any crystals.
Step 3: Heat the Mixture
Place the saucepan over medium heat and bring the mixture to a boil. Use a candy thermometer to monitor the temperature until it reaches 300°F (hard crack stage).
Step 4: Add Flavor and Color
Once at temperature, remove the pan from heat and stir in the peppermint extract. If using, add a few drops of red food coloring to achieve the desired hue.
Step 5: Cool the Candy
Allow the candy to cool for a few minutes until it’s safe to handle. It should be pliable but not too hot to touch.
Step 6: Shape the Canes
Using a greased spatula, pull the candy and stretch it until it’s smooth and shiny. Twist sections to form the classic cane shape while the candy is still warm.
Step 7: Set the Canes
Place the shaped candy canes on parchment paper to cool completely. This helps them harden and maintain their shape.
Step 8: Enjoy or Package
Once cooled, your candy canes are ready to enjoy or package as gifts. They can also be used to decorate your holiday desserts!
Pro Tip: Make sure to work quickly once the candy is cool enough to handle, as it will harden rapidly.
Tips for the Best Candy Cane Recipe
- Use a candy thermometer for accuracy; it makes all the difference.
- Keep your workspace organized to streamline the shaping process.
- Experiment with different colors and flavors for a unique twist.
- Ensure your hands are greased to prevent sticking while shaping.
- Store in an airtight container to keep them fresh and crisp.
Common Mistakes to Avoid
- Not reaching the right temperature can lead to a chewy texture. Ensure you hit 300°F.
- Stirring too vigorously while boiling can cause crystallization. Gentle stirring is key.
- Overheating the mixture can burn the sugar. Keep a close eye on it.
- Not greasing your surface can lead to sticky situations. Always grease well.
Serving Suggestions
Candy canes are perfect as a holiday treat on their own, but they can also be paired with various items.
- Serve with hot chocolate for a delightful stirrer.
- Crush them for a festive topping on cookies or cupcakes.
- Use them to decorate a gingerbread house for a fun touch.
- Include them in gift baskets for a sweet surprise.
Variations to Try
- Chocolate-dipped candy canes add a rich flavor contrast.
- Cinnamon or vanilla extract can be used for a different twist.
- Use green food coloring for a fun holiday variation.
- Add a sprinkle of sea salt for a sweet and salty combination.
Dietary Adaptations
- Gluten-free: This recipe is naturally gluten-free.
- Dairy-free: No dairy is used, making it suitable for dairy-free diets.
- Vegan: All ingredients are plant-based; simply choose a vegan mint extract.
- Low-carb/keto: Use a sugar substitute like erythritol for a low-carb version.
Storage and Reheating
Refrigerator
Store candy canes in an airtight container in the refrigerator for freshness.
- Keep them in a single layer to prevent sticking.
- They can last for several weeks if stored properly.
Freezer
Candy canes can be frozen for long-term storage.
- Wrap them tightly in plastic wrap and place them in an airtight container.
- They can be frozen for up to six months.
Reheating
You do not need to reheat candy canes, just enjoy them as they are!
- For crushed candy canes, you can store and use them as needed.
Nutrition Information
| Nutrient | Amount |
|---|---|
| Calories | 60 |
| Total Fat | 0g |
| Saturated Fat | 0g |
| Carbohydrates | 16g |
| Fiber | 0g |
| Sugar | 15g |
| Protein | 0g |
| Sodium | 0mg |
| Cholesterol | 0mg |
This nutritional information is approximate and will vary based on specific ingredients used.
Frequently Asked Questions
Can I substitute the peppermint extract?
Yes, you can use spearmint or even other extracts like vanilla for a different flavor.
How far in advance can I make candy canes?
You can make them weeks in advance and store them properly to maintain freshness.
How should I store my candy canes?
Store them in an airtight container in a cool, dry place or in the refrigerator for extra freshness.
What if my candy is too sticky to shape?
If the candy starts to stick, let it cool a bit more before working with it; it should be pliable but not too hot.
Can I use colored sugar instead of food coloring?
Yes, colored sugar can add a fun touch, but it will not give the same vibrant color as food coloring.
Final Thoughts
Making your own candy canes is a rewarding experience that fills your home with festive cheer. Give this recipe a try, and you might just create a new holiday tradition.
Don’t forget to explore more delightful recipes like cranberry candy or candied fruit for even more sweet inspirations!
Candy Cane Recipe
Ingredients
Equipment
Method
- Start by greasing your marble countertop or silicone mat with a bit of oil.
- In a heavy-bottomed saucepan, combine 2 cups granulated sugar, 1 cup corn syrup, and 1/2 cup water.
- Stir gently until the sugar dissolves, ensuring there are no crystals.
- Place the saucepan over medium heat and bring the mixture to a boil.
- Monitor the temperature with a candy thermometer until it reaches 300°F (hard crack stage).
- Remove the pan from heat and stir in 1/2 teaspoon peppermint extract.
- If using, add a few drops of red food coloring for desired hue.
- Allow the candy to cool for a few minutes until it's safe to handle.
- Using a greased spatula, pull and stretch the candy until smooth and shiny.
- Twist sections to form the classic cane shape while the candy is still warm.
- Place the shaped candy canes on parchment paper to cool completely.
- Once cooled, enjoy or package as gifts.