
There’s something magical about pulling a golden, flaky pie crust from the oven, and Betty Crocker’s pie crust recipe delivers that magic every single time. This isn’t a finicky recipe that requires special equipment or years of baking experience; it’s a straightforward, reliable formula that home bakers have trusted for generations.
What makes this crust so special is the balance of simplicity and technique. You get a tender, buttery foundation that shatters satisfyingly under your fork while holding up beautifully to any filling, from fruit to cream to savory custards.
Why You’ll Love This Recipe
This pie crust hits all the marks for busy home cooks and serious bakers alike. It uses pantry staples, comes together in minutes, and delivers professional results every time.
- Foolproof formula with just five basic ingredients
- Flaky, buttery texture that impresses every time
- Makes enough for two single-crust pies or one double-crust pie
- Works beautifully for sweet and savory fillings
- Can be made ahead and frozen for convenience
My Experience Making This Recipe
I first made this crust on a rainy Saturday afternoon when my daughter asked if we could bake a cherry pie together. I grabbed my well-worn copy of the Betty Crocker cookbook, and within twenty minutes, we had two discs of dough resting in the fridge.
The dough came together so easily that my daughter actually wanted to make the filling herself. When that pie emerged from the oven with a deep golden crust, she was absolutely hooked, and honestly, so was I.
Since that day, I’ve made this crust at least a dozen times for everything from apple pies to quiches. Every single batch has been consistently flaky and tender, and guests regularly ask for the recipe because they can taste the quality of the butter.
Recipe Overview
- Recipe Name: Betty Crocker Pie Crust
- Servings: Makes 2 single-crust pies or 1 double-crust pie
- Prep Time: 15 minutes
- Chill Time: 30 minutes
- Total Time: 45 minutes (plus chilling)
- Course: Dessert or Main Course
- Cuisine: American
- Calories per Serving: 120 per 1/8 of single-crust pie
Equipment You Will Need
- Measuring cups and spoons
- Mixing bowls (one large, one small)
- Fork or pastry cutter
- Plastic wrap or wax paper
- Rolling pin
- 9-inch pie pan
- Kitchen scale (optional but helpful)
- Shallow baking sheet for chilling
Ingredients for Betty Crocker Pie Crust
- All-purpose flour: 2 1/4 cups
- Cold unsalted butter: 1 cup (2 sticks), cut into 1/2-inch cubes
- Salt: 1 teaspoon
- Ice water: 5 to 7 tablespoons, plus more as needed
- Sugar: 1 tablespoon (optional, for sweet pies)
Ingredient Notes and Substitutions
- All-purpose flour: This provides the right balance of structure and tenderness for pie crust; use unbleached if you prefer a more natural product. Cake flour will make the crust too tender and crumbly, so stick with all-purpose.
- Cold unsalted butter: Cold butter creates steam pockets that produce flakiness; you need the temperature contrast to work properly. Salted butter will throw off the salt balance, and shortening produces a different texture entirely.
- Salt: Salt enhances the buttery flavor and prevents the crust from tasting flat. You can reduce it to 3/4 teaspoon if watching sodium intake, though the flavor impact will be noticeable.
- Ice water: Ice water keeps the dough cool and prevents the butter from warming and blending into the flour. Room-temperature water will cause a tougher, less flaky crust.
- Sugar: Sugar adds subtle sweetness and aids browning for sweet pies. Omit it entirely for savory fillings like quiches or chicken pot pie.
How to Make Betty Crocker Pie Crust
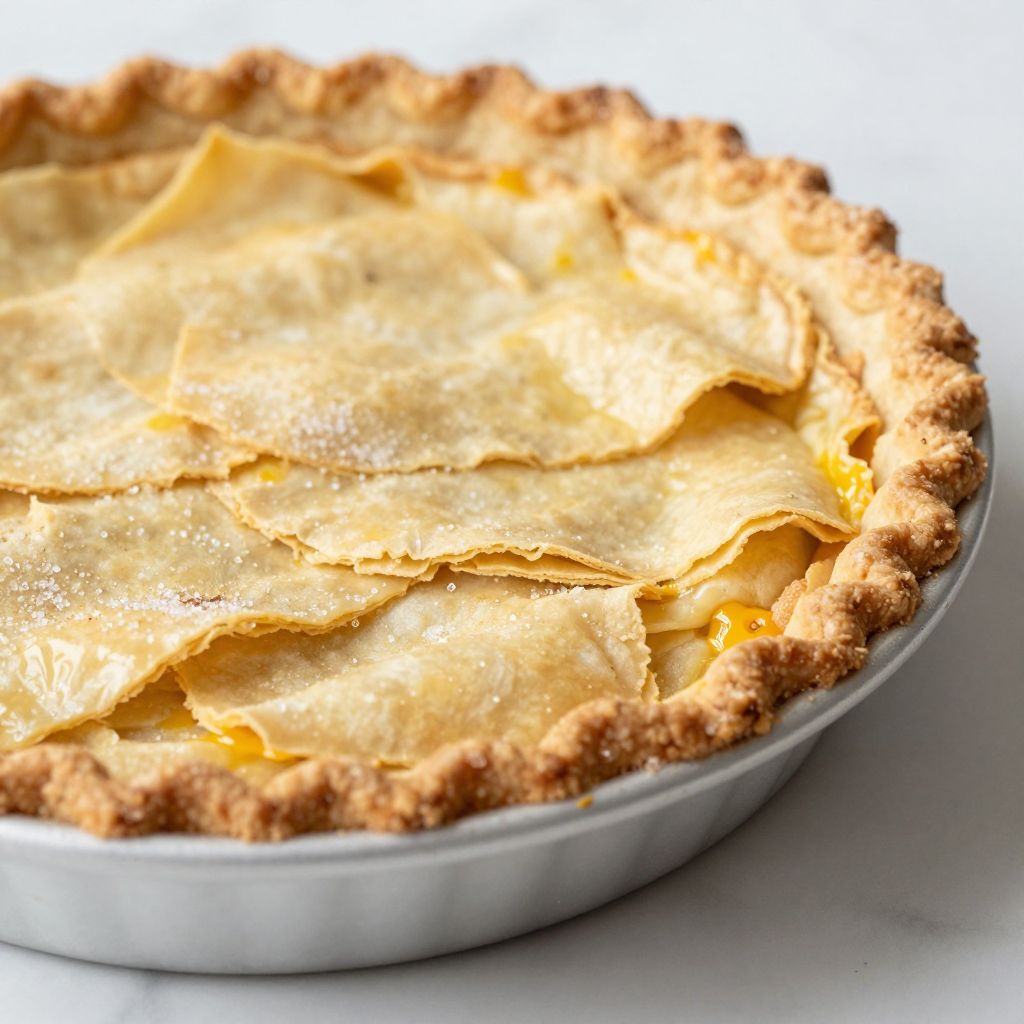
Step 1: Mix Flour and Salt
In a large mixing bowl, whisk together the all-purpose flour, salt, and sugar if making a sweet crust. Whisking aerates the flour and distributes the salt evenly, which helps develop a more tender crumb structure.
Step 2: Cut in the Cold Butter
Add the cold butter cubes to the flour mixture, and using a pastry cutter or fork, cut the butter into the flour until the mixture resembles coarse breadcrumbs with pea-sized pieces of butter still visible. This is the critical moment: you want visible butter pieces because they create the steam pockets that make the crust flaky, so resist the urge to blend everything smoothly.
Step 3: Add Ice Water Gradually
Sprinkle 5 tablespoons of ice water over the flour mixture, then toss with a fork until the dough just begins to come together. Add another tablespoon or two only if the dough seems too dry and won’t hold together when squeezed.
The dough should look shaggy and rough at this point, not smooth and cohesive, which means you’re handling it the right way. Over-mixing develops gluten, which makes the crust tough instead of tender.
Step 4: Form Discs and Wrap
Divide the dough into two equal portions and shape each into a flat disc about 1/2 inch thick. Wrap each disc in plastic wrap or wax paper and refrigerate for at least 30 minutes, or up to 24 hours.
Chilling relaxes the gluten strands and allows the flour to fully hydrate, both of which contribute to a tender, flaky final product. The dough can also be frozen at this point for up to three months.
Step 5: Remove from Refrigerator
Take one dough disc from the refrigerator and let it sit at room temperature for 5 to 10 minutes until it’s soft enough to roll without cracking. If it’s too firm, the edges will crack and shatter as you roll, making it frustrating to work with.
Step 6: Roll Out the Dough
On a lightly floured work surface, roll the dough from the center outward into a 12-inch circle, about 1/8 inch thick. Roll gently and evenly, checking underneath occasionally and adding more flour if it sticks; thick spots will cook unevenly, and thin spots may tear.
Step 7: Transfer to Pie Pan
Gently fold the rolled dough in half, then in half again, and transfer it to your pie pan. Unfold it carefully and press it into the bottom and sides of the pan without stretching, as stretched dough shrinks during baking.
Trim any overhanging edges with scissors, leaving about 1/2 inch of overhang. Fold the overhang under itself to create a raised rim, then crimp decoratively with your fingers or a fork.
Step 8: Blind Bake or Pre-Chill
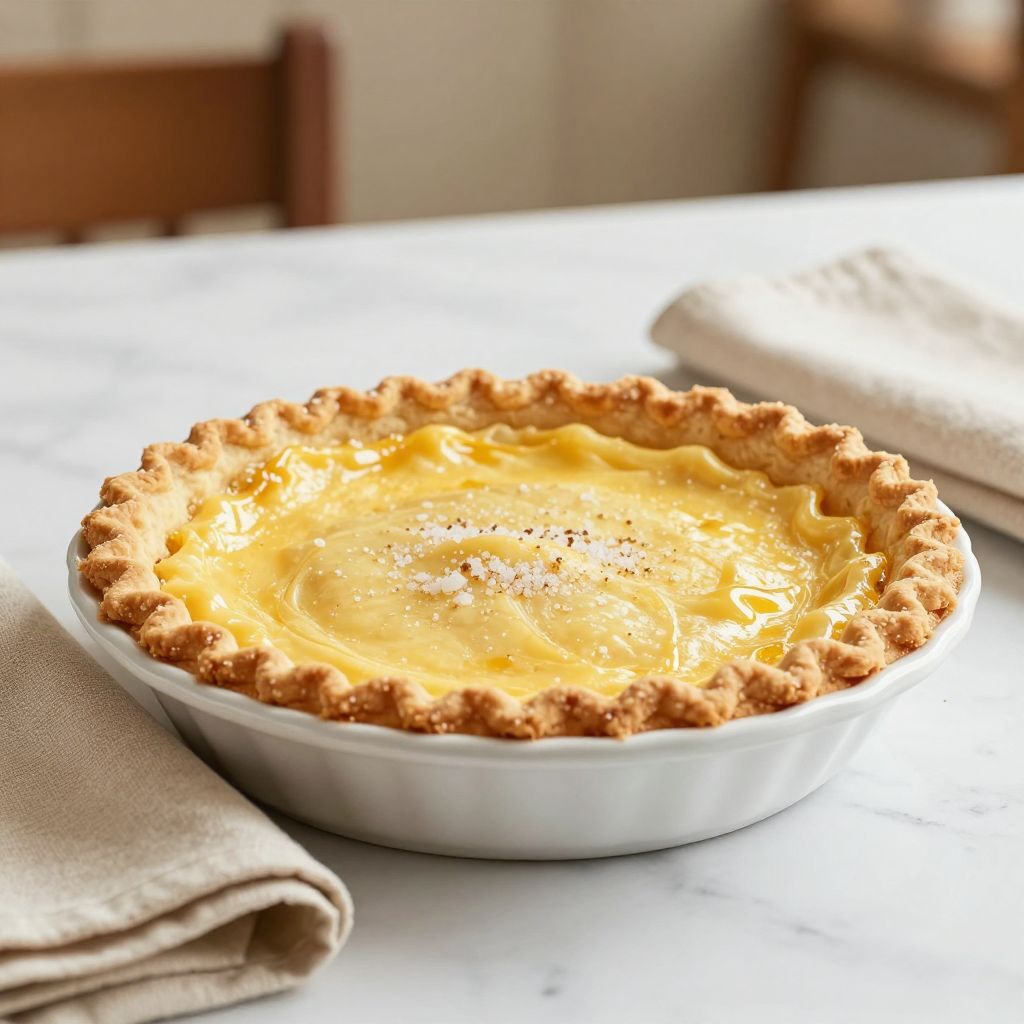
For cream or custard pies, place the crust in the freezer for 15 to 20 minutes, then blind bake at 425 degrees Fahrenheit for 10 to 12 minutes until lightly golden, using pie weights or dried beans to prevent puffing. For fruit pies where the filling cooks alongside the crust, simply chill the assembled pan in the refrigerator for 30 minutes before adding filling.
Pre-chilling and partially baking prevents a soggy bottom crust, which is one of the biggest enemies of a perfect pie.
Pro Tip: Keep all your ingredients cold and work quickly with cold hands; even a few degrees of warmth will soften the butter and ruin the flaky texture you’ve worked to achieve.
Tips for the Best Betty Crocker Pie Crust
- Use a kitchen scale to measure your flour precisely; scooping directly from the bag compacts the flour and throws off the flour-to-fat ratio. Weigh the flour or spoon it gently into the measuring cup and level off the top.
- Chill your mixing bowl and even your flour in the freezer for 10 minutes before starting if your kitchen is particularly warm. Temperature control is your best friend for flaky crusts.
- Don’t skip the resting period; chilled dough is more forgiving and easier to roll, and it also shrinks less during baking. Patience really does pay off here.
- If your dough cracks as you roll it, simply press the dough into the pan; any cracks will seal up during baking. This is totally normal and nothing to worry about.
- Brush the finished crust lightly with egg wash or milk before baking to achieve an extra-golden, professional appearance. This simple step makes a noticeable visual difference.
- Use butter, not shortening or coconut oil; the flavor and texture difference is substantial, and this is one area where the good ingredient truly matters.
Common Mistakes to Avoid
- Warming the dough during mixing: Soft butter blends into the flour instead of creating pockets, resulting in a dense, tough crust rather than a flaky one. Keep everything cold from start to finish.
- Adding too much water: Excess water develops gluten and creates a crust that’s tough and chewy rather than tender and delicate. Add water slowly and only as much as needed for the dough to barely hold together.
- Skipping the chill time: Unchill dough shrinks dramatically during baking and may tear or pull away from the pan edges. Those 30 minutes of rest are non-negotiable for best results.
- Over-mixing the dough: Stirring and kneading develops gluten, which toughens the crust and reduces flakiness. Mix only until the dough just comes together; rough and shaggy is exactly what you want.
- Stretching the dough into the pan: Stretched dough remembers its original shape and shrinks back during baking, creating an uneven crust. Press it gently without pulling.
Serving Suggestions
A homemade pie crust deserves a filling that honors all your hard work. Fill it with your favorite flavors and serve it proudly as the centerpiece of any dessert table.
- Classic apple pie with vanilla ice cream and caramel drizzle
- Cherry or peach filling with fresh whipped cream on the side
- Chocolate cream or banana cream pie for pure indulgence
- Savory quiche with fresh herbs, cheese, and roasted vegetables
- Pumpkin pie spiced custard during fall and holiday seasons
Variations to Try
- Herb crust: Add 1 teaspoon of dried herbs like thyme, oregano, or Italian seasoning to the flour mixture for savory pies; the herbs integrate seamlessly and add subtle depth without overpowering the filling.
- Whole wheat crust: Replace 1/2 cup of all-purpose flour with whole wheat flour for a nuttier flavor and slightly heartier texture; expect the dough to be slightly more fragile, so handle it gently.
- Cornmeal crust: Substitute 1/4 cup of flour with fine cornmeal for a subtle corn flavor and interesting sandy texture; this pairs beautifully with fruit fillings and adds visual interest to the finished pie.
- Brown butter crust: Brown the butter before cutting it into the flour for a deeper, toasted flavor; this elevates fruit pies noticeably and makes them taste restaurant-quality.
- Extra-buttery crust: Increase the butter to 1 1/4 cups and reduce the water slightly for an even richer, more decadent crust; this version is best reserved for special occasions because it’s less forgiving.
Dietary Adaptations
- Gluten-free: Replace all-purpose flour with a 1-to-1 gluten-free flour blend; the texture will be slightly more fragile, so handle it with extra care and chill it longer before rolling.
- Dairy-free: Substitute the butter with cold dairy-free butter or coconut oil in equal amounts; coconut oil produces a slightly flakier crust but imparts a subtle coconut flavor that some prefer.
- Vegan: Use dairy-free butter and replace water with aquafaba (chickpea liquid) if desired for slightly better binding; the results are surprisingly excellent and nearly indistinguishable from traditional crust.
- Low-carb/keto: Use almond flour mixed with psyllium husk as a flour substitute; the texture will be different and requires experimentation, but keto pie crust enthusiasts swear by this combination.
Storage and Reheating
Refrigerator
Store an unbaked dough disc wrapped in plastic wrap for up to 24 hours. A baked pie crust should be covered loosely with foil and keeps for up to three days before it begins to soften and lose crispness.
- Unbaked dough discs: wrapped tightly in plastic, up to 24 hours
- Baked crust: loosely covered, up to 3 days
- Filled pie: depends on filling type, generally 2 to 4 days
Freezer
Unbaked dough discs freeze beautifully for up to three months, and a fully baked crust also freezes well for future use. Wrap everything tightly in plastic wrap, then foil, to prevent freezer burn.
- Unbaked dough discs: wrapped tightly, up to 3 months
- Baked crust: wrapped tightly, up to 2 months
- Filled baked pie: up to 2 months depending on filling
Reheating
Thaw frozen unbaked dough in the refrigerator overnight before rolling and baking. A frozen baked crust can go straight into a 350-degree Fahrenheit oven for 8 to 10 minutes to crisp up the exterior.
- Unbaked dough: thaw overnight in refrigerator, then use as directed
- Baked crust: reheat at 350 degrees for 8 to 10 minutes to restore crispness
- Filled pie: reheat at 350 degrees for 15 to 20 minutes until warmed through
Nutrition Information
| Nutrient | Amount |
|---|---|
| Calories | 120 |
| Total Fat | 8g |
| Saturated Fat | 5g |
| Carbohydrates | 10g |
| Fiber | 0g |
| Sugar | 1g |
| Protein | 2g |
| Sodium | 200mg |
| Cholesterol | 20mg |
Nutritional values are approximate and based on one serving of a single-crust pie cut into 8 pieces. Values will vary depending on filling choices and any egg wash or glazes applied.
Frequently Asked Questions
Can I make the dough the night before?
Yes, unbaked dough discs keep beautifully in the refrigerator for up to 24 hours wrapped in plastic wrap. This actually allows the gluten to relax further, which can result in an even more tender crust.
What should I do if my dough is too sticky to roll?
Add a bit more flour to your work surface, or let the dough chill for another 10 to 15 minutes in the refrigerator. A cold dough is always easier to work with than a warm one.
Why did my crust shrink during baking?
Shrinkage usually happens because the dough wasn’t chilled adequately, or because the dough was stretched during shaping. Always chill after shaping and avoid pulling the dough as you transfer it to the pan.
Can I use butter-flavored shortening instead of real butter?
You can, but the flavor and texture will suffer noticeably; real butter creates superior flakiness and flavor that shortening cannot match. The extra cost of quality butter is worth it for pie crust.
Is it okay to make the filling the same day as the crust?
Absolutely, though chilling the crust while making the filling actually works in your favor. The extra chill time reduces shrinkage and helps ensure a crispy bottom crust.
How do I know if my crust is done baking?
A finished crust should be deep golden brown, not pale yellow, and the edges should be a rich amber color. If it’s pale, it needs more time; if it’s dark brown but the bottom looks pale, your oven temperature might be too high.
Final Thoughts
Learning to make a reliable pie crust is one of those kitchen skills that pays dividends for years and years. Once you’ve mastered this Betty Crocker formula, you’ll find yourself making pies for every occasion, confident that the crust will turn out beautifully every single time.
Stop by your kitchen this weekend and give this recipe a try; your friends and family will genuinely believe you’ve been baking pies professionally. The joy on their faces when they bite into that flaky, buttery crust will make every minute of effort completely worthwhile.
Explore More Pie Recipes
Now that you’ve mastered pie crust, expand your pie-making repertoire with other delicious recipes.
Try making a pecan pie recipe without corn syrup for a nutty alternative, or bake a stunning pear pie recipe when pears are in season. Each of these pairs beautifully with a homemade crust and delivers impressive results that will make you feel like a true baker.
Betty Crocker Pie Crust
Ingredients
Equipment
Method
- In a large mixing bowl, whisk together 2 1/4 cups all-purpose flour, 1 teaspoon salt, and 1 tablespoon sugar if making a sweet crust.
- Add 1 cup cold unsalted butter cubes and cut in with a pastry cutter or fork until mixture resembles coarse breadcrumbs with pea-sized pieces of butter visible.
- Sprinkle 5 tablespoons ice water over the mixture and toss with a fork until the dough just begins to come together, adding up to 2 more tablespoons water if needed.
- Divide dough into two equal portions and shape each into a 1/2-inch-thick disc; wrap each disc in plastic wrap and refrigerate for at least 30 minutes.
- Preheat oven to 425°F (220°C); remove one disc from refrigerator and let rest at room temperature for 5 to 10 minutes until soft enough to roll.
- On a lightly floured surface, roll dough into a 12-inch circle about 1/8-inch thick, then transfer to a 9-inch pie pan, trim overhang to 1/2-inch, fold under, and crimp edges.
- Freeze or chill the prepared crust for 15 minutes on a shallow baking sheet to prevent shrinking.
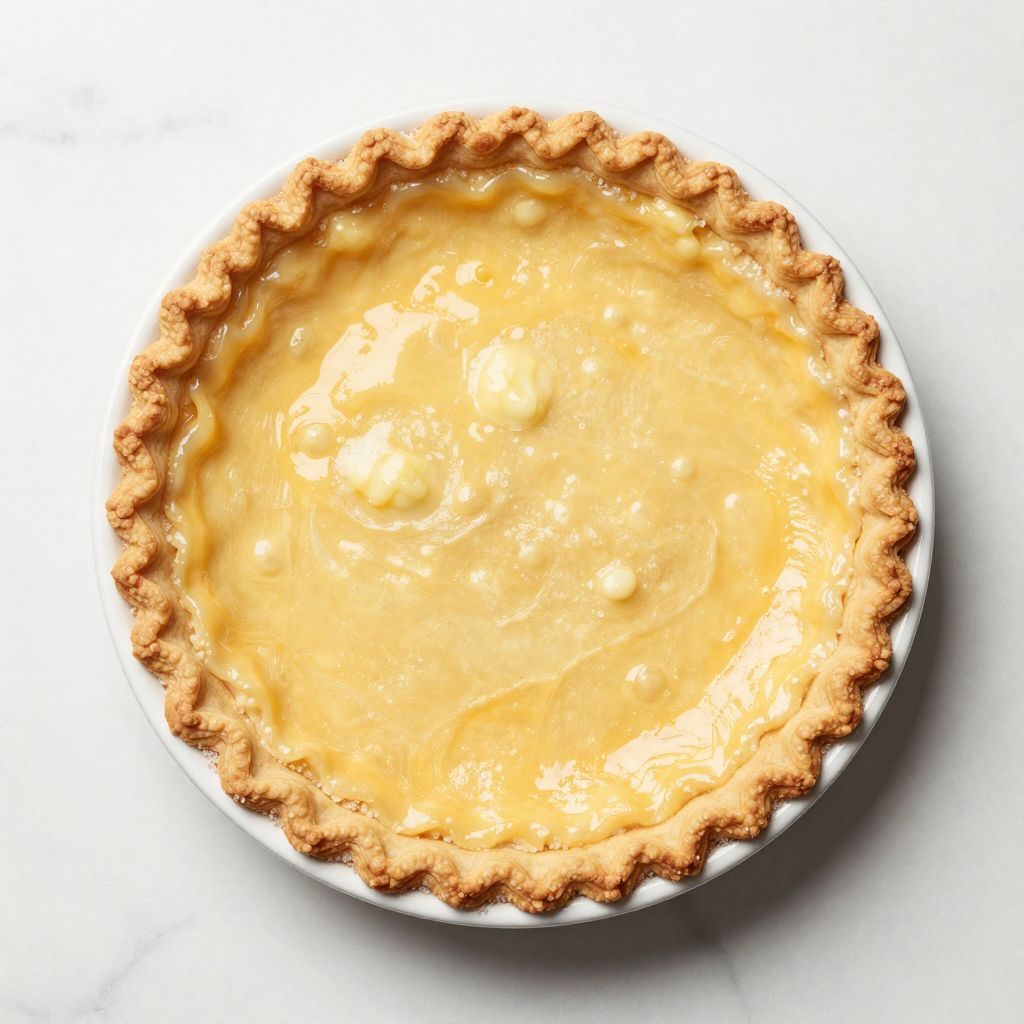
- Blind bake at 425°F (220°C) for 10 to 12 minutes using pie weights or dried beans until lightly golden; cool before filling.