
There’s something magical about the smell of freshly baked bread wafting through your kitchen, isn’t there? The Best Bread Maker Recipe combines simplicity with deliciousness, making it perfect for busy parents and food enthusiasts alike. With its soft texture and golden crust, this bread is not just easy to make but also versatile enough to suit any meal. Let’s dive into the details so you can enjoy a slice of homemade goodness in no time!
Why You’ll Love This Recipe
This recipe is a game changer for your weekly meal prep.
- Effortless preparation with minimal cleanup.
- Customizable flavors to suit your taste preferences.
- Perfect for sandwiches, toast, or as a side.
- Impressive crust and soft interior every time.
My Experience Making This Recipe
The first time I made this bread, my kitchen felt like a cozy bakery. The aroma filled my home, and my family couldn’t resist grabbing slices right out of the bread maker.
Each bite was a delightful blend of warmth and flavor, making it a staple in my household. I love how easy it is to prepare and how it always turns out perfectly, no matter how many times I make it.
Recipe Overview
- Recipe Name: Best Bread Maker Recipe
- Servings: 12 slices
- Prep Time: 10 minutes
- Cook Time: 3 hours
- Total Time: 3 hours 10 minutes
- Course: Bread
- Cuisine: American
- Calories per Serving: 120
Equipment You Will Need
- Bread maker
- Measuring cups
- Measuring spoons
- Mixing bowl
- Spatula
Ingredients for Best Bread Maker Recipe
- 3 cups bread flour
- 1 teaspoon salt
- 1 tablespoon sugar
- 2 tablespoons olive oil
- 1 teaspoon active dry yeast
- 1 cup warm water
Ingredient Notes and Substitutions
- Bread flour: This gives the bread its structure. You can substitute with all-purpose flour, but the texture may be less chewy.
- Salt: Enhances flavor and controls fermentation. Sea salt can be used as an alternative.
- Sugar: Feeds the yeast for rising. Honey or maple syrup can be used in place of sugar.
- Olive oil: Adds moisture and flavor. Melted butter or any neutral oil works well too.
- Active dry yeast: Helps the bread rise. Instant yeast can be used without any adjustments.
How to Make Best Bread Maker Recipe
Step 1: Prepare the Ingredients
Gather all your ingredients and measure them accurately. Proper measurement ensures consistent results, making a significant difference in the final loaf.
Step 2: Add Ingredients to the Bread Maker
Pour the warm water into the bread maker first, followed by the olive oil. This order helps the yeast activate properly.
Step 3: Mix Dry Ingredients
In a mixing bowl, combine the bread flour, salt, sugar, and yeast. This ensures even distribution of flavors and nutrients throughout the dough.
Step 4: Add Dry Ingredients to the Bread Maker
Carefully add the dry mixture to the bread maker on top of the wet ingredients. Make sure the dry ingredients cover the liquid to avoid clumping.
Step 5: Set the Bread Maker
Close the lid and select the basic bread setting. Most machines have specific settings for different types of bread, so choose the one that suits your preference.
Step 6: Start the Bread Maker
Press start and let the machine do its magic. You can sit back and relax, which is the beauty of using a bread maker!
Step 7: Cool the Bread
Once the baking cycle is complete, carefully remove the bread from the pan. Let it cool on a wire rack to prevent sogginess.
Step 8: Slice and Serve
Once cooled, slice the bread as desired. Enjoy it fresh or store it for later use; it’s great for sandwiches or toast.
Pro Tip: Always check the bread during the baking cycle. If your machine allows, you can add extra seeds or herbs for a flavor boost!
Tips for the Best Best Bread Maker Recipe
- Use fresh yeast for the best rise and flavor.
- Ensure your water is warm, not hot, to activate yeast without killing it.
- Experiment with different flours for unique textures.
- Store leftover bread in an airtight container to keep it fresh longer.
- Try adding herbs or cheese for a flavorful twist.
Common Mistakes to Avoid
- Not measuring ingredients accurately can lead to dense bread.
- Using cold water slows down yeast activation, affecting rise.
- Opening the bread maker during baking can disrupt the process.
- Storing bread in a humid place leads to mold growth.
Serving Suggestions
This bread pairs beautifully with many dishes. Here are a few ideas:
- Spread with butter and jam for breakfast.
- Use for hearty sandwiches with your favorite fillings.
- Serve alongside soups or stews for a comforting meal.
- Toast slices and enjoy with avocado for a trendy snack.
Variations to Try
- Add seeds like sunflower or flax for a crunchy texture.
- Mix in herbs such as rosemary or thyme for an aromatic loaf.
- Incorporate cheese for a savory twist.
- Try whole wheat flour for a nuttier flavor and more fiber.
Dietary Adaptations
- Gluten-free: Use a gluten-free bread mix for a suitable alternative.
- Dairy-free: This recipe is naturally dairy-free with no substitutions needed.
- Vegan: Replace honey with maple syrup to keep it plant-based.
- Low-carb/Keto: Use almond or coconut flour for a low-carb option.
Storage and Reheating
Refrigerator
Store the bread in an airtight container in the refrigerator for up to a week.
- Slice before storing for easier access.
- Wrap tightly to avoid drying out.
Freezer
The bread can be frozen for up to three months. Just wrap it well in plastic wrap and foil.
- Slice before freezing for convenience.
- Thaw in the fridge overnight when ready to eat.
Reheating
Reheat slices in a toaster or oven to restore freshness. This will give you that just-baked flavor.
- Wrap in foil and warm in the oven for a few minutes.
- Toast slices quickly for a crispy exterior.
Nutrition Information
| Nutrient | Amount |
|---|---|
| Calories | 120 |
| Total Fat | 2g |
| Saturated Fat | 0.3g |
| Carbohydrates | 24g |
| Fiber | 1g |
| Sugar | 1g |
| Protein | 4g |
| Sodium | 120mg |
| Cholesterol | 0mg |
This is an estimate and can vary based on specific ingredients used.
Frequently Asked Questions
Can I use all-purpose flour instead of bread flour?
Yes, but the texture will be softer, and it may not rise as well.
Can I make this bread ahead of time?
Absolutely! Just store it properly to keep it fresh.
How should I store leftover bread?
Keep it in an airtight container at room temperature or refrigerate to prolong its shelf life.
What should I do if my bread doesn’t rise?
This could happen if the yeast is expired or if the water was too hot. Make sure to use fresh yeast and warm water around 110°F.
Can I add nuts or seeds to the dough?
Yes! Just fold them in during the mixing stage for added texture and flavor.
Final Thoughts
Making the Best Bread Maker Recipe is not just about baking; it’s about filling your home with warmth and comfort. You’ll be amazed at how simple it is to create something so delightful.
Give this recipe a try, and you may just find yourself saying goodbye to store-bought bread forever. For more delicious options, check out my Honey Wheat Bread Recipe and Almond Flour Bread Recipe.
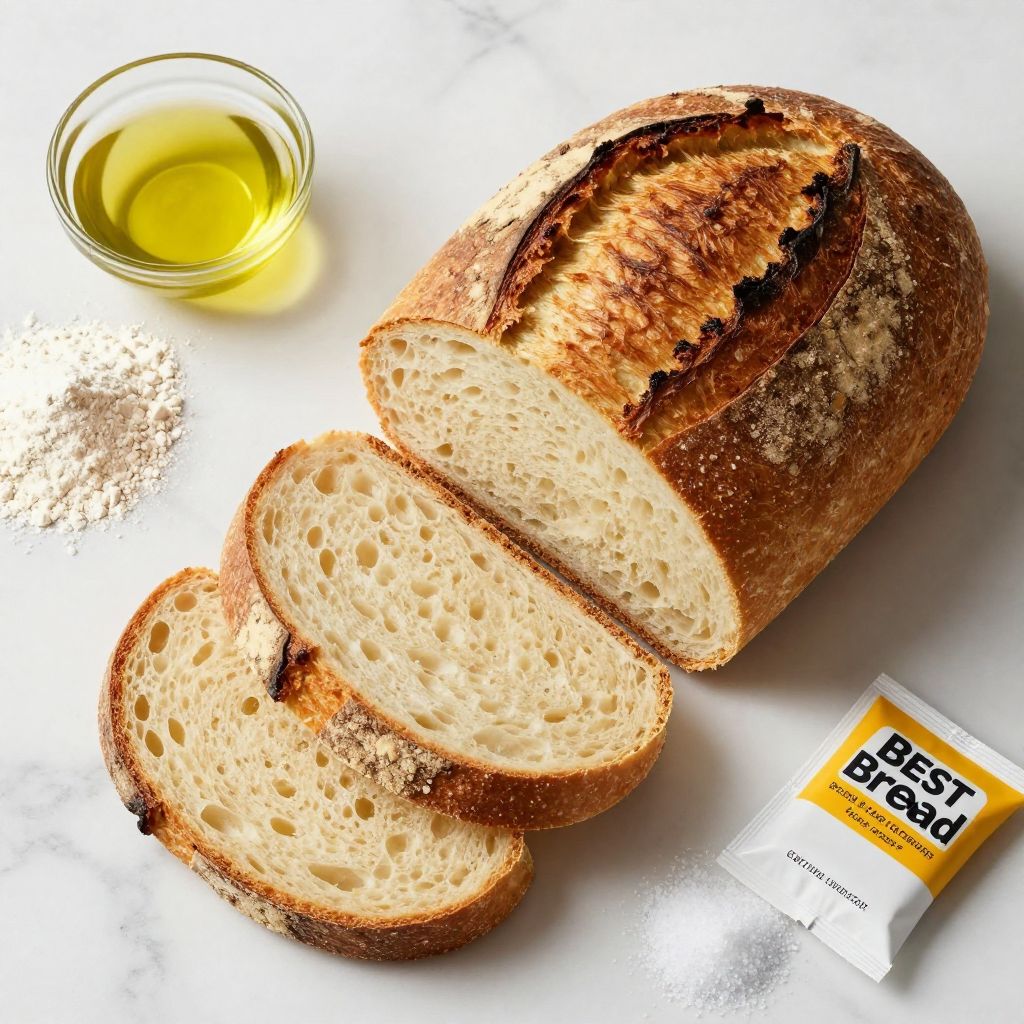
Best Bread Maker Recipe
Ingredients
Equipment
Method
- Gather all your ingredients and measure them accurately.
- Pour the warm water into the bread maker first, followed by the olive oil.
- In a mixing bowl, combine the bread flour, salt, sugar, and yeast.
- Carefully add the dry mixture to the bread maker on top of the wet ingredients.
- Close the lid and select the basic bread setting.
- Press start and let the machine do its magic.
- Once the baking cycle is complete, carefully remove the bread from the pan.
- Let it cool on a wire rack to prevent sogginess.
- Once cooled, slice the bread as desired.