
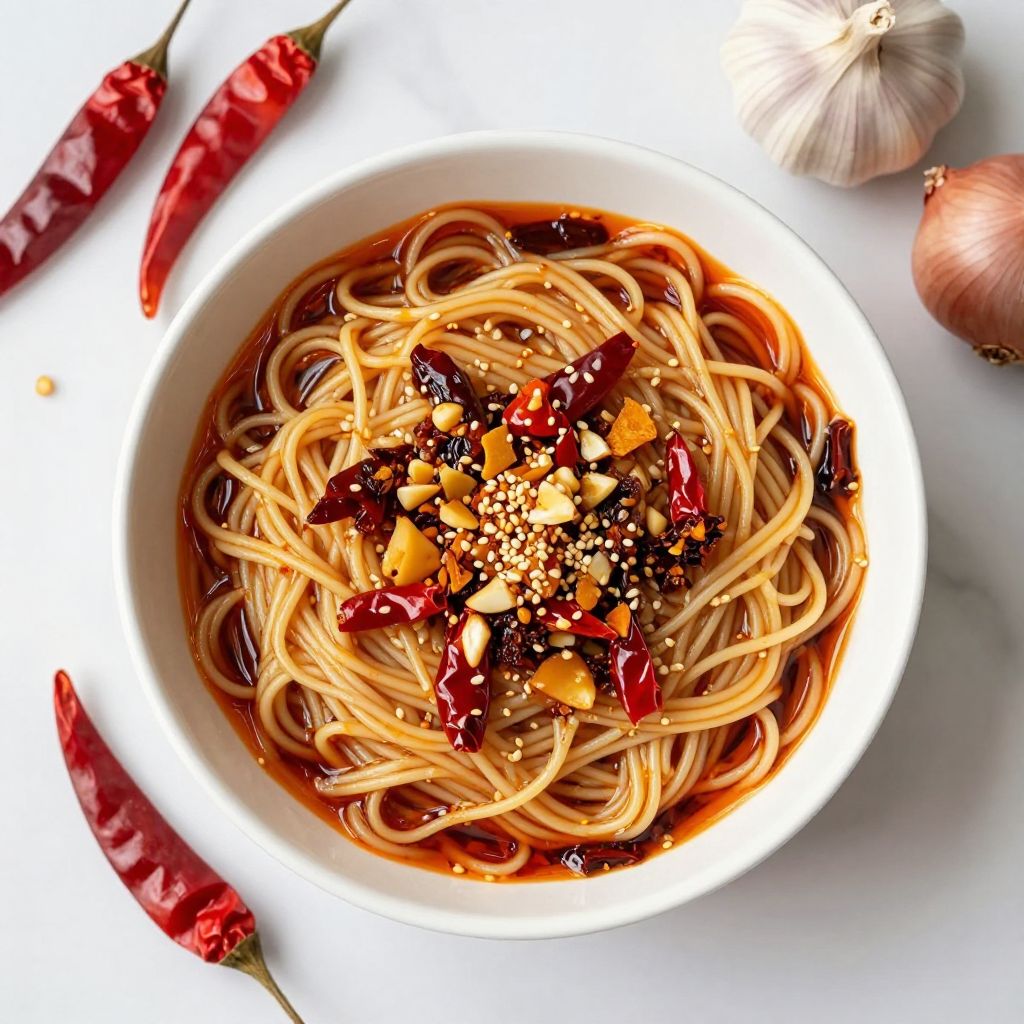
Picture this: a warm bowl of noodles topped with a drizzle of spicy, crunchy goodness that sends your taste buds dancing. That’s the magic of Chilli Crisp, a delightful condiment that adds a punch of flavor and texture to just about any dish. This recipe is special because it combines the rich, aromatic notes of garlic and shallots with the fiery kick of chilies, creating a versatile topping that elevates your meals. It’s quick to prepare, packed with bold flavors, and perfect for those who love a little heat in their life.
Why You’ll Love This Recipe
You’ll adore this recipe for its bold flavors and easy preparation. It’s a true game-changer for any dish.
- Quick to make in under 30 minutes.
- Versatile—great on noodles, rice, or even eggs.
- Customizable heat level to suit your taste.
- Rich texture with crispy garlic and shallots.
- Perfect for meal prep or gifting.
My Experience Making This Recipe
The first time I made Chilli Crisp, my kitchen filled with an irresistible aroma that made my stomach growl. Each crunch and pop from the frying garlic and shallots was like a culinary symphony.
When I finally drizzled it over a simple bowl of rice, my taste buds were in heaven. Friends and family couldn’t get enough, and I quickly became the go-to source for all things spicy!
Recipe Overview
- Recipe Name: Chilli Crisp
- Servings: 12
- Prep Time: 10 minutes
- Cook Time: 20 minutes
- Total Time: 30 minutes
- Course: Condiment
- Cuisine: Asian
- Calories per Serving: 80
Equipment You Will Need
- Small saucepan
- Wooden spoon or spatula
- Jar for storage
- Measuring cups
- Measuring spoons
Ingredients for Chilli Crisp
- 1 cup vegetable oil
- 1/2 cup dried red chilies, crushed
- 1/4 cup garlic, minced
- 1/4 cup shallots, minced
- 2 tablespoons sesame seeds
- 1 tablespoon soy sauce
- 1 teaspoon sugar
- 1/2 teaspoon salt
Ingredient Notes and Substitutions
- Vegetable oil: Used for frying; can substitute with canola or peanut oil for different flavor profiles.
- Dried red chilies: They provide heat and flavor; you can use chili flakes if that’s what you have.
- Garlic: Adds aromatic depth; shallots can be swapped with onions if necessary.
- Sesame seeds: They add crunch; omit if you’re avoiding seeds.
- Soy sauce: Gives umami richness; tamari works for a gluten-free option.
How to Make Chilli Crisp
Step 1: Heat the Oil
Begin by heating the vegetable oil in a small saucepan over medium heat. This step is crucial because the right temperature helps to infuse the oil with flavors.
Step 2: Add Garlic and Shallots
Once the oil is hot, add the minced garlic and shallots. Stir them frequently to prevent burning, as you want them golden and crispy.
Step 3: Incorporate Chilis
Next, mix in the crushed dried red chilies. This is where the magic happens as the chilies release their flavors into the oil.
Step 4: Stir in Sesame Seeds
Add the sesame seeds and continue to fry for another 2-3 minutes. They will add a nutty crunch that complements the other ingredients.
Step 5: Season the Mixture
Now, stir in the soy sauce, sugar, and salt. These seasonings balance the heat with a hint of sweetness and umami.
Step 6: Monitor the Color
Keep an eye on the mixture, stirring often until everything is a deep golden brown. This will ensure a rich flavor without burning the garlic.
Step 7: Cool the Chilli Crisp
Remove the saucepan from heat and let the mixture cool slightly. This step allows the flavors to meld together beautifully.
Step 8: Store in a Jar
Transfer the cooled Chilli Crisp into a jar for storage. Make sure it’s airtight to keep that crunch intact!
Pro Tip: Allow your Chilli Crisp to sit for at least an hour before using it; this enhances the flavor even more!
Tips for the Best Chilli Crisp
- Use fresh garlic and shallots for maximum flavor.
- Adjust the chili amount based on your heat tolerance.
- Store in a cool, dark place to maintain freshness.
- Experiment with additional spices like ginger or peppercorns.
- Don’t rush the cooking process; patience yields better results!
Common Mistakes to Avoid
- Burning the garlic: This will create a bitter taste. Monitor closely and stir often.
- Using cold oil: It won’t infuse flavors well; always heat the oil first.
- Skipping the cooling step: This can lead to soggy texture; let it cool to crisp up.
- Not storing properly: Exposure to air can ruin the crunch; use an airtight jar.
Serving Suggestions
This Chilli Crisp is incredibly versatile and can be paired with many dishes. Here are some ideas:
- Drizzle over ramen or noodles for extra flavor.
- Top a simple fried egg for a spicy breakfast.
- Add to stir-fried vegetables for a kick.
- Mix with rice for a quick side dish.
Variations to Try
- Add ground peanuts for a nutty texture.
- Incorporate fresh herbs like cilantro for a fresh twist.
- Use different oils like sesame oil for a unique flavor.
- Try adding lime zest for a citrusy brightness.
Dietary Adaptations
- Gluten-free: Use gluten-free soy sauce or tamari.
- Dairy-free: This recipe is naturally dairy-free.
- Vegan: No animal products are used.
- Low-carb/Keto: Great as it contains no sugar or carbs.
Storage and Reheating
Refrigerator
Store your Chilli Crisp in the refrigerator for up to a month.
- Make sure it is in an airtight jar.
- Allow it to come to room temperature before using.
Freezer
For long-term storage, freeze in small portions.
- Use ice cube trays for easy portioning.
- Transfer to a freezer-safe container after freezing.
Reheating
Simply reheat in a pan over low heat to restore crispiness.
- Stir gently to avoid burning.
- Use as needed for fresh flavor.
Nutrition Information
| Nutrient | Amount |
|---|---|
| Calories | 80 |
| Total Fat | 9g |
| Saturated Fat | 1g |
| Carbohydrates | 2g |
| Fiber | 0g |
| Sugar | 1g |
| Protein | 1g |
| Sodium | 120mg |
| Cholesterol | 0mg |
This is an estimate and can vary based on specific ingredients used and portion sizes.
Frequently Asked Questions
Can I make this ahead of time?
Absolutely! It keeps well in the fridge for a month, making it perfect for meal prep.
What if I don’t have dried red chilies?
You can use chili flakes or even fresh chilies, adjusting the amount based on your heat preference.
How do I store leftover Chilli Crisp?
Keep it in an airtight jar in the refrigerator or freeze for longer storage.
Why is my Chilli Crisp not crunchy?
Not allowing it to cool properly or burning the garlic can lead to a soggy texture.
Can I use this on non-Asian dishes?
Definitely! It adds a fantastic kick to soups, sandwiches, and even tacos.
Final Thoughts
Making your own Chilli Crisp is a rewarding experience that transforms simple dishes into flavor-packed meals. Once you try it, you won’t want to go back to store-bought versions.
So, grab those ingredients and get cooking! For more delicious recipes, you might enjoy my Chili Oil Recipe or try the flavorful Salsa Macha Recipe.
Chilli Crisp
Ingredients
Equipment
Method
- Heat the vegetable oil in a small saucepan over medium heat.
- Once the oil is hot, add the minced garlic and shallots. Stir frequently to prevent burning.
- Mix in the crushed dried red chilies and let them release their flavors.
- Add the sesame seeds and continue to fry for another 2-3 minutes.
- Stir in the soy sauce, sugar, and salt to balance the flavors.
- Keep stirring until everything is a deep golden brown without burning the garlic.
- Remove from heat and let the mixture cool slightly.
- Transfer the cooled Chilli Crisp into a jar for storage.