
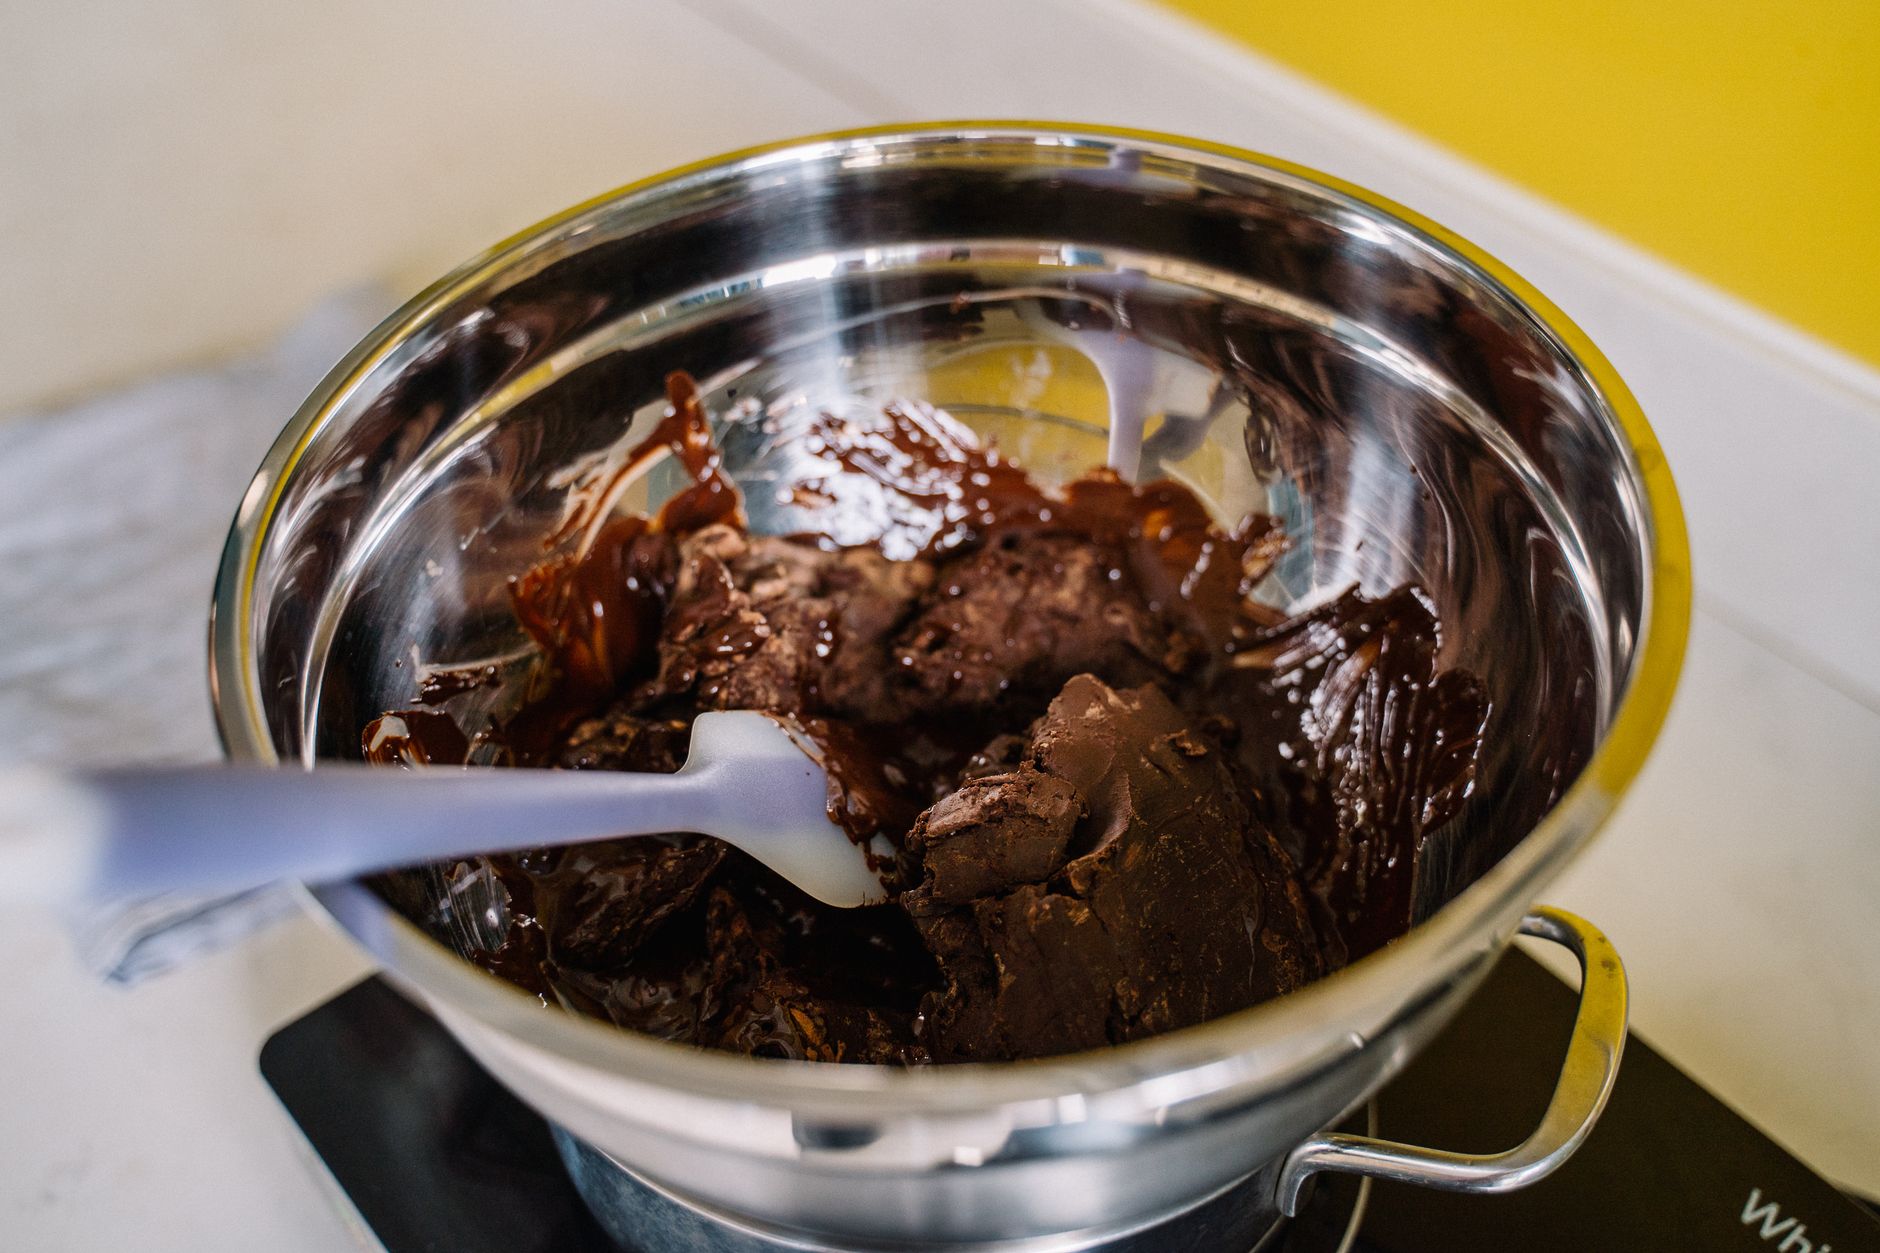
Melting chocolate in the microwave is a convenient and efficient method for achieving the perfect smooth and creamy consistency desired for various culinary applications. Whether you are preparing a dessert, making chocolate-covered treats, or incorporating melted chocolate into a recipe, understanding how to do it properly can save you time and effort.
This guide will walk you through the best techniques for melting chocolate in the microwave, the ideal timing, troubleshooting tips, and more. Armed with this knowledge, you will confidently melt chocolate like a pro.
Can You Melt Chocolate in the Microwave?
Yes, you can melt chocolate in the microwave! This method is quick and easy, making it a popular choice for both amateur and seasoned cooks. However, it is important to follow certain guidelines to ensure that your chocolate melts evenly and doesn’t burn.
Why Use the Microwave for Melting Chocolate?
The microwave is a convenient tool for melting chocolate due to its speed and ease of use. Unlike traditional methods, such as using a double boiler, melting chocolate in the microwave requires minimal setup and minimizes the risk of water contact, which can seize chocolate.
Here are some reasons you might choose to melt chocolate in the microwave:
- Efficiency: The microwave can melt chocolate in just a few minutes compared to a stovetop method.
- Minimal clean-up: Using a microwave-safe bowl means less dishwashing afterward.
- Controlled heating: You can easily monitor the melting process and stop it at the right moment.
Choosing the Right Chocolate
Different types of chocolate behave differently when melted, so it’s essential to choose the right kind for your task. Here’s a breakdown of common chocolate types and their melting characteristics:
- Dark Chocolate: Rich and flavorful, dark chocolate melts smoothly. It typically has a higher cocoa content, making it less prone to burning.
- Milk Chocolate: Creamy and sweet, milk chocolate melts quickly and can be more prone to scorching. Watch it closely.
- White Chocolate: Although technically not real chocolate, white chocolate melts wonderfully but can also burn easily. Also, it lacks the cocoa solids present in dark and milk chocolates.
- Candy Melts: These are specially formulated for melting and molding. They have a smooth melting consistency and are often used for coating treats.
Essential Equipment for Melting Chocolate in the Microwave
Before you begin, gather the necessary equipment to ensure the best results:
- Microwave-safe bowl: Use glass or ceramic bowls. Avoid plastic, as it can warp or leach chemicals when heated.
- Spatula: A silicone or rubber spatula is helpful for stirring the chocolate to ensure smooth melting.
- Kitchen scale (optional): If you’re precise about measurements, a kitchen scale can help you achieve consistent results.
How to Melt Chocolate in the Microwave: Step-by-Step Guide
Follow these steps to effectively melt chocolate in the microwave.
Ingredients
- 8 ounces of your choice of chocolate (dark, milk, white, or candy melts)
Method
- Chop the chocolate into uniform pieces, about 1 inch or smaller, to ensure even melting.
- Place the chopped chocolate in a microwave-safe bowl. Ensure the bowl has enough space to allow for the chocolate to expand slightly as it melts.
- Set your microwave to 50% power or medium heat. This helps to prevent burning the chocolate.
- Heat the chocolate for 30 seconds. After this time, take the bowl out and stir the chocolate gently with a spatula.
- Return the bowl to the microwave and heat for an additional 15-30 seconds. Stir between intervals. Repeat this process until the chocolate is nearly melted, with just a few small chunks remaining.
- Remove the bowl from the microwave and continue stirring. The residual heat will help melt the remaining chocolate pieces until the mixture is perfectly smooth.
Timing Guidelines for Melting Chocolate
The timing for melting chocolate can vary depending on the amount and type you’re using, as well as the power of your microwave. Here are some general guidelines:
- 1 ounce: 15-30 seconds
- 4 ounces: 30-45 seconds
- 8 ounces: 45-90 seconds
- 12 ounces: 90-120 seconds
Always remember to start with shorter intervals. The risk of burning chocolate increases with longer heating times.
Common Mistakes to Avoid When Melting Chocolate in the Microwave
Even the most seasoned cooks can make mistakes when melting chocolate. Here are some common pitfalls and how to avoid them:
- Using high power: Microwaving at full power can easily scorch the chocolate. Always use a lower power setting.
- Not stirring enough: Stirring chocolate helps distribute heat evenly and prevents hot spots that can lead to burning. Always stir between heating intervals.
- Melting in plastic containers: While some plastic is microwave-safe, it can melt or warp, potentially contaminating your chocolate. Opt for glass or ceramic containers.
Troubleshooting: What to Do if Your Chocolate Doesn’t Melt Properly
If your chocolate hasn’t melted fully or seems to be seizing, here are some tips to troubleshoot:
- Clumpy or seizing chocolate: If chocolate becomes grainy or clumpy, it may have come into contact with water or steam. To salvage it, try adding a small amount (1 teaspoon) of coconut oil or vegetable shortening to the chocolate and stir vigorously.
- Chocolate burns: If the chocolate has transformed into a burnt mass, there might be no way to salvage it. It’s best to start fresh with a new batch of chocolate.
Storing Melted Chocolate
If you have leftover melted chocolate or need to prepare it ahead of time, here’s how to store it:
- Allow the melted chocolate to cool to room temperature.
- Store it in an airtight container in the refrigerator for up to two weeks. Reheat gently in the microwave before using.
- If you need it at a later time, you can freeze the melted chocolate. Pour it into an ice cube tray, freeze until solid, and then transfer to a resealable freezer bag. It can last for up to three months. Reheat gently when ready to use.
Using Melted Chocolate in Recipes
Melted chocolate can be used in a variety of recipes and applications, including:
- Dipping Fruits: Strawberries, bananas, and pretzels are delicious when dipped in melted chocolate.
- Baking: Incorporate melted chocolate into batters for brownies, cakes, or cookies for added richness.
- Chocolate Sauce: Create a simple chocolate sauce to drizzle over desserts or ice cream by mixing melted chocolate with cream.
- Ganache: Combine melted chocolate with heavy cream to make a ganache for frosting or filling cakes and pastries.
Variations and Flavor Additions
Though melted chocolate is fantastic on its own, consider these flavor variations and additions:
- Sea Salt: A sprinkle of sea salt can elevate the flavor of melted chocolate.
- Extracts: Add a splash of vanilla, almond, or peppermint extract for a unique twist.
- Spices: Cinnamon or chili powder can add warmth and spice to melted chocolate.
Safety Considerations
When melting chocolate, it is essential to be aware of certain safety considerations:
- Do not overheat chocolate, as burnt chocolate is not only unpleasant in taste but can also create smoke or hazardous fumes.
- Always supervise the microwave while melting chocolate to avoid accidents.
Conclusion
Melting chocolate in the microwave is a simple yet effective method that allows you to create a variety of chocolate treats quickly. By following the steps outlined and being mindful of potential pitfalls, you can achieve smooth, melted chocolate every time.
Now that you’re equipped with the knowledge to melt chocolate, consider trying it out in various recipes to enhance your culinary repertoire. For more chocolate-related goodness, check out our microwave fudge recipe or learn how to cook bacon in the microwave. Happy melting!