
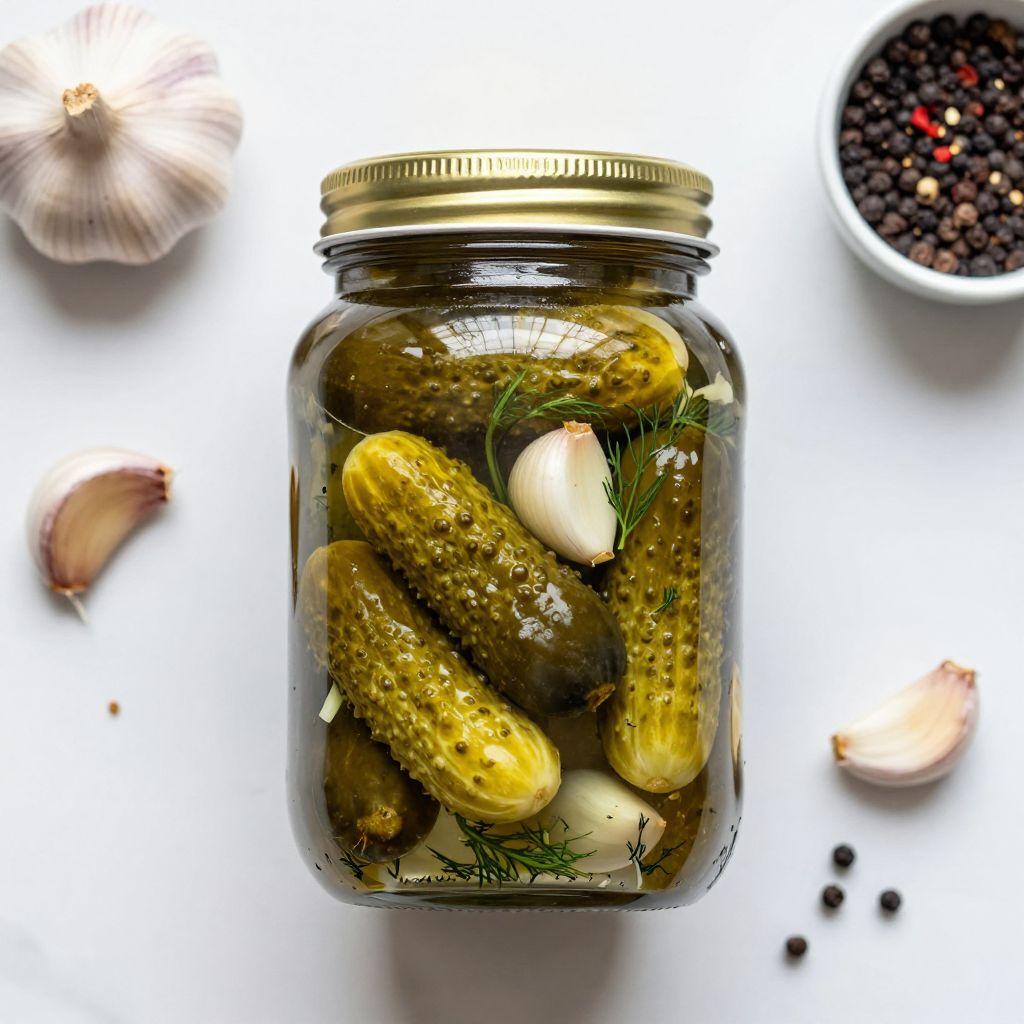
There’s something utterly satisfying about crunching into a homemade pickle, especially when it’s a Garlic Pickle. This recipe is a delightful blend of tangy, garlicky goodness that adds a pop of flavor to almost any meal. The best part? It’s simple enough to whip up when you have a few extra cucumbers lying around and takes just a fraction of your day. With the perfect balance of crispness and zest, these pickles can easily become your go-to snack or side dish.
Why You’ll Love This Recipe
This recipe is a must-try for pickle lovers and casual snackers alike.
- Quick to prepare and ready in a matter of days.
- Full of bold garlic flavor that complements the tartness.
- Customizable with your favorite spices for a personal touch.
- Perfectly crunchy texture that satisfies every bite.
- Versatile addition to sandwiches, salads, or as a standalone snack.
My Experience Making This Recipe
Making these Garlic Pickles was a delightful afternoon project. The smell of garlic wafting through the kitchen was enough to make my mouth water.
When I finally cracked open the jar after a few days, the first bite was a revelation—crisp, tangy, and bursting with flavor. Friends and family couldn’t resist grabbing a few, and they quickly disappeared!
Recipe Overview
- Recipe Name: Garlic Pickles
- Servings: 4-6
- Prep Time: 15 minutes
- Cook Time: 0 minutes
- Total Time: 5 days (includes pickling time)
- Course: Snack
- Cuisine: American
- Calories per Serving: 25
Equipment You Will Need
- Large glass jar or container with a lid
- Measuring cups and spoons
- Cutting board and knife
- Small saucepan (for brine)
- Mixing spoon
Ingredients for Garlic Pickles
- 1 pound small cucumbers (pickling cucumbers are best)
- 4 cloves garlic, peeled and smashed
- 2 cups water
- 1 cup white vinegar
- 1 tablespoon salt (non-iodized)
- 1 tablespoon sugar
- 1 tablespoon dill seeds or fresh dill sprigs
- 1 teaspoon black peppercorns
- 1 teaspoon red pepper flakes (optional for spice)
Ingredient Notes and Substitutions
- Cucumbers: Used for their crisp texture and mild flavor; zucchini can be a substitute, though texture may vary.
- Garlic: Adds aromatic depth; shallots can be used for a slightly different flavor.
- Vinegar: Provides acidity; apple cider vinegar can be used for a sweeter profile.
- Salt: Essential for flavor and preservation; kosher salt can replace table salt.
- Dill: Gives that classic pickle flavor; you can use other herbs like thyme for a unique twist.
How to Make Garlic Pickles
Step 1: Prepare the Cucumbers
Start by washing the cucumbers thoroughly to remove any dirt. This ensures clean pickles and prevents any unwanted flavors.
Step 2: Cut the Cucumbers
Slice the cucumbers into spears or rounds, depending on your preference. Cutting them allows the brine to penetrate better for maximum flavor.
Step 3: Make the Brine
In a small saucepan, combine water, vinegar, salt, and sugar. Heat over medium until the salt and sugar dissolve, then remove from heat.
Step 4: Add Garlic and Spices
Add the smashed garlic, dill seeds, black peppercorns, and red pepper flakes to the brine. This step infuses the brine with flavor.
Step 5: Pack the Jar
Place the cucumber pieces in your jar, packing them tightly. This helps them stay submerged in the brine, ensuring even pickling.
Step 6: Pour the Brine
Carefully pour the warm brine over the cucumbers, making sure they are completely covered. Leaving air pockets can lead to uneven pickling.
Step 7: Seal and Chill
Seal the jar tightly and let it cool to room temperature. Once cooled, refrigerate the jar for at least 5 days for the best flavor.
Step 8: Enjoy!
After 5 days, your garlic pickles are ready to enjoy! The longer they sit, the stronger the garlic flavor will become.
Pro Tip: For an extra kick, try adding a few slices of jalapeño to the brine!
Tips for the Best Garlic Pickles
- Use fresh, firm cucumbers for the best crunch.
- Experiment with different herbs and spices to customize the flavor.
- Ensure all utensils and jars are sterilized to prevent spoilage.
- Store the pickles in the coldest part of your fridge for optimum freshness.
- Give the pickles a shake every couple of days to redistribute the brine.
Common Mistakes to Avoid
- Not packing the cucumbers tightly can lead to uneven pickling.
- Using iodized salt can result in off flavors; always choose non-iodized salt.
- Skipping the cooling step before refrigeration may lead to mushy pickles.
- Not waiting long enough for the flavors to develop can leave you disappointed.
Serving Suggestions
These garlic pickles can elevate any meal or snack. Pair them with sandwiches, burgers, or a cheese platter.
- Serve alongside grilled meats for a refreshing crunch.
- Add to salads for a zesty flavor boost.
- Include in a charcuterie board for a tangy contrast.
- Enjoy straight from the jar for a quick snack.
Variations to Try
- Add sliced onions for a sweeter flavor and additional crunch.
- Incorporate mustard seeds for a spicier profile.
- Try using different vinegars like rice vinegar for a milder taste.
- Experiment with herbs like basil or coriander for a unique twist.
Dietary Adaptations
- Gluten-free: This recipe is naturally gluten-free.
- Dairy-free: No dairy ingredients are included.
- Vegan: All ingredients are plant-based.
- Low-carb/keto: These pickles are low in carbohydrates, making them keto-friendly.
Storage and Reheating
Refrigerator
Store your pickles in the refrigerator for up to 4 weeks in a sealed jar.
- Keep them submerged in brine for freshness.
- Check periodically for any signs of spoilage.
Freezer
Freezing is not recommended, as it can alter the texture of the pickles.
- Pickles are best enjoyed fresh or refrigerated.
Reheating
These pickles are served cold and do not require reheating.
- Enjoy them straight from the fridge or at room temperature.
Nutrition Information
| Nutrient | Amount |
|---|---|
| Calories | 25 |
| Total Fat | 0g |
| Saturated Fat | 0g |
| Carbohydrates | 6g |
| Fiber | 1g |
| Sugar | 2g |
| Protein | 1g |
| Sodium | 300mg |
| Cholesterol | 0mg |
Nutrition values may vary based on ingredient brands and preparation methods.
Frequently Asked Questions
Can I use regular cucumbers?
Yes, but pickling cucumbers are firmer and yield better results.
How long will these pickles last?
They can last up to 4 weeks in the refrigerator if stored properly.
Can I make these pickles ahead of time?
Absolutely! They taste even better after a week in the brine.
What if my pickles are mushy?
Mushy pickles can result from overcooking or not using fresh cucumbers.
Can I adjust the garlic flavor?
Yes, feel free to add more or less garlic according to your taste preference.
Final Thoughts
Homemade Garlic Pickles are a delightful endeavor that can elevate your meals and snacks. With a few simple ingredients and some patience, you can create a tangy treat that rivals store-bought versions.
So gather your cucumbers and get started — these pickles are worth every crunchy bite! Explore more about pickling with our half sour pickle recipe and learn how to make your own pickling spice recipe for even more flavor options.
Garlic Pickles
Ingredients
Equipment
Method
- Wash the cucumbers thoroughly to remove any dirt.
- Slice the cucumbers into spears or rounds.
- In a small saucepan, combine water, vinegar, salt, and sugar.
- Heat over medium until the salt and sugar dissolve, then remove from heat.
- Add the smashed garlic, dill seeds, black peppercorns, and red pepper flakes to the brine.
- Place the cucumber pieces in your jar, packing them tightly.
- Carefully pour the warm brine over the cucumbers, making sure they are completely covered.
- Seal the jar tightly and let it cool to room temperature.
- Once cooled, refrigerate the jar for at least 5 days.
- After 5 days, your garlic pickles are ready to enjoy!