
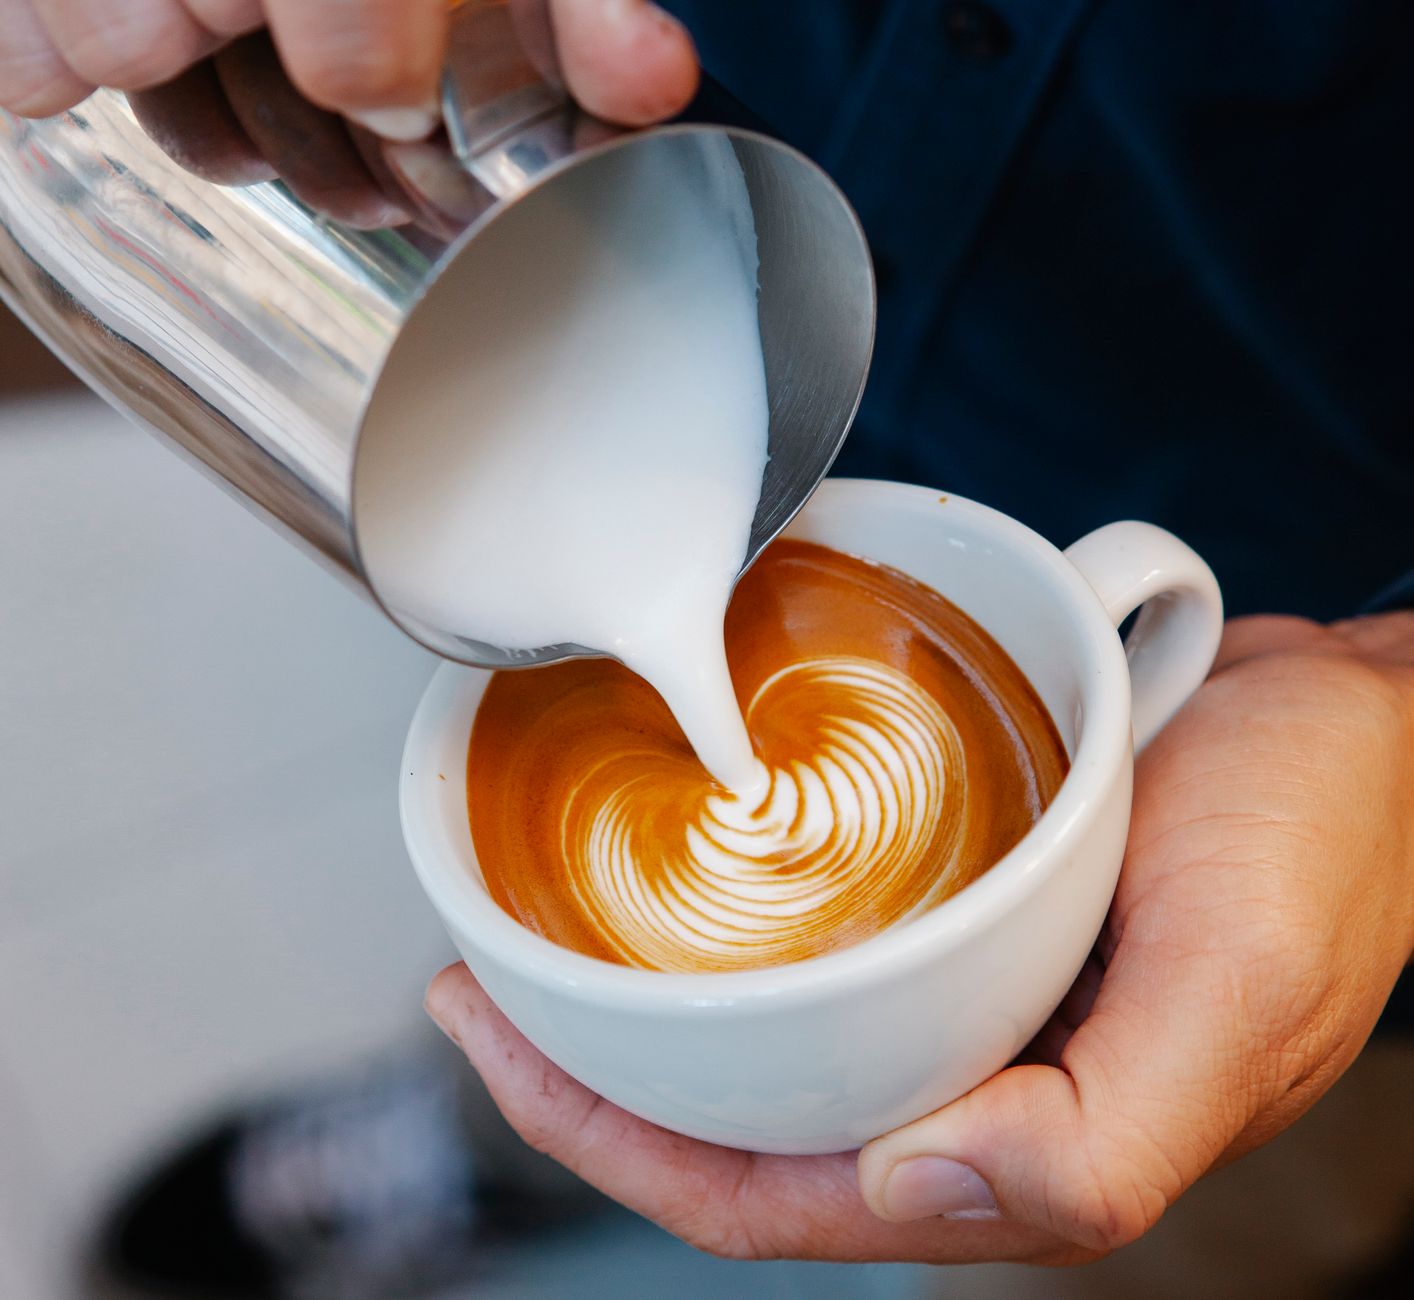
Latte art is an enjoyable and visually appealing way to enhance your coffee experience. With the right technique and ingredients, you can create beautiful designs on the surface of a latte. One of the most crucial elements in achieving stunning latte art is the type of milk you use. Different milk varieties and their characteristics can drastically influence not only the flavor but also the texture and appearance of your latte art.
Choosing the right milk is essential for creating microfoam that holds its shape and allows for intricate designs. This guide will explore the various types of milk suitable for latte art, their properties, and tips for perfecting your technique.
What Kind of Milk to Use for Latte Art?
The best milk for latte art should have a good balance of fat, protein, and carbohydrates; it should also create microfoam. Whole milk, 2% milk, skim milk, and milk alternatives each have unique qualities that can affect your latte art. Whole milk is often recommended for its high fat content, while alternatives such as oat or almond milk can also work effectively.
Essential Characteristics of Milk for Latte Art
When selecting milk for latte art, consider the following characteristics:
- Protein Content: Protein plays a key role in stabilizing foam. Higher protein levels help create a rich microfoam, crucial for holding shapes and designs.
- Fat Content: The fat content affects the creaminess and mouthfeel of your latte. Whole milk, with more fat, contributes to a smooth and velvety texture, which can help in producing stable foam.
- Sweetness: Some milk varieties, especially those with higher sugar content, can add a natural sweetness to your latte, enhancing the overall flavor profile.
- Temperature Tolerance: Different types of milk have varying capacities for handling heat. Milk that can withstand higher temperatures without scalding will perform better for latte art.
Types of Milk for Latte Art
1. Whole Milk
Whole milk is often regarded as the gold standard for achieving excellent latte art. With about 3.25% fat and a robust protein content, whole milk creates a naturally rich and creamy foam. The higher fat content not only enhances the mouthfeel but also creates a more stable microfoam ideal for pouring.
2. 2% Milk
2% milk, or reduced-fat milk, still provides a good balance of creaminess and foam stability. It contains less fat than whole milk, making it slightly lighter in texture. However, it still can create a decent microfoam and is a popular choice for those seeking a less indulgent option while maintaining good flavor.
3. Skim Milk
Skim milk has a low-fat content, typically around 0.5%. It can produce a large volume of foam due to its higher protein concentration. However, the foam may lack the creaminess that whole or 2% milk offers, and the resulting latte may taste less rich. Some baristas still successfully use skim milk for designs, but it requires more skill to create stable foam.
4. Oat Milk
Oat milk has gained popularity in coffee shops due to its creamy texture and natural sweetness. It typically contains added oils to enhance frothability, making it a fantastic alternative for those who prefer plant-based options. Oat milk tends to produce stable microfoam and can hold intricate designs well.
5. Almond Milk
Almond milk is another dairy alternative that may be used for lattes. However, it has a thinner consistency than whole milk, which might make it harder to create stable foam unless specifically formulated for coffee. It has a distinct flavor that can alter the overall taste of your latte, giving it a nutty hint.
6. Soy Milk
Soy milk is well-known for its protein content, comparable to that of cow’s milk. It froths effectively when steamed to create creamy microfoam, making it a great option for latte art. However, some soy milk varieties may curdle if heated too rapidly, so careful steaming is necessary.
7. Coconut Milk
Coconut milk can add a unique tropical flavor to your latte. However, its creamy and thick consistency can produce a different type of foam, which might not be ideal for intricate latte art. Choose coconut milk specifically designed for coffee for better results.
Creating Microfoam: Techniques and Tips
Once you’ve chosen your milk, the next step is to master the steaming and frothing techniques to create microfoam. Microfoam is essential for detailed latte art.
1. Steaming Your Milk
- Pour your chosen milk into a steaming pitcher, filling it to about one-third full to allow space for the milk to expand.
- Position the steam wand just below the surface of the milk. Turn on the steam to create a whirlpool effect.
- As the milk heats up, gradually lower the wand deeper into the pitcher to continue frothing.
- Steam the milk until it reaches a temperature between 140°F and 150°F (60°C – 65°C).
2. Creating Microfoam
- On reaching the desired temperature, turn off the steam and gently swirl the milk in the pitcher to break any larger bubbles.
- It should appear velvety and shiny, with small bubbles that resemble whipped cream.
- Pour the microfoam directly into your espresso, following the style of your desired latte art.
Common Mistakes in Milk Selection and Steaming
Being aware of common mistakes can help you avoid pitfalls in creating latte art.
- Using the Wrong Milk: Different milk types yield varying results. Experiment to find which milk works best for your preferences.
- Oversteaming: Too much steam can scald the milk, causing it to taste burnt and making it hard to produce microfoam.
- Not Enough Foam: Insufficient frothing won’t create the microfoam needed for good latte art. Practice is key.
- Poor Pouring Technique: Latte art requires a specific pouring technique. Make sure to practice and refine your skills by refining the angle and speed of your pour.
Tips for Successful Latte Art
Improving your latte art skills takes practice, but some tips can enhance your results significantly.
- Use Fresh Milk: Fresh milk froths better than milk that has been opened for an extended period.
- Adjust Milk Temperature: Experiment with different steaming temperatures to find what works best for you.
- Practice Your Pour: Start with simple designs and gradually work up to more complex ones.
- Invest in Quality Tools: A good espresso machine and steam wand will set you up for success. Additionally, a thermometric pitcher can help maintain the ideal steaming temperature.
Exploring Other Milks: Non-Dairy Alternatives
As the demand for plant-based options increases, many coffee enthusiasts are exploring non-dairy milks for their lattes. Here’s a closer look at some popular alternatives.
1. Cashew Milk
Cashew milk offers a creamy consistency and mild flavor. It froths well if you select brands that are specifically made for coffee. It can also blend well with coffee, enhancing the overall experience.
2. Rice Milk
Rice milk has a thin consistency and is not as effective in frothing. It is often sweet and can be a suitable option for those with nut allergies, but it may not produce impressive latte art.
3. Pea Protein Milk
Pea protein milk is gaining traction for its high protein content and ability to froth well. It offers a creamy texture and can produce good microfoam, making it a viable option for latte art.
Creating Your Latte Art Masterpiece
Once you’ve mastered the steaming technique, the next step is learning to create designs. Below are some basic steps for popular latte art styles:
1. Heart Design
- Start with a basic pour into the center of the espresso. Hold the pitcher at an angle, slowly pouring the foam.
- As the cup fills, gradually lift the pitcher and move it closer to the center.
- When you reach the desired height, swiftly drag the stream through the foam to complete the heart shape.
2. Rosetta Design
- Tilt the cup and pour a steady stream of microfoam along the surface.
- While pouring, gently rock back and forth as you move the pitcher toward you.
- Once you reach the edge of the cup, finish by pulling the stream through the center to create a leaf shape.
3. Tulip Design
- Start with a circular pour to fill the cup halfway.
- Pour a second layer of foam into the center and keep the pour steady to build a stacked effect.
- Finish with a quick pull through the foam to create the tulip design.
Additional Considerations
In addition to the type of milk and techniques used for steaming, there are a few other aspects to consider for the best latte art results:
- Choosing the Right Espresso: A well-pulled espresso shot is fundamental for achieving great latte art. The crema helps support the milk, enhancing the visual and flavor experience.
- Quality Equipment: Investing in quality equipment allows for better thermal control and overall performance, improving both your coffee and your artistry.
Mastering the art of creating latte art takes time, but experimenting with different types of milk can make a tremendous difference in the outcome. Take your time to practice, refine your techniques, and enjoy the process of creating beautiful beverages.
Experimenting with the right ingredients and practice will yield delicious results. Whether you enjoy a rich whole milk latte or a frothy oat milk alternative, find what suits your taste best. Start off with simple designs and gradually work your way up to intricate and beautiful latte art.
For more delicious drink ideas, explore our Pistachio Latte Recipe and refresh yourself with the Caramel Ribbon Crunch Frappuccino Recipe.