
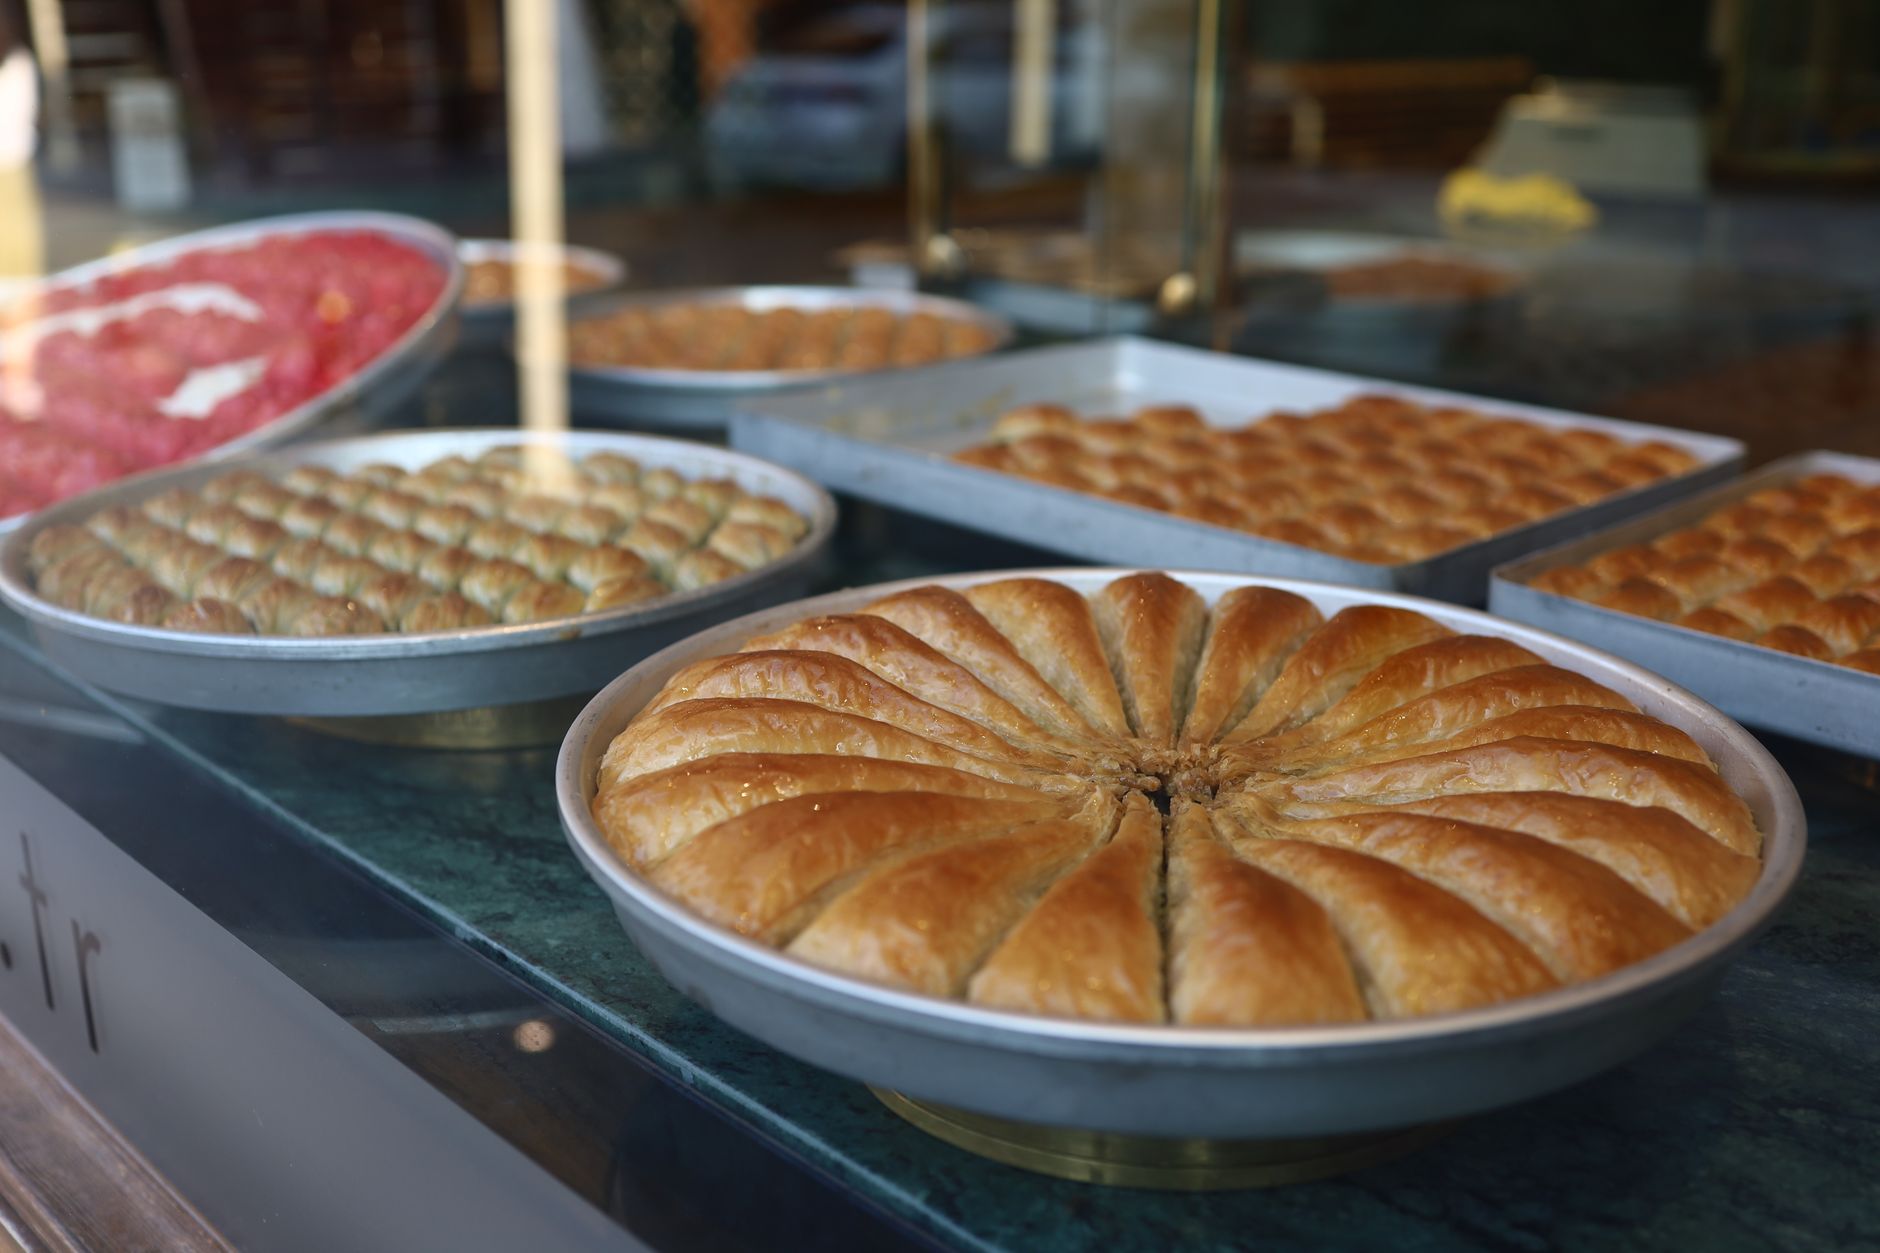
Kadaifi, also known as kunafa or knafeh, is a traditional Middle Eastern dessert made with shredded phyllo dough. This dessert is beloved for its crispy texture, sweet syrup, and rich nutty flavor, offering a delightful contrast that many find irresistible. In this article, we will explore the origins of kadaifi, its key ingredients, flavor profile, variations, and how to serve this delicious dish at home.
Understanding kadaifi not only enriches your culinary repertoire but also connects you to a cherished tradition. With its golden strands and syrupy sweetness, kadaifi is a beautiful dessert for celebrations or a sweet indulgence any day of the week.
What Is Kadaifi?
Kadaifi refers to a type of pastry made from finely shredded phyllo dough, which is typically used in a variety of desserts from the Middle East and Mediterranean regions. This dough can be combined with various fillings and typically drenched in sweet syrup, making it both a visual and gastronomic treat. The crispy texture combined with the sweetness of syrup and any added nuts or cheese creates a delightful flavor experience.
The Origins of Kadaifi
Kadaifi has deep roots in Middle Eastern and Mediterranean cuisine, with its origins often traced back to the Ottoman Empire. Different cultures have their own variations and names for this delectable dessert, such as “kataifi” in Greece and “knafeh” in Arabic-speaking countries. It has become a symbol of hospitality and celebration, commonly enjoyed during special occasions and holidays.
Key Ingredients in Kadaifi
The primary ingredients in kadaifi include:
- Kadaifi Dough: Shredded phyllo dough formed into fine strands. These are typically found in Middle Eastern grocery stores or can be made at home.
- Butter: Used to coat the dough and provide a rich flavor. Unsalted versions are preferred for better control of the overall sweetness.
- Filling: Common fillings include crushed nuts such as pistachios, walnuts, or almonds; sweet cheese like ricotta or mozzarella; or a combination of both for added texture.
- Sugar: Used in syrup preparation; it balances the savory aspects of the dish.
- Water: Essential for making the syrup, which is often flavored with rose water or orange blossom water for added aroma.
- Cinnamon: Often used in the filling for additional warmth and fragrance.
Flavor Profile of Kadaifi
The flavor of kadaifi is a harmonious blend of sweetness, nuttiness, and spiciness. The crunchy texture of the kadaifi strands provides an enjoyable contrast to the creamy fillings, while the syrup drizzled over the top ties all the flavors together perfectly. Flavored syrups with rose or orange blossom water add fragrant notes that enhance the overall experience.
How to Make Kadaifi
Making kadaifi at home is a rewarding experience, and while it can be a bit labor-intensive, the results are well worth the effort. Below is a detailed step-by-step method for creating a classic kadaifi dessert.
Ingredients
- 1 package (16 oz) kadaifi dough, thawed
- 1 cup unsalted butter, melted
- 2 cups mixed nuts (pistachios, walnuts, and almonds), finely chopped
- 1/2 cup granulated sugar
- 1 cup water
- 1 teaspoon vanilla extract
- 1 teaspoon rose water or orange blossom water (optional)
- 1 teaspoon ground cinnamon
Essential Equipment
- Large mixing bowl
- 9×13 inch baking pan
- Pastry brush
- Medium saucepan
- Cooling rack
Step-by-Step Instructions
- Prepare the Syrup: In a medium saucepan, combine the water and sugar. Bring to a boil over medium heat, stirring until the sugar dissolves. Once boiling, reduce the heat and let it simmer for 10 minutes. Remove from heat, add the vanilla extract, and the rose water or orange blossom water if using. Allow to cool completely.
- Prepare the Dough: Preheat the oven to 350°F (175°C). Run your fingers through the kadaifi dough to separate the strands. This will help create an airy texture. Place the dough in a large mixing bowl.
- Add Butter: Drizzle the melted butter over the kadaifi dough, tossing gently to evenly coat the strands.
- Mix the Filling: In a separate bowl, combine finely chopped nuts, ground cinnamon, and any desired sweetness. Ensure the nuts are well mixed and crunchy.
- Assemble the Kadaifi: Grease the baking pan with a bit of melted butter. Spread half of the kadaifi dough evenly into the pan, pressing gently to form a base layer. Add the nut filling on top of the dough, spreading it evenly. Finally, top with the remaining kadaifi dough, pressing down lightly.
- Bake the Kadaifi: Bake in the preheated oven for 30-40 minutes or until the top is golden brown and crispy. Watch closely to avoid burning the edges.
- Add Syrup: Once baked, remove the kadaifi from the oven and allow it to cool for about 10 minutes. While it’s still warm, pour the cooled syrup evenly over the top, allowing it to soak in.
- Cool and Serve: Allow the kadaifi to cool further before slicing into squares or diamond shapes. Serve warm or at room temperature, garnished with additional crushed nuts, if desired.
Serving Suggestions
Kadaifi is wonderfully served on its own, but it can also be accompanied by a scoop of vanilla ice cream or a dollop of whipped cream for a more indulgent dessert. Here are some serving ideas:
- With Ice Cream: The warm kadaifi pairs beautifully with cold vanilla or pistachio ice cream.
- With Fresh Fruits: Fresh berries or slices of fruit, such as strawberries or figs, can provide a refreshing contrast.
- Garnish: Additional chopped nuts, a sprinkle of cinnamon, or a drizzle of more syrup can enhance the presentation and flavor.
Common Mistakes and Troubleshooting
There are a few common pitfalls when making kadaifi, but understanding them can help ensure your success:
- Overbaking: Keep an eye on the kadaifi while it bakes. If it turns too dark, it can develop a bitter flavor.
- Insufficient Syrup: Ensure to generously pour the syrup onto the kadaifi while it is still warm, allowing it to soak in properly.
- Too Much Filling: While filling is essential, too much can prevent the top layer of kataifi from crisping properly.
Variations and Substitutions
Kadaifi is incredibly versatile, allowing for numerous variations based on personal preferences or dietary needs.
- Nut Variations: If you are allergic to certain nuts, you can also substitute with sunflower seeds or pumpkin seeds.
- Cheese Filling: For a cheesy version, replace the nuts with a rich cheese filling made from sweetened ricotta or mozzarella.
- Flavored Syrups: Experiment with different flavored syrups, such as a chocolate syrup or a saffron-infused syrup for a unique twist.
Storage and Reheating
For leftovers, store the kadaifi in an airtight container at room temperature for up to two days. If you plan to store it longer, refrigerate it for up to a week, but be aware that refrigeration may cause the pastry to lose some crispness. To reheat, place the kadaifi in a preheated oven at 350°F (175°C) for about 10-15 minutes to restore its texture.
Making kadaifi at home brings a taste of the Mediterranean and Middle Eastern culinary traditions right to your kitchen. This dessert not only pleases the palate but also serves as a beautiful centerpiece for gatherings and celebrations. By following the steps outlined above, you can create a delicious version of this beloved treat.
Next time you’re looking for a special dessert to impress your guests, consider making kadaifi. Its delightful flavors and textures are sure to leave a memorable impression. For further exploration of delightful desserts, consider checking out other recipes and guides available on our blog.