
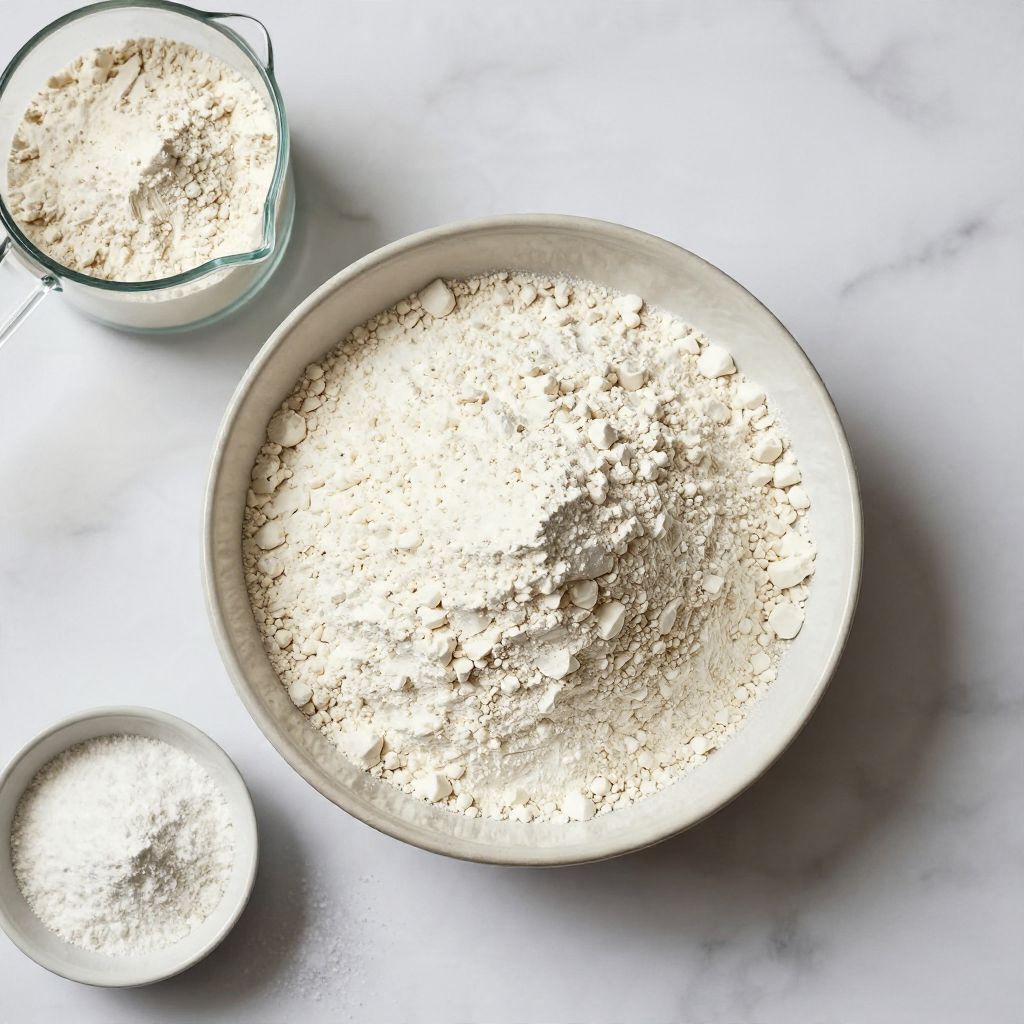
There’s something magical about the way flour transforms into delicious baked goods. Making your own Self Rising Flour at home is not only simple but also a great way to elevate your baking game without running to the store. This versatile ingredient is a blend of all-purpose flour, baking powder, and salt, which means you can whip up fluffy pancakes or tender biscuits in no time. With just a few pantry staples, you can enjoy the satisfaction of knowing exactly what’s in your flour. Let’s dive into how to make this essential ingredient!
Why You’ll Love This Recipe
This recipe is a kitchen lifesaver for busy bakers. It simplifies your baking process and ensures fresh flavor.
- Quick and easy to make.
- Perfect for a variety of baked goods.
- Control over ingredient quality.
- Cost-effective compared to store-bought options.
- Customizable for specific needs.
My Experience Making This Recipe
The first time I made Self Rising Flour, it felt like I was entering a new baking realm. The aroma of fresh flour combined with the subtle scent of baking powder was simply delightful.
Once I started using it in my recipes, I noticed a remarkable difference in texture and rise. My pancakes turned out fluffier, and my biscuits were light as air—definitely a hit at breakfast!
Recipe Overview
- Recipe Name: Self Rising Flour
- Servings: Makes about 5 cups
- Prep Time: 5 minutes
- Cook Time: N/A
- Total Time: 5 minutes
- Course: Baking
- Cuisine: American
- Calories per Serving: Approximately 455
Equipment You Will Need
- Mixing bowl
- Whisk or fork
- Measuring cups
- Storage container
Ingredients for Self Rising Flour
- All-purpose flour – 4 cups
- Baking powder – 2 teaspoons
- Salt – 1 teaspoon
Ingredient Notes and Substitutions
- All-purpose flour: The foundation of this recipe provides the necessary structure. You can substitute with whole wheat flour for a heartier option.
- Baking powder: This ingredient acts as the leavening agent to help baked goods rise. Make sure it is fresh for the best results.
- Salt: Enhances flavor and balances the sweetness. You may omit it if you are on a low-sodium diet.
How to Make Self Rising Flour
Step 1: Gather Your Ingredients
Start by measuring out all your ingredients. Having everything ready will streamline the process and prevent any baking mishaps.
Step 2: Combine the Dry Ingredients
In a mixing bowl, add the all-purpose flour, baking powder, and salt. This blend will create the perfect balance for your self-rising flour.
Step 3: Whisk Together
Use a whisk or fork to mix the ingredients thoroughly. This ensures the baking powder and salt are evenly distributed throughout the flour.
Step 4: Check for Clumps
Make sure there are no clumps of baking powder or salt. Clumps can lead to uneven rising in your baked goods, so breaking them up is key.
Step 5: Store Properly
Transfer your self-rising flour to an airtight container. Proper storage keeps it fresh and ready to use for your next baking endeavor.
Step 6: Label Your Container
Don’t forget to label your container. This helps you keep track of what’s inside and the date you made it.
Step 7: Use in Recipes
Now that you have your self-rising flour, substitute it for all-purpose flour in recipes that call for it. This will simplify your baking and yield delicious results.
Step 8: Enjoy Your Baking!
Use your self-rising flour in pancakes, biscuits, or any recipe that needs a lift. Your baked goods will thank you!
Pro Tip: Always check the expiration date of your baking powder for the best rising results.
Tips for the Best Self Rising Flour
- Measure your flour accurately for consistent results.
- Use a fine-mesh sieve if you notice clumps.
- Store in a cool, dry place for maximum shelf life.
- Mix small batches if you don’t bake often.
- Keep a baking powder test handy to check freshness.
Common Mistakes to Avoid
- Using expired baking powder: This leads to flat baked goods.
- Not whisking enough: Incomplete mixing results in uneven rising.
- Substituting without adjusting: Always consider the role of self-rising flour in a recipe.
- Storing in a humid area: Moisture can cause clumping and spoilage.
Serving Suggestions
Self-rising flour is incredibly versatile in the kitchen. Here are some great ways to enjoy it:
- Pancakes topped with maple syrup.
- Fluffy biscuits with homemade jam.
- Quick breads like banana bread.
- Light muffins with fruit or nuts.
Variations to Try
- Whole Wheat Self Rising Flour: Substitute whole wheat flour for a nuttier flavor.
- Gluten-Free Self Rising Flour: Use a gluten-free all-purpose flour blend.
- Herbed Self Rising Flour: Add dried herbs for a savory twist.
- Coconut Self Rising Flour: Swap in coconut flour for a tropical flavor.
Dietary Adaptations
- Gluten-Free: Use a gluten-free all-purpose flour blend.
- Dairy-Free: This recipe is naturally dairy-free.
- Vegan: No animal products are involved, making it a vegan choice.
- Low-Carb/Keto: Substitute almond flour and adjust leavening accordingly.
Storage and Reheating
Refrigerator
Store your self-rising flour in the refrigerator for longer freshness. Here are some tips:
- Use an airtight container to prevent moisture.
- Label with the date made to track freshness.
Freezer
If you want to extend the shelf life even more, consider freezing. Follow these steps:
- Place in a freezer-safe container.
- Use within three months for the best quality.
Reheating
There’s no need to reheat self-rising flour; simply measure and use as needed in your recipes. However:
- Let it come to room temperature if frozen.
Nutrition Information
| Nutrient | Amount |
|---|---|
| Calories | 455 |
| Total Fat | 1g |
| Saturated Fat | 0g |
| Carbohydrates | 95g |
| Fiber | 3g |
| Sugar | 0g |
| Protein | 13g |
| Sodium | 230mg |
| Cholesterol | 0mg |
This information is approximate and may vary based on specific ingredients used.
Frequently Asked Questions
Can I use self-rising flour instead of all-purpose flour?
Yes, but reduce or eliminate added leavening agents and salt in your recipe.
Can I make this flour ahead of time?
Absolutely! It can be prepared in advance and stored for later use.
How should I store self-rising flour?
Keep it in an airtight container in a cool, dry place for freshness.
What if my baked goods are too dense?
This could mean your baking powder was expired or not well-mixed.
Can I substitute baking soda for baking powder?
Not directly; they serve different purposes unless you adjust other ingredients accordingly.
Final Thoughts
Making your own Self Rising Flour is a game changer in the kitchen. With just a few ingredients, you can elevate your baking and enjoy homemade delights.
I encourage you to give this recipe a try and see how it transforms your favorite baked goods into something truly special. Don’t forget to check out other tips on baking like the difference between bleached and unbleached flour and how to make banana bread!
Explore more beauty and nail-related topics. You might find these links helpful: what is the difference between bleached and unbleached flour and how do you make banana bread.