
Imagine a velvety sweetness that elevates your desserts without the guilt. This Sugar Free Condensed Milk is not just an alternative; it’s a delightful addition to your pantry staples. With its creamy texture and rich flavor, you can whip up all your favorite treats without the added sugar. Plus, it’s incredibly easy to make, requiring just a few ingredients you probably already have on hand. Let’s dive into the simple process of creating this versatile ingredient!
Why You’ll Love This Recipe
This recipe is a must-try for anyone looking to cut sugar without sacrificing flavor.
- Quick and easy to prepare.
- Perfect for coffee, desserts, and baking.
- Customizable to your taste preferences.
- Healthy alternative that fits various diets.
- Store-bought options can’t compete with homemade freshness.
My Experience Making This Recipe
The first time I made this Sugar Free Condensed Milk, I was pleasantly surprised by how simple it was. I whisked together the ingredients, and within minutes, I had a luscious mixture that was perfect for my coffee.
Each time I use it, I feel a little smug knowing I’ve made something delicious without all the sugar. It adds a lovely richness to my dessert recipes that keeps everyone guessing about the secret ingredient.
Recipe Overview
- Recipe Name: Sugar Free Condensed Milk
- Servings: 1 cup
- Prep Time: 5 minutes
- Cook Time: 10 minutes
- Total Time: 15 minutes
- Course: Condiment
- Cuisine: American
- Calories per Serving: 35
Equipment You Will Need
- Medium saucepan
- Whisk
- Measuring cups and spoons
- Storage container
Ingredients for Sugar Free Condensed Milk
- 1 cup unsweetened almond milk
- 1/3 cup powdered erythritol
- 1/4 teaspoon vanilla extract
- 1/4 teaspoon salt
- 1 tablespoon cornstarch
Ingredient Notes and Substitutions
- Unsweetened almond milk: Used for its light flavor and low calories; substitute with coconut milk for a richer taste.
- Powdered erythritol: This sugar substitute provides sweetness without calories; you can use stevia or monk fruit as alternatives.
- Vanilla extract: Adds depth of flavor; feel free to swap it with almond extract for a different twist.
- Salt: Enhances the sweetness; omit if you’re watching sodium intake.
- Cornstarch: Thickens the mixture; arrowroot powder can be a good substitute if desired.
How to Make Sugar Free Condensed Milk
Step 1: Combine Ingredients
In a medium saucepan, whisk together the almond milk, powdered erythritol, vanilla extract, salt, and cornstarch. This ensures everything is evenly distributed from the start.
Step 2: Heat the Mixture
Place the saucepan over medium heat and bring the mixture to a gentle simmer. Heating gradually prevents the milk from scalding while allowing the cornstarch to activate.
Step 3: Stir Constantly
Keep stirring the mixture continuously with a whisk. This step is crucial to avoid lumps and ensure a smooth texture.
Step 4: Thicken the Mixture
As it simmers, you will notice the mixture thickening. This usually takes about 5 to 7 minutes, so stay close and keep whisking.
Step 5: Check Consistency
Once the mixture has thickened to a syrupy consistency, remove it from the heat. You can always adjust the thickness by cooking it longer or adding a splash of almond milk.
Step 6: Cool Down
Let the condensed milk cool to room temperature. Cooling helps it thicken further and makes it easier to store.
Step 7: Store It
Transfer the Sugar Free Condensed Milk to a clean storage container. Make sure it’s airtight to maintain freshness.
Step 8: Enjoy!
Use it in your favorite recipes or as a sweetener in drinks. The best part is knowing it’s homemade and free from sugar.
Pro Tip: Always taste your mixture before storing to adjust sweetness to your liking!
Tips for the Best Sugar Free Condensed Milk
- Use a non-stick saucepan for easier cleanup and to prevent sticking.
- Adjust the sweetness level depending on your preference for a more tailored flavor.
- Let it cool completely before storing to avoid condensation in your container.
- Whisk vigorously to avoid lumps; a smooth texture is key.
- Experiment with flavors by adding spices like cinnamon or nutmeg for a unique twist.
Common Mistakes to Avoid
- Not stirring enough can lead to lumps; whisk consistently for a smooth texture.
- Using high heat can scorch the milk; always keep it on medium or low heat.
- Skipping the cooling step may lead to a thinner consistency; allow it to cool for best results.
- Not tasting before storing can result in an unexpectedly bland flavor; always check sweetness first.
Serving Suggestions
This Sugar Free Condensed Milk is incredibly versatile, perfect for many dishes.
- Drizzle over pancakes or waffles.
- Stir into coffee or tea for a sweet creaminess.
- Incorporate into your favorite dessert recipes like pies or cakes.
- Add to smoothies for an extra creamy texture.
Variations to Try
- Swap almond milk for coconut milk for a tropical flavor.
- Add cocoa powder for a chocolate version that’s great in desserts.
- Use flavored extracts like hazelnut for a unique twist.
- Incorporate spices like cardamom for an exotic note.
Dietary Adaptations
- Gluten-free: This recipe is naturally gluten-free; perfect for sensitive diets.
- Dairy-free: Using almond milk makes it suitable for a dairy-free lifestyle.
- Vegan: All ingredients are plant-based, so it fits well in vegan diets.
- Low-carb/keto: Erythritol and almond milk keep carbs low, making it keto-friendly.
Storage and Reheating
Refrigerator
Store in an airtight container in the fridge for up to a week.
- Always let it cool before sealing.
- Give it a good stir before each use.
Freezer
This condensed milk can be frozen for up to 3 months.
- Use ice cube trays for convenient portions.
- Thaw in the fridge or at room temperature before use.
Reheating
Reheat gently on the stove or in the microwave.
- Stir well to restore the creamy texture.
- Do not boil; just warm it to your desired temperature.
Nutrition Information
| Nutrient | Amount |
|---|---|
| Calories | 35 |
| Total Fat | 2g |
| Saturated Fat | 0g |
| Carbohydrates | 4g |
| Fiber | 0g |
| Sugar | 0g |
| Protein | 1g |
| Sodium | 150mg |
| Cholesterol | 0mg |
This information is approximate and can vary based on specific ingredients used.
Frequently Asked Questions
Can I use a different milk?
Absolutely! You can use any non-dairy milk like coconut or soy milk for similar results.
Can I make this ahead of time?
Yes! It stores well in the refrigerator for up to a week, so feel free to make it in advance.
How should I store leftovers?
Keep it in an airtight container in the fridge, and it will last up to a week.
What if my mixture is too thin?
If it’s too thin, return it to the heat and simmer a little longer until it thickens to your liking.
Can I use it in baking?
Definitely! It works wonderfully in recipes that call for condensed milk, just adjust your sweetness accordingly.
Final Thoughts
This Sugar Free Condensed Milk is bound to become a favorite in your kitchen. It’s a simple yet effective way to enjoy sweetness without the sugar crash.
So why not give it a try today? You might find it’s your new go-to for all things creamy and delicious.
For more delightful recipes, check out my Vanilla Sugar Recipe and Coconut Sugar Fudge Recipe.
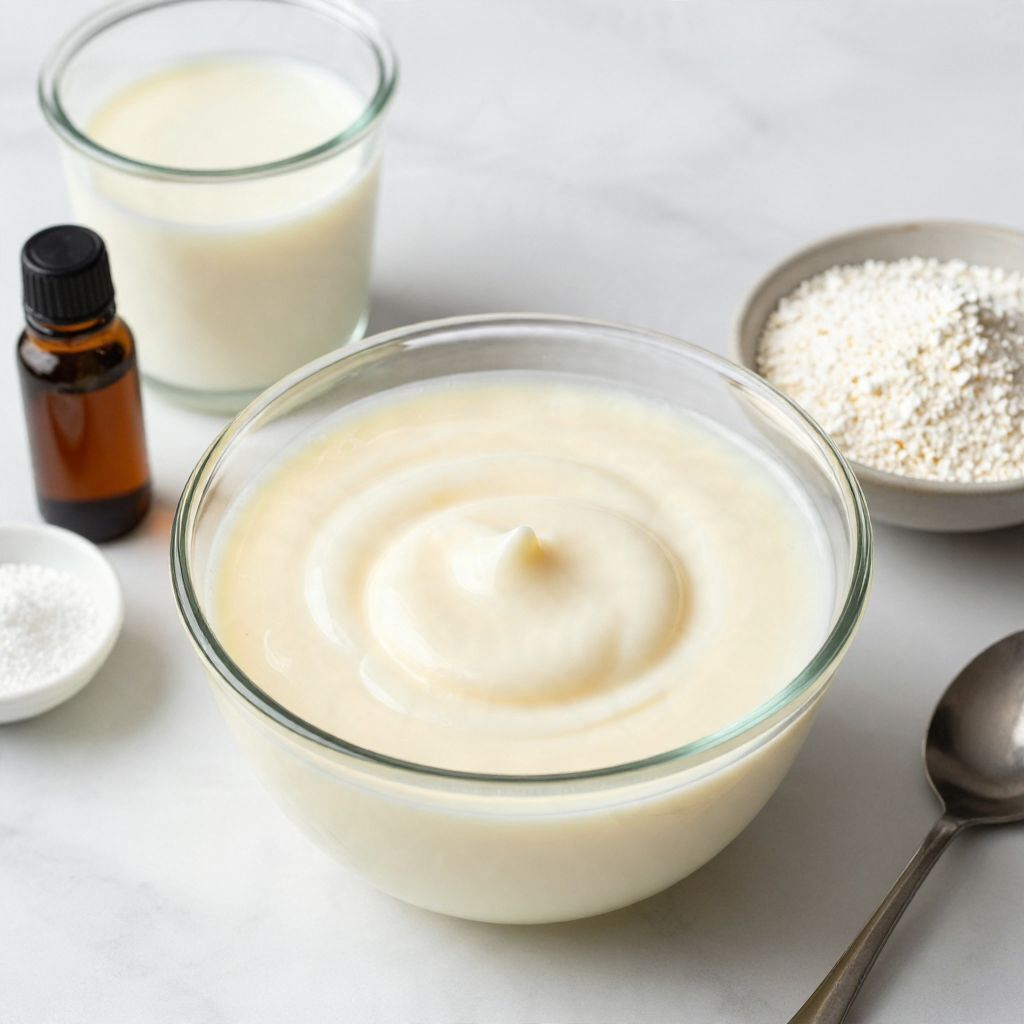
Sugar Free Condensed Milk
Ingredients
Equipment
Method
- In a medium saucepan, whisk together the almond milk, powdered erythritol, vanilla extract, salt, and cornstarch.
- Place the saucepan over medium heat and bring the mixture to a gentle simmer.
- Keep stirring the mixture continuously with a whisk to avoid lumps.
- As it simmers, allow the mixture to thicken for about 5 to 7 minutes.
- Once thickened to a syrupy consistency, remove from heat.
- Let the condensed milk cool to room temperature to thicken further.
- Transfer the Sugar Free Condensed Milk to a clean, airtight storage container.
- Use it as a sweetener in drinks or in your favorite recipes.