
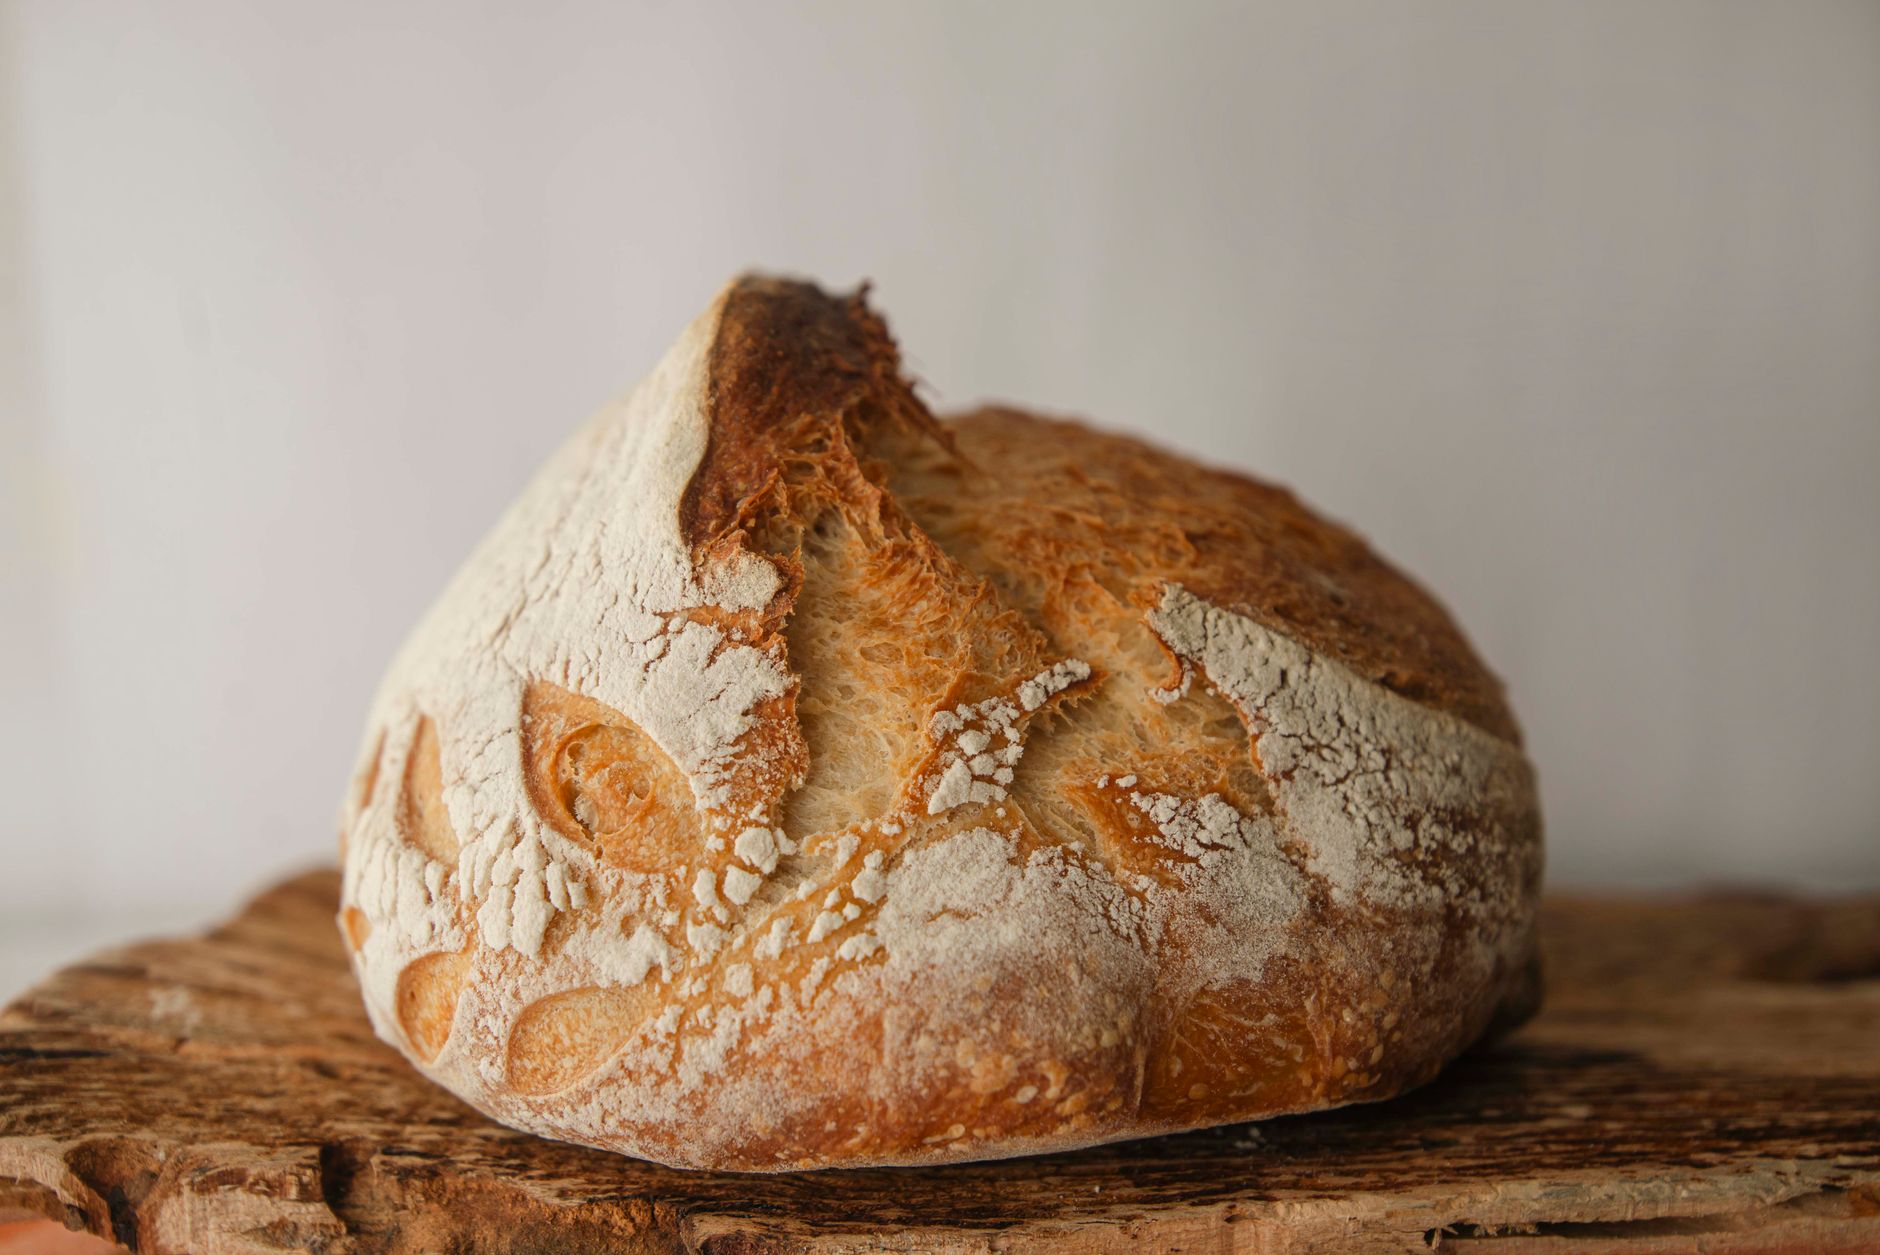
Sourdough starter is the backbone of all sourdough bread. It is a naturally fermented mixture of flour and water that captures wild yeast and beneficial bacteria from the environment. This mixture develops a tangy flavor and a distinctive texture, resulting in delicious, artisan-style loaves. Learning how to make a sourdough starter opens up a world of baking possibilities, allowing you to create everything from crusty bread to pancakes.
In this article, we will guide you through the step-by-step process of making your own sourdough starter, including essential ingredients, troubleshooting tips, and storage options. Whether you’re a novice baker or an experienced home cook looking to explore sourdough baking, creating a starter is a rewarding endeavor.
How To Make A Sourdough Starter?
To make a sourdough starter, you need just two ingredients: flour and water. Over the course of about a week, you will feed this mixture to encourage the growth of wild yeast and bacteria. By following the right steps, you can develop a vibrant sourdough starter ready for baking.
Ingredients for a Sourdough Starter
Creating a sourdough starter requires minimal ingredients, but the quality of these ingredients can affect the outcome. Here is what you need:
- Flour: 100 grams (approximately 3/4 cup) of all-purpose flour or whole wheat flour. You can also experiment with rye flour for a stronger fermentation.
- Water: 100 grams (approximately 1/2 cup) of lukewarm water (around 80°F or 27°C). Ensure the water is chlorine-free, as chlorine can inhibit yeast growth.
Essential Equipment
Having the right tools can make the process of creating a sourdough starter easier:
- A clean, glass or plastic container (about 1-liter capacity) with a loose-fitting lid or cover.
- A digital kitchen scale for precise measurements.
- A mixing spoon or spatula (preferably non-metal).
- A clean kitchen towel or cloth for covering.
Step-by-Step Method to Create a Sourdough Starter
Follow these steps carefully to create your sourdough starter:
- Day 1: In your container, combine 100 grams of flour with 100 grams of lukewarm water. Mix until there are no dry bits of flour. The consistency should be thick yet smooth. Cover with a kitchen towel and leave it at room temperature (around 70°F to 75°F or 21°C to 24°C) for 24 hours.
- Day 2: Check your mixture for bubbles, which indicate fermentation has started. Regardless of bubble formation, discard half of the mixture (about 100 grams). To the remaining mixture, add 100 grams of flour and 100 grams of lukewarm water. Mix well and cover as before.
- Day 3: You should notice more bubbles and an increase in volume. Again, discard half of the mixture and feed with 100 grams of flour and 100 grams of lukewarm water. Mix and cover.
- Day 4: The starter will be more active, showing more bubbles and a tangy aroma. Discard half the mixture, then feed with 100 grams of flour and 100 grams of water. Mix and cover.
- Day 5: Continue with the same routine: discard half, then feed with 100 grams of flour and 100 grams of water. By day five, your starter should be doubling in size within 4 to 6 hours of feeding.
- Days 6-7: Repeat the feeding process as before. By the end of this period, you should have a bubbly, active starter that has a pleasant, tangy smell. It’s ready to use when it reliably doubles in volume after feeding, usually around 4 to 6 hours.
Understanding Your Starter
As you create your sourdough starter, it’s essential to recognize how it develops. The process involves capturing wild yeast and bacteria present in the flour and the environment. This wild yeast ferments the sugars in the flour, producing carbon dioxide that creates the bubbles in your dough.
The bacteria, particularly lactic acid bacteria, contribute to the sour flavor and improve the dough’s strength. The balance between wild yeast and bacteria will influence the flavor profile of your sourdough bread.
Common Mistakes and Troubleshooting
While making a sourdough starter is a straightforward process, some common mistakes can hinder its development:
- Using chlorinated water: Always use filtered or bottled water to avoid inhibiting yeast growth.
- Inconsistent feeding schedule: Make sure to feed your starter at the planned intervals to keep it active.
- Too cool or too warm environments: Maintain a consistent temperature for optimal fermentation. Avoid placing your starter in very hot or cold spots.
- Using old or low-quality flour: Fresh, high-quality flour retains more nutrients and contributes to a more robust starter.
Storing Your Sourdough Starter
Once your starter is active and ready, you’ll need to decide how and when to store it. There are two main storage options:
- Short-term storage: If you plan to bake regularly (every week), keep your starter in the refrigerator. Feed it once weekly and allow it to come to room temperature and bubble before using it in recipes.
- Long-term storage: For longer breaks from baking, consider dehydrating your starter. Spread a thin layer of starter on parchment paper and allow it to dry completely. Once dry, break it into pieces and store in an airtight container. To reactivate, mix a piece with water and flour in a container, following the same feeding routine outlined above.
Feeding Your Sourdough Starter
Feeding your starter involves discarding a portion and replenishing it with flour and water. The frequency of feeding can depend on how often you plan to bake:
- Every 12 hours: If kept at room temperature, feed every 12 hours for vigorous growth.
- Once a week: For refrigerated starters, weekly feedings suffices to keep them healthy.
Always remember to pre-measure the flour and water you need, and adjust accordingly based on your kitchen activity levels will lead to a stronger starter.
Using Your Sourdough Starter
Once your sourdough starter is active, you can incorporate it into a variety of recipes including sourdough bread, pancakes, waffles, and more. Here are some tips on using it:
- Always give your starter time to rise and develop before using it in recipes—ideally within 4 to 6 hours after feeding.
- When measuring your starter for recipes, it’s best to use weight instead of volume for accuracy.
- Plan your recipes based on when you can feed the starter and how long you need to wait for it to become bubbly and active again.
Recipe Tips for Sourdough Bread
After cultivating your starter, you may want to try making sourdough bread. Here are a few tips to keep in mind:
- Consider using a blend of bread flour and whole wheat flour for added flavor and strength.
- Take note of autolyse: combine flour and water before adding the starter. This method allows enzymes to act on the flour, enhancing gluten development.
- Experiment with your hydration levels. A higher hydration dough creates an open crumb structure, while lower hydration yields denser bread.
Common Variations for Sourdough Starter
Your sourdough starter can be adjusted based on your preferences:
- Rye Flour Starter: Use 100 grams of whole rye flour instead of all-purpose flour. It tends to ferment more vigorously due to higher nutrient content, producing a robust sourdough flavor.
- Gluten-Free Starter: Experiment with gluten-free flours such as rice flour or sorghum flour. The process is similar, but it may take longer to establish a viable starter.
Flavor Profiles and Adjustments
The flavor of your sourdough bread can be influenced by several factors involving the starter:
- The age of the starter will impact its tanginess; older starters tend to produce a more pronounced sour flavor.
- Temperature and feeding schedule can also range flavors. Warmer temperatures generally enhance sourness.
Engaging with the Sourdough Community
As you embark on your sourdough journey, consider joining online communities or local baking groups. Sharing experiences, tips, and troubleshooting advice with fellow bakers can enhance your skills and inspire creativity.
Next Steps After Making Your Starter
Once you have successfully created your sourdough starter and it is consistently active, there are many next steps for you to explore. You can start by baking delicious sourdough bread, trying out sourdough pancakes, or even experimenting with sourdough discard recipes like bagels or pizza crusts. Be adventurous and discover what works best for you!
There’s a wealth of knowledge available in baking communities and on various food blogs. Explore more delicious recipes like the King Arthur Sourdough Recipe or try making something unique with your starter, like Sourdough Discard Bagels.