
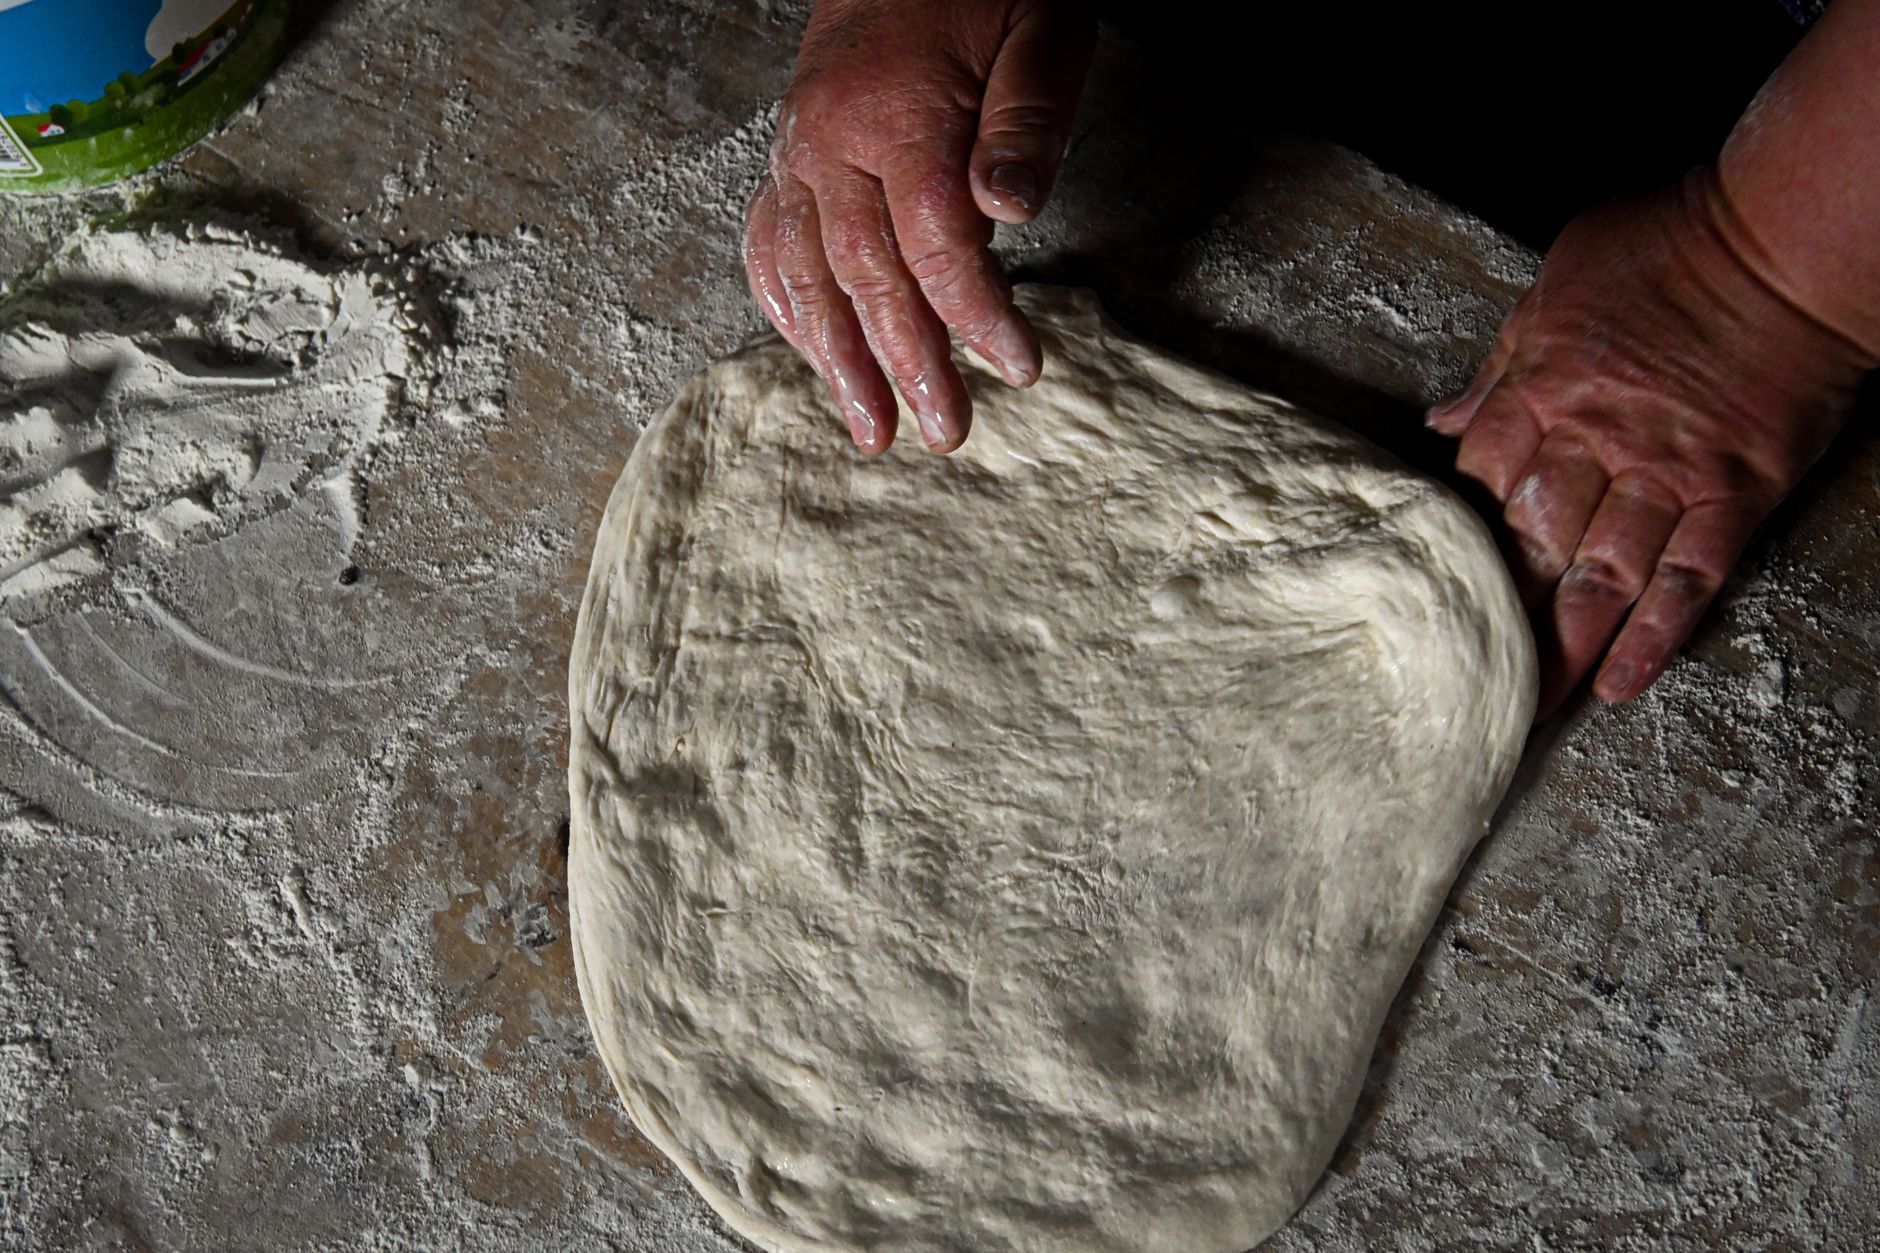
Stretch and folds are a fundamental technique in bread making, especially when crafting artisanal loaves like sourdough. This method helps develop gluten structure, enhances dough strength, and incorporates air into the dough. Understanding how many stretch and folds to perform at different stages can greatly improve your baking outcomes.
This guide explores the concept of stretch and folds, including how many to perform, their purpose, and tips to perfect your technique. Whether you’re a beginner or a more seasoned baker, mastering this technique will help you create loaves with desirable texture and flavor.
How Many Stretch and Folds?
The number of stretch and folds you should perform generally depends on the type of dough and its hydration level. For most bread doughs, performing 3 to 4 sets of stretch and folds during the first bulk fermentation phase is a standard practice. Higher hydration doughs may require more folds to strengthen the gluten structure.
Understanding the Stretch and Fold Technique
Stretch and folds are typically conducted during the bulk fermentation stage, which is the initial rising phase of the dough after mixing. There are several critical points to note about this technique:
- Purpose: It develops gluten strength without extensive kneading, creating a better structure in high-hydration doughs.
- Air Incorporation: Folding helps incorporate air into the dough, which is essential for making light and airy bread.
- Timing: Stretch and folds are usually performed at intervals during bulk fermentation. This allows the dough to rest and develop flavor while developing its structure.
Step-by-Step Guide to Stretch and Folds
Here’s a detailed guide on how to perform stretch and folds effectively:
- Preparation: Start with your mixed dough placed in a lightly oiled bowl to prevent sticking.
- First Stretch and Fold: After about 30 to 60 minutes of bulk fermentation, wet your hands to prevent sticking. Grab one side of the dough, stretch it upwards, and fold it over itself toward the center. Rotate the bowl 90 degrees and repeat this process until you have completed a full turn (4 folds). This should take about 2 to 3 minutes.
- Rest the Dough: Cover the bowl with a damp towel or plastic wrap and let the dough rest for another 30 to 60 minutes.
- Repeat: Perform 2 or 3 additional sets of stretch and folds at 30 to 60-minute intervals, each time allowing the dough to rest afterward. You’ll notice the dough becoming smoother and more elastic after each set.
- Final Stretch and Fold: Once you’ve completed the last set, cover and let the dough rise until it has roughly doubled in size, which may take anywhere from 1 to 3 hours depending on the temperature and yeast activity.
Determining the Right Number of Stretch and Folds
The number of stretch and folds required can vary based on several factors:
- Dough Hydration: High-hydration doughs (above 75% hydration) typically require more stretch and folds to build gluten strength. You might consider doing 4 to 6 sets for such doughs.
- Types of Bread: Different types of bread may necessitate different folding techniques. For instance, sourdough and ciabatta often benefit from more stretch and folds due to their wetter nature.
- Temperature: Warmer environments can accelerate fermentation. If your kitchen is warm, keep an eye on the dough, as it may rise faster than anticipated, altering your folding schedule.
Common Mistakes to Avoid
While stretch and folds might seem straightforward, there are common pitfalls to watch out for:
- Overworking the Dough: Too many stretches can lead to a dense loaf. Watch the gluten development visually; the dough should become elastic but not overly tough.
- Skipping Changes in Time: If the dough isn’t rising adequately between fold sessions, consider adjusting the timing based on its texture and expansion.
- Ignoring Temperature: Adjust your folding intervals based on dough behavior. If the dough is rising rapidly, you may need less folding.
Visual and Texture Cues
Observing the dough during the folding process is crucial for successful baking. Here are some key indicators:
- Texture: The dough should feel smooth and elastic after each session. If it feels slack or doesn’t hold its shape, it may need a bit more folding.
- Bubbles: Look for small air bubbles forming along the surface of the dough. This indicates effective fermentation and gas production.
- Size Increase: The dough should visibly expand in size after each fold session. Aim for at least a 50% increase in volume before moving on.
Variations to the Stretch and Fold Technique
While the classic stretch and fold is effective, various adaptations exist, which may better suit your specific dough needs:
- French Fold: This method involves folding the dough into a rectangle and then flipping it over, emphasizing even layer incorporation.
- Letter Fold: Ideal for very wet dough, this fold mimics the shape of a letter and can enhance dough strength and structure.
- Raisin/Walnut Incorporation: If adding mix-ins like nuts or dried fruits, do so during the first stretch and fold to evenly distribute them.
When to Stop Stretch and Folds
Identifying when to stop is just as important as recognizing when to start. Here’s how to determine the right moment:
- Visual Inspection: The dough should be well aerated and hold its shape. Any feeling of slackness should diminish, showing a springy quality instead.
- Double in Size: If the dough has roughly doubled in size by the end of your folding sequence, it’s time to move on to shaping and final proofing.
After the Stretch and Fold
Once you’ve completed your stretch and folds, it’s time to shape your dough and use it according to your chosen recipe. Here’s a brief overview of the next steps:
- Shaping: Turn the dough out onto a lightly floured surface and shape it into your desired loaf form. This is when you want to build a tight surface tension.
- Final Proofing: Place the shaped dough into a proofing basket or on a baking tray, cover, and let it rest for another 30 minutes to 2 hours, until sufficiently puffed up.
- Prepare for Baking: Prepare your oven or dutch oven and preheat according to specific recipe requirements before scoring and baking your loaf.
Storage and Make-Ahead Guidance
Once baked, knowing how to store your bread can ensure it stays fresh longer:
- Counter Storage: Sourdough bread typically retains its best quality when stored at room temperature for up to 3 days, wrapped in a linen or paper bag.
- Freezing: For longer storage, freeze your bread wrapped tightly in plastic, followed by foil. Bread can last up to 3 months in the freezer.
- Reheating: To regain some freshness, reheat frozen bread in a preheated oven at 350°F (175°C) for about 10-15 minutes.
Serving Suggestions
Once your bread has cooled after baking, its uses are plentiful. Here are several ways to enjoy your creations:
- Simple Toast: Serve slices with butter or your favorite spread.
- Sandwiches: Use it as the base for gourmet sandwiches stacked with fresh ingredients.
- Accompaniments: Pair it with soups, salads, or cheese for a delightful meal experience.
Final Thoughts
Understanding how many stretch and folds to perform is just one part of mastering the art of bread making. The technique, coupled with insight into your dough’s behavior, will lead to impressive results. Begin with a simple dough and build your experience through practice. With consistency and a few adjustments, you’ll yield high-quality loaves that are satisfying to make and even more satisfying to eat.
Explore more about sourdough with our King Arthur Sourdough Recipe or perfect your baguette making with our Sourdough Baguette Recipe for even deeper insight into your baking journey.