
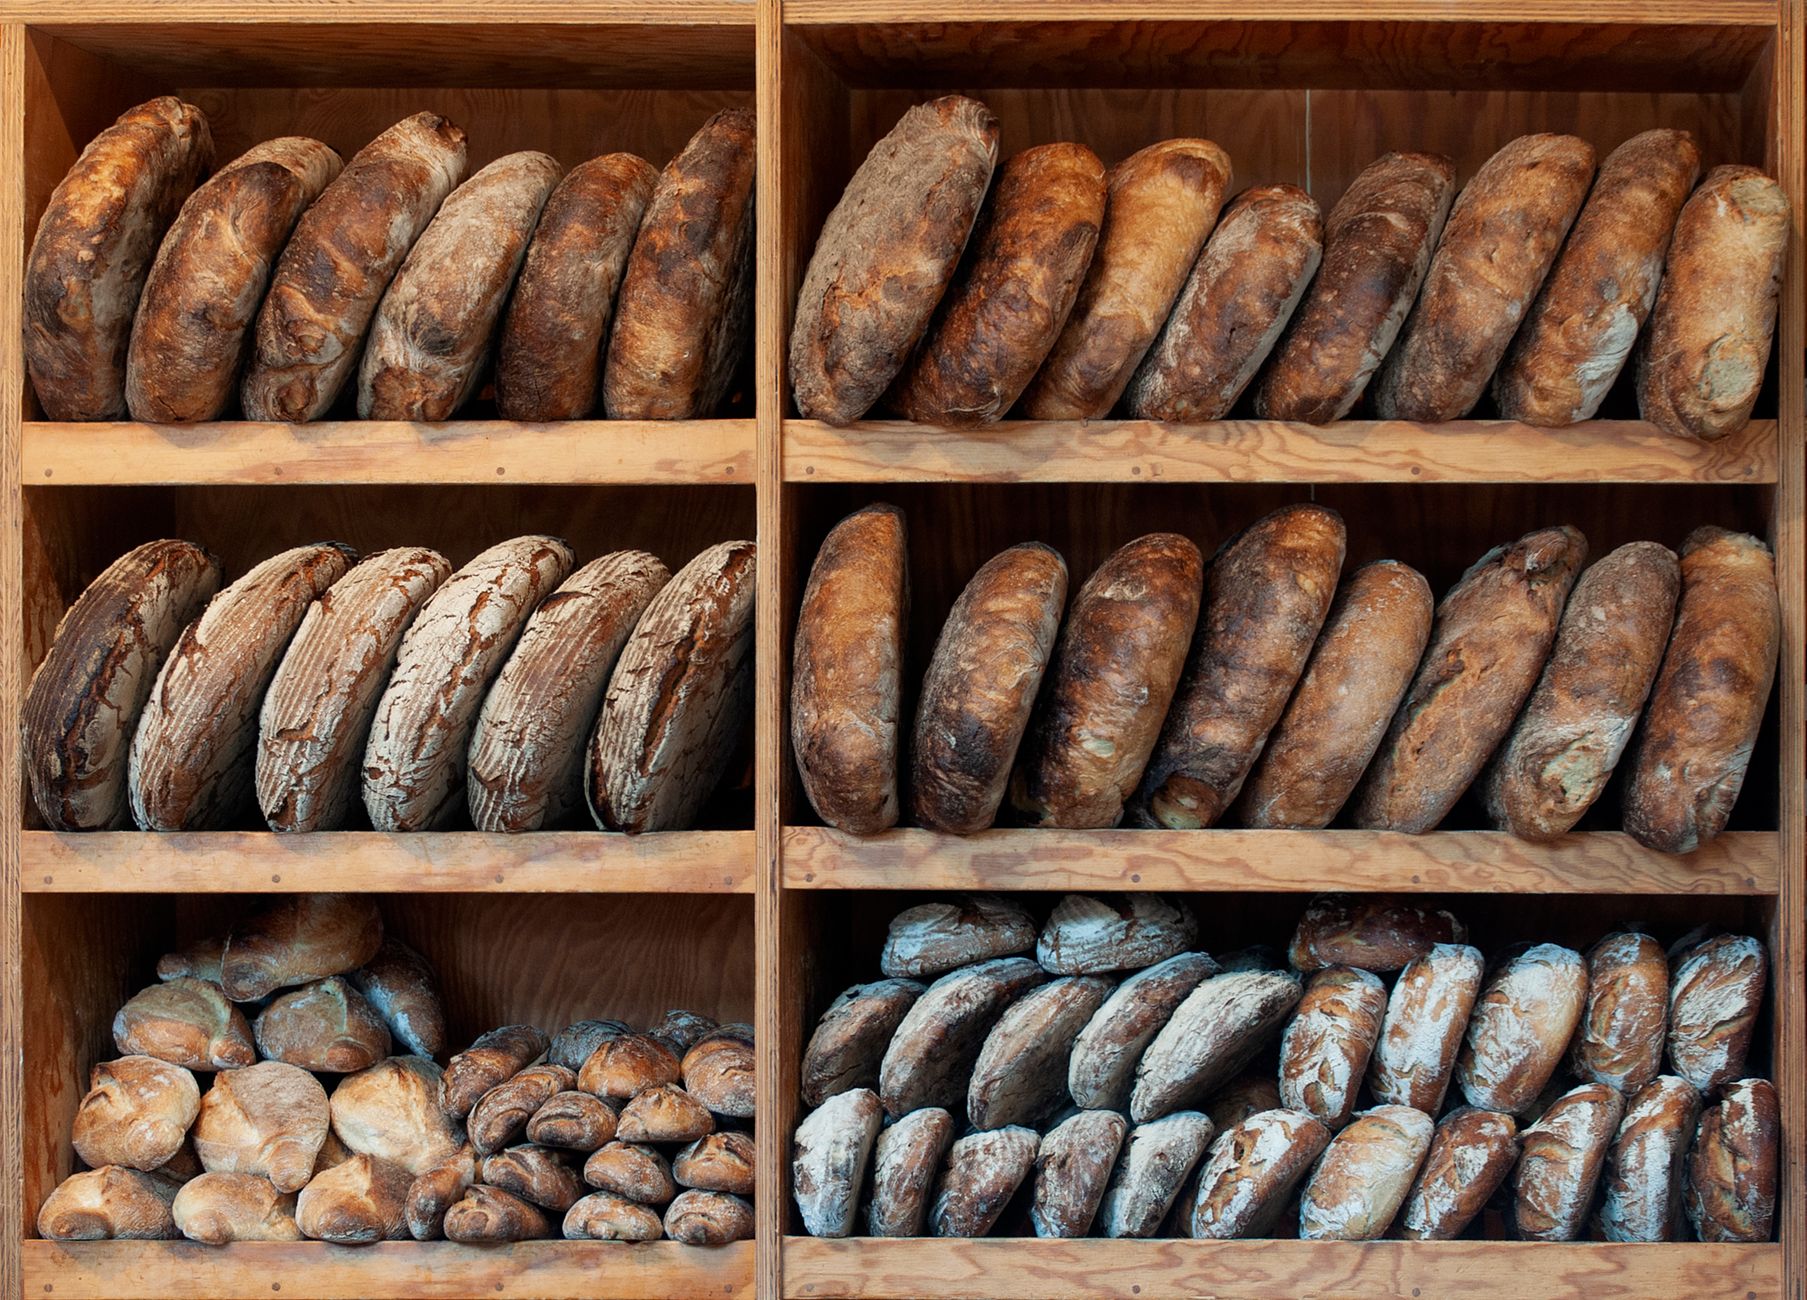
Sourdough bread is known for its distinct flavor and chewy texture, which comes from the fermentation process driven by wild yeast and lactic acid bacteria. Many bakers utilize cold proofing in the fridge to enhance these qualities and improve the dough’s handling. However, an important question arises: how long can sourdough cold proof in the fridge without compromising its flavor or texture?
Understanding the factors that influence the cold proofing process can help you achieve the ultimate sourdough loaf. This article will detail the typical duration for cold proofing sourdough in the refrigerator, along with tips for optimal results.
How Long Can Sourdough Cold Proof in the Fridge?
Sourdough can typically cold proof in the fridge for 12 to 72 hours, depending on the dough and your desired characteristics. A longer proofing time can develop more complex flavors and improve the dough’s texture; however, exceeding 72 hours runs the risk of over-fermentation.
The Science Behind Cold Proofing
Before diving into the specifics of timing, it’s essential to understand what cold proofing entails. Cold proofing, also known as retarding, slows down the fermentation process by lowering the dough’s temperature. This allows for a longer fermentation period, which can create a unique taste and enhance the dough’s structure.
The bacteria and yeast in sourdough continue to work in the cold, though at a noticeably slower rate. This cooling will help develop the dough’s flavor profile, making it tangier and more complex compared to dough that rests at room temperature.
Factors Influencing Cold Proofing Duration
Several factors affect how long your sourdough can safely cold proof:
- Dough Hydration: Higher hydration doughs can tolerate longer cold proofing times due to increased enzymatic activity.
- Yeast Activity: The strength and vitality of your starter influence how quickly the dough ferments, which can affect proofing time.
- Temperature of the Fridge: Not all fridges maintain the same temperature; a colder fridge will slow down fermentation more than a mildly chilly one.
- Desired Flavor Profile: If you want a more acidic which develops with longer proofing times, you may aim for the higher end of the range.
Cold Proofing Duration Recommendations
To better navigate cold proofing durations, consider the following recommendations:
1. 12 to 24 Hours
A 12 to 24-hour cold proof provides a quick way to develop flavor without significant risk of over-fermentation. Expect a mild tanginess and a nicely risen dough. This is ideal for home bakers who want fresh bread on a weekday but have limited time for long fermentation.
2. 24 to 48 Hours
This duration is popular among many bakers as it allows for rich flavor development. Expect a pronounced tang and a dough that retains a strong structure, making it easier to shape. After 36 hours, keep an eye on the dough to ensure it doesn’t over-ferment.
3. 48 to 72 Hours
Longer cold proofing times (up to 72 hours) can greatly enhance complexity in flavor. However, your dough’s appearance and behavior will change. The dough might become softer and have large bubbles, indicating a more active fermentation process. It’s vital to observe the dough during this period to avoid over-proofing. Starting with a small test batch can help gauge results.
4. Beyond 72 Hours
While theoretically possible to cold proof for longer, it is not recommended as risks include over-fermentation and loss of structure. If you plan to exceed 72 hours, consider reducing the yeast amount or using a thicker dough to mitigate potential issues. Always check for signs of over-fermentation, like a very sticky texture or a pronounced sour aroma.
Tips for Successful Cold Proofing
With proper management, cold proofing can yield wonderful results. Here are some tips to maximize your success:
- Use a Well-Feed Starter: A healthy, active starter improves the fermentation process, leading to better results.
- Monitor Temperatures: Keeping your fridge at a consistent 38-40°F (3-4°C) is ideal. Invest in a thermometer if needed.
- Shape the Dough Properly: Ensure to shape your dough before placing it in the fridge. Use a minimal amount of flour on the surface to prevent sticking.
- Choose the Right Container: Your dough can be left in its mixing bowl, covered tightly with plastic wrap, or transferred to a sealable container to avoid drying out.
- Check for Signs of Proofing: Before baking, check for bubbles throughout the dough and a visibly risen structure. Gently poke the dough; it should hold the indentation but slowly spring back.
Common Mistakes and How to Avoid Them
Even experienced bakers can encounter pitfalls when cold proofing sourdough. Here are some common mistakes and tips to help steer clear of them:
1. Over-Fermentation
Leaving dough in the fridge for too long can lead to over-fermentation, which can diminish the flavor and structure. Monitor your dough closely, especially as it approaches the 72-hour mark.
2. Poorly Hydrated Dough
Dough that is too dry may not perform well during cold proofing. Adding the right amount of water ensures a hydrated dough, making it easier to handle and more flavorful.
3. Incompatible Starter
An inactive or weak starter can lead to subpar results. Make sure to feed your starter regularly, ideally the night before using it for the best rise and flavor.
Practical Proofing Techniques
When it comes to cold proofing, there are a few techniques bakers can utilize to enhance the fermentation process:
1. Bulk Fermentation
Begin with bulk fermentation at room temperature before transitioning to the fridge. Allow about 1-2 hours of bulk fermentation to develop flavor before refrigeration.
2. Shaping and Proofing
Shaping your dough into its final loaf or shaping into a round before refrigerating aids in gaining structure. It’s essential to perform this step correctly to facilitate proper gas retention and gluten development.
3. Multi-Stage Proofing
Utilizing multi-stage proofing can yield exceptional results. This involves offering some room temperature fermentation followed by cold proofing to balance flavor development.
Baking After Cold Proofing
Once your dough has finished its cold proof, it’s time to bake. Here’s a guide on how to proceed:
- Preheat your oven to 450°F (232°C) at least 30 minutes before baking. Place a Dutch oven or baking stone inside to heat up.
- Carefully transfer your dough to a piece of parchment paper. A sharp blade can be used to score the dough, which helps control the expansion during baking.
- Using a transfer method, either through a baking stone or ceramic dish, place the dough inside the hot Dutch oven.
- Cover with the lid to create steam for the first part of baking.
- Bake for 30 minutes with the lid on, then remove the lid and bake for an additional 15-20 minutes until golden brown and crispy.
- Remove the bread and allow it to cool on a wire rack before slicing.
Storing Leftover Sourdough
If you have leftover sourdough, proper storage methods are crucial for retaining its freshness:
- Room Temperature: Store bread in a paper bag at room temperature for up to 3 days. Avoid plastic bags, as they trap moisture and can make the crust soggy.
- Freezing: For longer storage, consider freezing. Wrap slices tightly in plastic wrap or store in airtight bags. Bread can last 1-3 months in the freezer.
- Reheating: To restore texture, reheat frozen slices in a toaster or oven before serving.
Ultimately, cold proofing sourdough is a balancing act of time and observation. With the right approach and timing, bakers can unlock a depth of flavor that will take their sourdough to the next level.
Explore more delicious recipes and tips to enhance your baking skills, such as sourdough naan and sourdough discard bagels. Happy baking!