
There’s something magical about melting dark chocolate, isn’t there? Making your own Homemade Dark Chocolate is not only satisfying, but it also allows you to control the sweetness and flavor — plus, it makes for a delightful gift or treat.
Why You’ll Love This Recipe
This recipe is a chocolate lover’s dream, and here’s why you should try it.
- Rich and indulgent flavor that you can customize.
- Simple ingredients that are easy to find.
- No complicated equipment required — just a stove and a bowl.
- Perfect for snacking, baking, or gifting.
- Can be made vegan with a simple swap.
My Experience Making This Recipe
I remember the first time I made Homemade Dark Chocolate. The smell of melting cocoa butter filled my kitchen, and I felt like a true chocolatier.
As I poured the smooth mixture into molds, I couldn’t wait to taste my creation. When I finally indulged, the rich, velvety texture melted in my mouth, and I knew I had found a new passion.
Recipe Overview
- Recipe Name: Homemade Dark Chocolate
- Servings: 12 pieces
- Prep Time: 15 minutes
- Cook Time: 10 minutes
- Total Time: 25 minutes
- Course: Dessert
- Cuisine: Global
- Calories per Serving: 100
Equipment You Will Need
- Double boiler or heatproof bowl
- Spatula
- Chocolate molds or parchment paper
- Measuring cups and spoons
Ingredients for Homemade Dark Chocolate
- 1 cup cocoa butter, chopped
- 1 cup cocoa powder
- 1/2 cup maple syrup (or sweetener of choice)
- 1 teaspoon vanilla extract
- 1/4 teaspoon sea salt
Ingredient Notes and Substitutions
- Cocoa butter gives chocolate its creamy texture. You can substitute with coconut oil for a different flavor.
- Cocoa powder is essential for the chocolatey flavor; carob powder can be used for a caffeine-free option.
- Maple syrup adds sweetness; honey or agave syrup can also work well.
- Vanilla extract enhances the flavor; feel free to omit it if you want a pure chocolate taste.
- Sea salt balances the sweetness; use Himalayan salt for a subtle flavor twist.
How to Make Homemade Dark Chocolate
Step 1: Prepare Your Equipment
Gather your double boiler or heatproof bowl. This setup allows for gentle heating to melt the cocoa butter without burning it.
Step 2: Melt Cocoa Butter
Add cocoa butter to the double boiler. Stir occasionally until it is completely melted and smooth, ensuring it does not get too hot.
Step 3: Mix in Cocoa Powder
Once the cocoa butter is melted, add the cocoa powder. Mix well until fully incorporated and there are no lumps — this is where the rich flavor starts to develop.
Step 4: Sweeten the Chocolate
Add maple syrup to the mixture. Stir continuously until everything is well combined and the mixture is glossy.
Step 5: Add Flavor
Stir in the vanilla extract and sea salt. This step enhances the chocolate’s flavor profile, making it even more delightful.
Step 6: Pour into Molds
Carefully pour the chocolate mixture into molds or onto parchment paper. Make sure to tap the molds lightly to remove any air bubbles.
Step 7: Chill the Chocolate
Place the molds in the refrigerator for about 30 minutes or until the chocolate is firm. This step is crucial for achieving that satisfying snap when you break a piece.
Step 8: Unmold and Enjoy
Once set, gently pop the chocolate out of the molds. Take a moment to admire your creation before indulging in the rich flavors.
Pro Tip: For a more complex flavor, try adding a pinch of chili powder or a sprinkle of sea salt on top before chilling.
Tips for the Best Homemade Dark Chocolate
- Use high-quality cocoa butter and cocoa powder for the best flavor.
- Experiment with different sweeteners to find your perfect balance.
- Make sure to stir continuously to avoid clumping.
- Don’t skip chilling time; it helps the chocolate set properly.
- Store your chocolate in a cool, dry place to maintain its texture.
Common Mistakes to Avoid
- Not melting cocoa butter gently can lead to a burnt taste.
- Using low-quality cocoa products results in bland chocolate.
- Skipping the cooling step can leave you with a mushy texture.
- Not measuring ingredients accurately can affect sweetness and consistency.
Serving Suggestions
This homemade dark chocolate is versatile and pairs well with various treats.
- Enjoy it on its own for a rich snack.
- Pair it with fresh fruits like strawberries or bananas.
- Use it in desserts like brownies or cookies.
- Crush it over yogurt or oatmeal for a decadent breakfast.
Variations to Try
- Add nuts like almonds or hazelnuts for added crunch.
- Incorporate dried fruits such as cranberries or apricots for a chewy texture.
- Mix in spices like cinnamon or cardamom for a warm flavor twist.
- Drizzle with white chocolate for a beautiful contrast.
Dietary Adaptations
- Gluten-free: This recipe is naturally gluten-free, so enjoy without worry.
- Dairy-free: Using cocoa butter and non-dairy sweeteners keeps it dairy-free.
- Vegan: All ingredients can be swapped for plant-based versions, making it vegan-friendly.
- Low-carb/keto: Use a sugar substitute like erythritol to lower carbs.
Storage and Reheating
Refrigerator
Store the chocolate in an airtight container in the refrigerator.
- It will last for up to two weeks.
Freezer
You can freeze the chocolate for longer storage.
- Wrap it well to prevent freezer burn, and it will keep for up to three months.
Reheating
If the chocolate gets too hard, you can gently melt it again.
- Use the double boiler method to avoid burning.
Nutrition Information
| Nutrient | Amount |
|---|---|
| Calories | 100 |
| Total Fat | 9g |
| Saturated Fat | 5g |
| Carbohydrates | 7g |
| Fiber | 2g |
| Sugar | 5g |
| Protein | 1g |
| Sodium | 1mg |
| Cholesterol | 0mg |
This information is approximate and will vary based on the specific ingredients used.
Frequently Asked Questions
Can I use a different sweetener?
Absolutely! You can substitute with honey, agave syrup, or even stevia.
Can I make this chocolate ahead of time?
Yes, just store it properly in the refrigerator or freezer until you’re ready to use it.
How do I prevent my chocolate from seizing?
Avoid any water getting into the chocolate, and melt the cocoa butter gently.
What if my chocolate is too hard?
If it’s too hard, you can remelt it gently and adjust the sweetness or creaminess to your liking.
Can I add flavors to my chocolate?
Yes, spices, extracts, or even espresso powder can enhance the flavor.
Final Thoughts
Making your own Homemade Dark Chocolate is a rewarding experience that yields delicious results. Give it a try and savor the joy of creating something truly special.
If you’re interested in more delightful chocolate recipes, check out this Dubai chocolate recipe or warm up with a Mexican hot chocolate recipe.
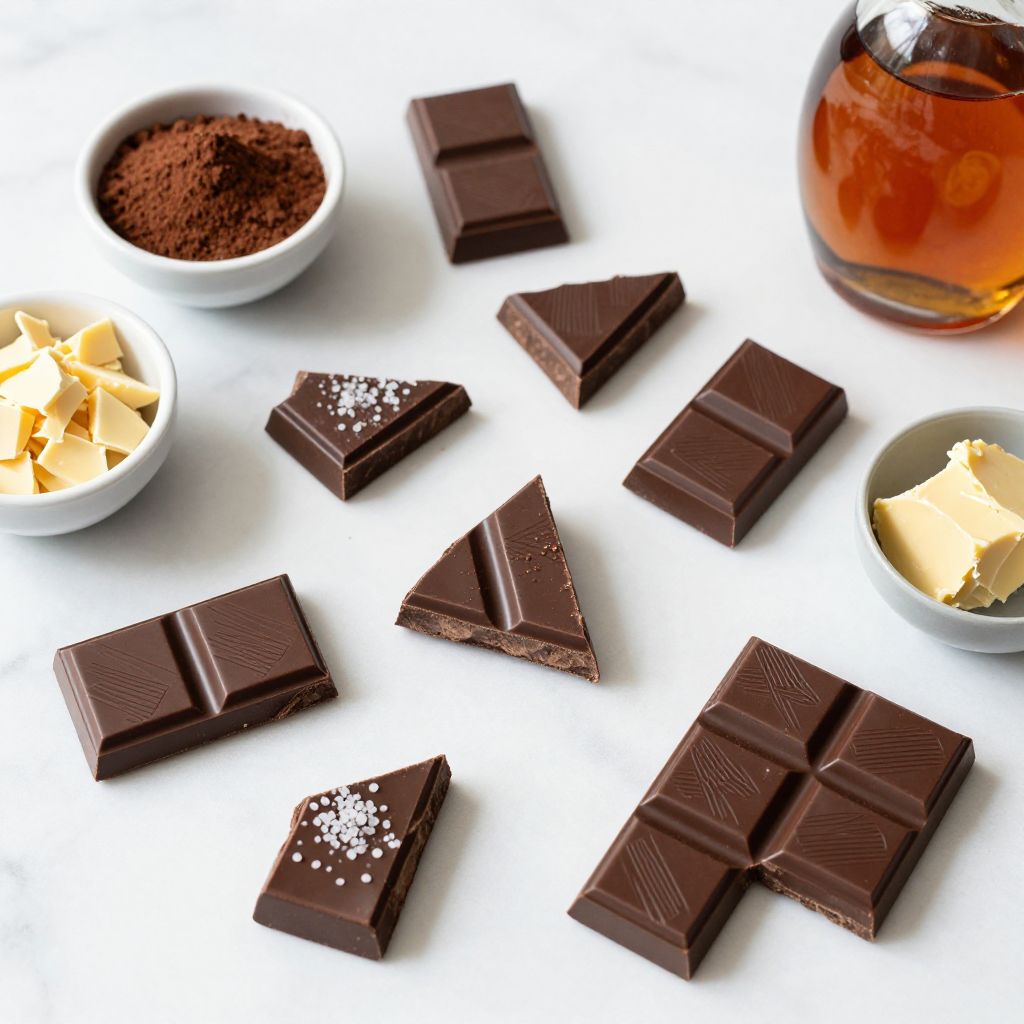
Homemade Dark Chocolate
Ingredients
Equipment
Method
- Gather your double boiler or heatproof bowl.
- Add cocoa butter to the double boiler. Stir occasionally until completely melted and smooth.
- Once the cocoa butter is melted, add the cocoa powder and mix well.
- Add maple syrup to the mixture and stir continuously until well combined.
- Stir in the vanilla extract and sea salt.
- Carefully pour the chocolate mixture into molds or onto parchment paper.
- Place the molds in the refrigerator for about 30 minutes or until the chocolate is firm.
- Once set, gently pop the chocolate out of the molds.