
Picture this: a hot summer day, and you’re craving something cool, creamy, and delightful. The Fairlife Ninja Creami Recipe is just the treat to beat the heat, combining rich flavors and smooth textures in a way that will make your taste buds sing. It’s not just any frozen dessert; this recipe is a fun and simple way to enjoy delicious, creamy treats right at home. With its versatility and delightful taste, it’s perfect for both special occasions and everyday indulgences. Let’s jump into how to create this fantastic dessert!
Why You’ll Love This Recipe
This recipe is a hit for multiple reasons.
- Quick and easy to prepare, making it perfect for busy days.
- Versatile flavors allow for endless customization.
- Rich and creamy texture that rivals store-bought options.
- Made with Fairlife milk, providing extra protein and calcium.
- A fun activity for the whole family to enjoy together.
My Experience Making This Recipe
When I first made the Fairlife Ninja Creami, I was amazed at how easy it was. The moment I opened the machine, the delightful scent of creamy goodness wafted through my kitchen.
My family gathered around as I served up the first bowls, and their eager faces were priceless. Watching them enjoy each spoonful reminded me why I love creating in the kitchen.
Recipe Overview
- Recipe Name: Fairlife Ninja Creami
- Servings: 4
- Prep Time: 10 minutes
- Cook Time: 0 minutes
- Total Time: 4 hours
- Course: Dessert
- Cuisine: American
- Calories per Serving: 150
Equipment You Will Need
- Ninja Creami machine
- Measuring cups and spoons
- Mixing bowl
- Spoon or spatula
- Freezer-safe container
Ingredients for Fairlife Ninja Creami
- 2 cups Fairlife milk
- 1/2 cup sugar
- 1 tsp vanilla extract
- 1/4 cup cocoa powder
- 1/4 cup chocolate chips
Ingredient Notes and Substitutions
- Fairlife milk: Provides a creamier texture and higher protein. Substitute with any milk of your choice.
- Sugar: Balances the flavors and sweetness. Use honey or a sugar substitute if desired.
- Vanilla extract: Adds depth of flavor. Almond extract can be a nice alternative.
- Cocoa powder: Gives the chocolate flavor. For a lighter option, use carob powder.
- Chocolate chips: Enhance texture and flavor. Add nuts or dried fruit for variety.
How to Make Fairlife Ninja Creami
Step 1: Mix the Ingredients
In a mixing bowl, combine the Fairlife milk, sugar, vanilla extract, cocoa powder, and chocolate chips. Stir until everything is well incorporated; this ensures a smooth and even flavor throughout.
Step 2: Pour into Container
Transfer the mixture into a freezer-safe container. Make sure to leave some space at the top, as the mixture will expand when frozen.
Step 3: Freeze the Mixture
Place the container in the freezer for at least 4 hours or until solid. Freezing is crucial for achieving that creamy texture when processed in the Ninja Creami.
Step 4: Prepare the Ninja Creami
Once the mixture is solid, remove it from the freezer. Allow it to sit for a few minutes at room temperature to soften slightly before processing.
Step 5: Process in the Ninja Creami
Place the frozen mixture into the Ninja Creami bowl. Process using the “Ice Cream” function, which will break down the frozen mixture into a creamy texture.
Step 6: Check Consistency
After processing, check the consistency. If it seems too soft, you can reprocess it for a few seconds to achieve your desired creaminess.
Step 7: Serve Immediately or Refreeze
Once creamy, serve immediately for a soft-serve texture. Alternatively, you can refreeze it for a firmer dessert.
Step 8: Enjoy!
Scoop into bowls and savor your homemade Fairlife Ninja Creami. Enjoy this delightful treat with your favorite toppings like sprinkles or fresh fruit!
Pro Tip: For an extra creamy texture, let your mixture sit at room temperature for a few minutes before processing.
Tips for the Best Fairlife Ninja Creami
- Use chilled ingredients for a faster freezing process.
- Experiment with different flavors by adding fruit or extracts.
- Make sure the mixture is fully blended for a smooth texture.
- Do not skip the freezing time; it’s key for the right consistency.
- Customize your toppings for a fun presentation.
Common Mistakes to Avoid
- Not freezing long enough will lead to a slushy texture.
- Skipping the softening step causes difficulty in processing.
- Overfilling the container can lead to messy spills.
- Not mixing thoroughly may result in uneven flavors.
Serving Suggestions
This dessert can be paired with various delicious options.
- Fresh berries for a fruity contrast.
- Crushed cookies for a delightful crunch.
- Whipped cream for added decadence.
- Chocolate syrup for an indulgent touch.
Variations to Try
- Add peanut butter for a rich, nutty flavor.
- Incorporate seasonal fruits like strawberries or mango.
- Try using different flavored extracts, like mint or almond.
- Make it a coffee-flavored treat by adding espresso powder.
Dietary Adaptations
- Gluten-free: All ingredients are naturally gluten-free.
- Dairy-free: Substitute Fairlife milk with almond or coconut milk.
- Vegan: Use a plant-based sweetener and dairy-free milk.
- Low-carb/Keto: Swap sugar for a low-carb sweetener.
Storage and Reheating
Refrigerator
Store any leftovers in an airtight container in the refrigerator.
- Consume within 2 days for best flavor.
Freezer
Your Ninja Creami can be stored in the freezer for up to a month.
- Ensure it is in a sealed container to prevent freezer burn.
Reheating
To enjoy again, let it sit at room temperature for a few minutes before processing.
- Reprocess if it has become too hard.
Nutrition Information
| Nutrient | Amount |
|---|---|
| Calories | 150 |
| Total Fat | 5g |
| Saturated Fat | 3g |
| Carbohydrates | 22g |
| Fiber | 1g |
| Sugar | 20g |
| Protein | 6g |
| Sodium | 90mg |
| Cholesterol | 20mg |
This nutritional information is approximate and can vary based on specific ingredients used.
Frequently Asked Questions
Can I use a different milk instead of Fairlife?
Yes, you can use any milk you prefer, but Fairlife gives a creamier texture.
Can I make this ahead of time?
Absolutely! Just freeze the mixture in advance for easy serving later.
How do I store leftovers?
Store any leftovers in an airtight container in the freezer for up to a month.
What if my mixture is too hard to process?
Let it sit at room temperature for a few minutes to soften before processing again.
Can I add other flavors to this recipe?
Definitely! Feel free to get creative with extracts or mix-ins.
Final Thoughts
Creating your own Fairlife Ninja Creami is a fun and rewarding experience. It’s a delightful way to enjoy a frozen treat that you can customize any way you like.
I hope you give this recipe a try and enjoy every creamy spoonful as much as I do!
Curious about more tasty recipes? Check out this Ninja Creami recipe and this cream cheese mousse recipe for more delicious ideas!
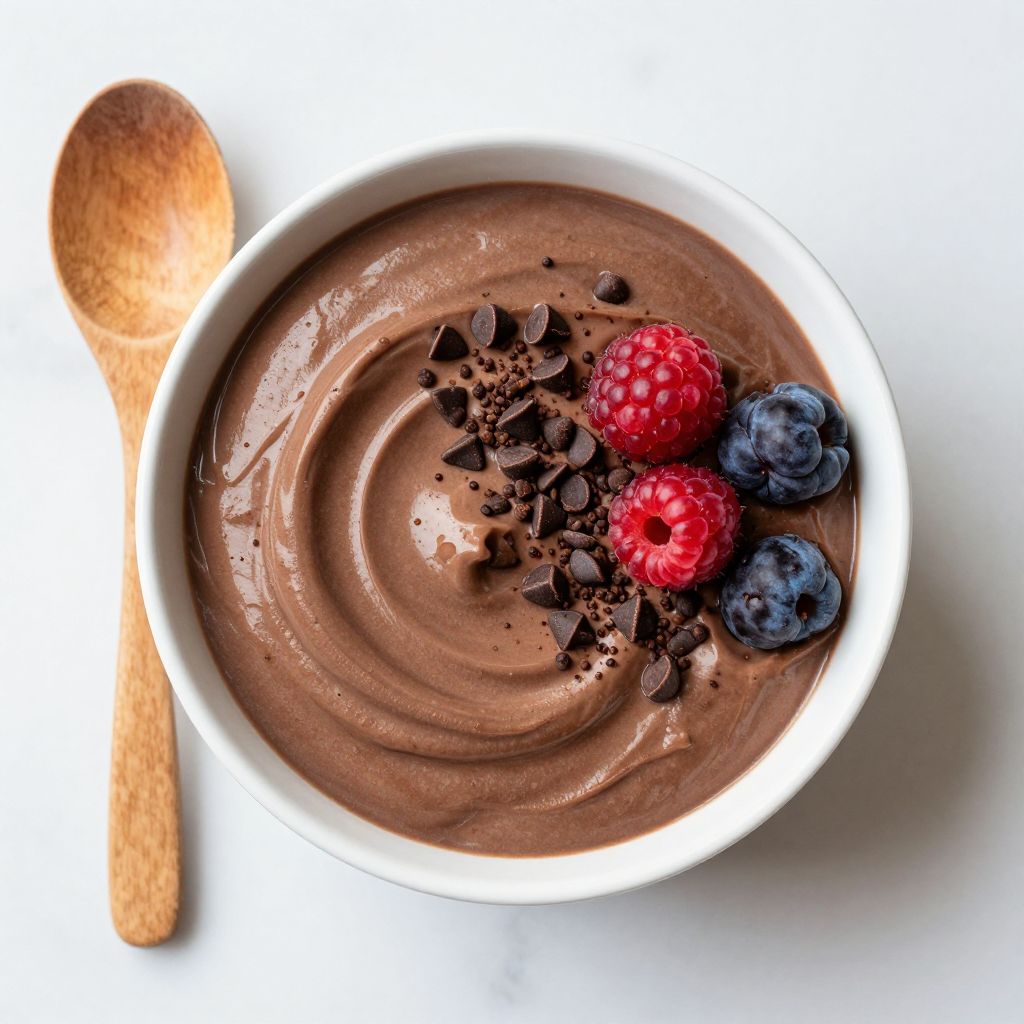
Fairlife Ninja Creami
Ingredients
Equipment
Method
- In a mixing bowl, combine the Fairlife milk, sugar, vanilla extract, cocoa powder, and chocolate chips. Stir until well incorporated.
- Transfer the mixture into a freezer-safe container, leaving some space at the top.
- Place the container in the freezer for at least 4 hours or until solid.
- Remove the mixture from the freezer and let it sit for a few minutes to soften.
- Place the frozen mixture into the Ninja Creami bowl and process using the 'Ice Cream' function.
- Check the consistency; if too soft, reprocess for a few seconds.
- Serve immediately for soft-serve texture or refreeze for a firmer dessert.
- Scoop into bowls and enjoy with your favorite toppings.