
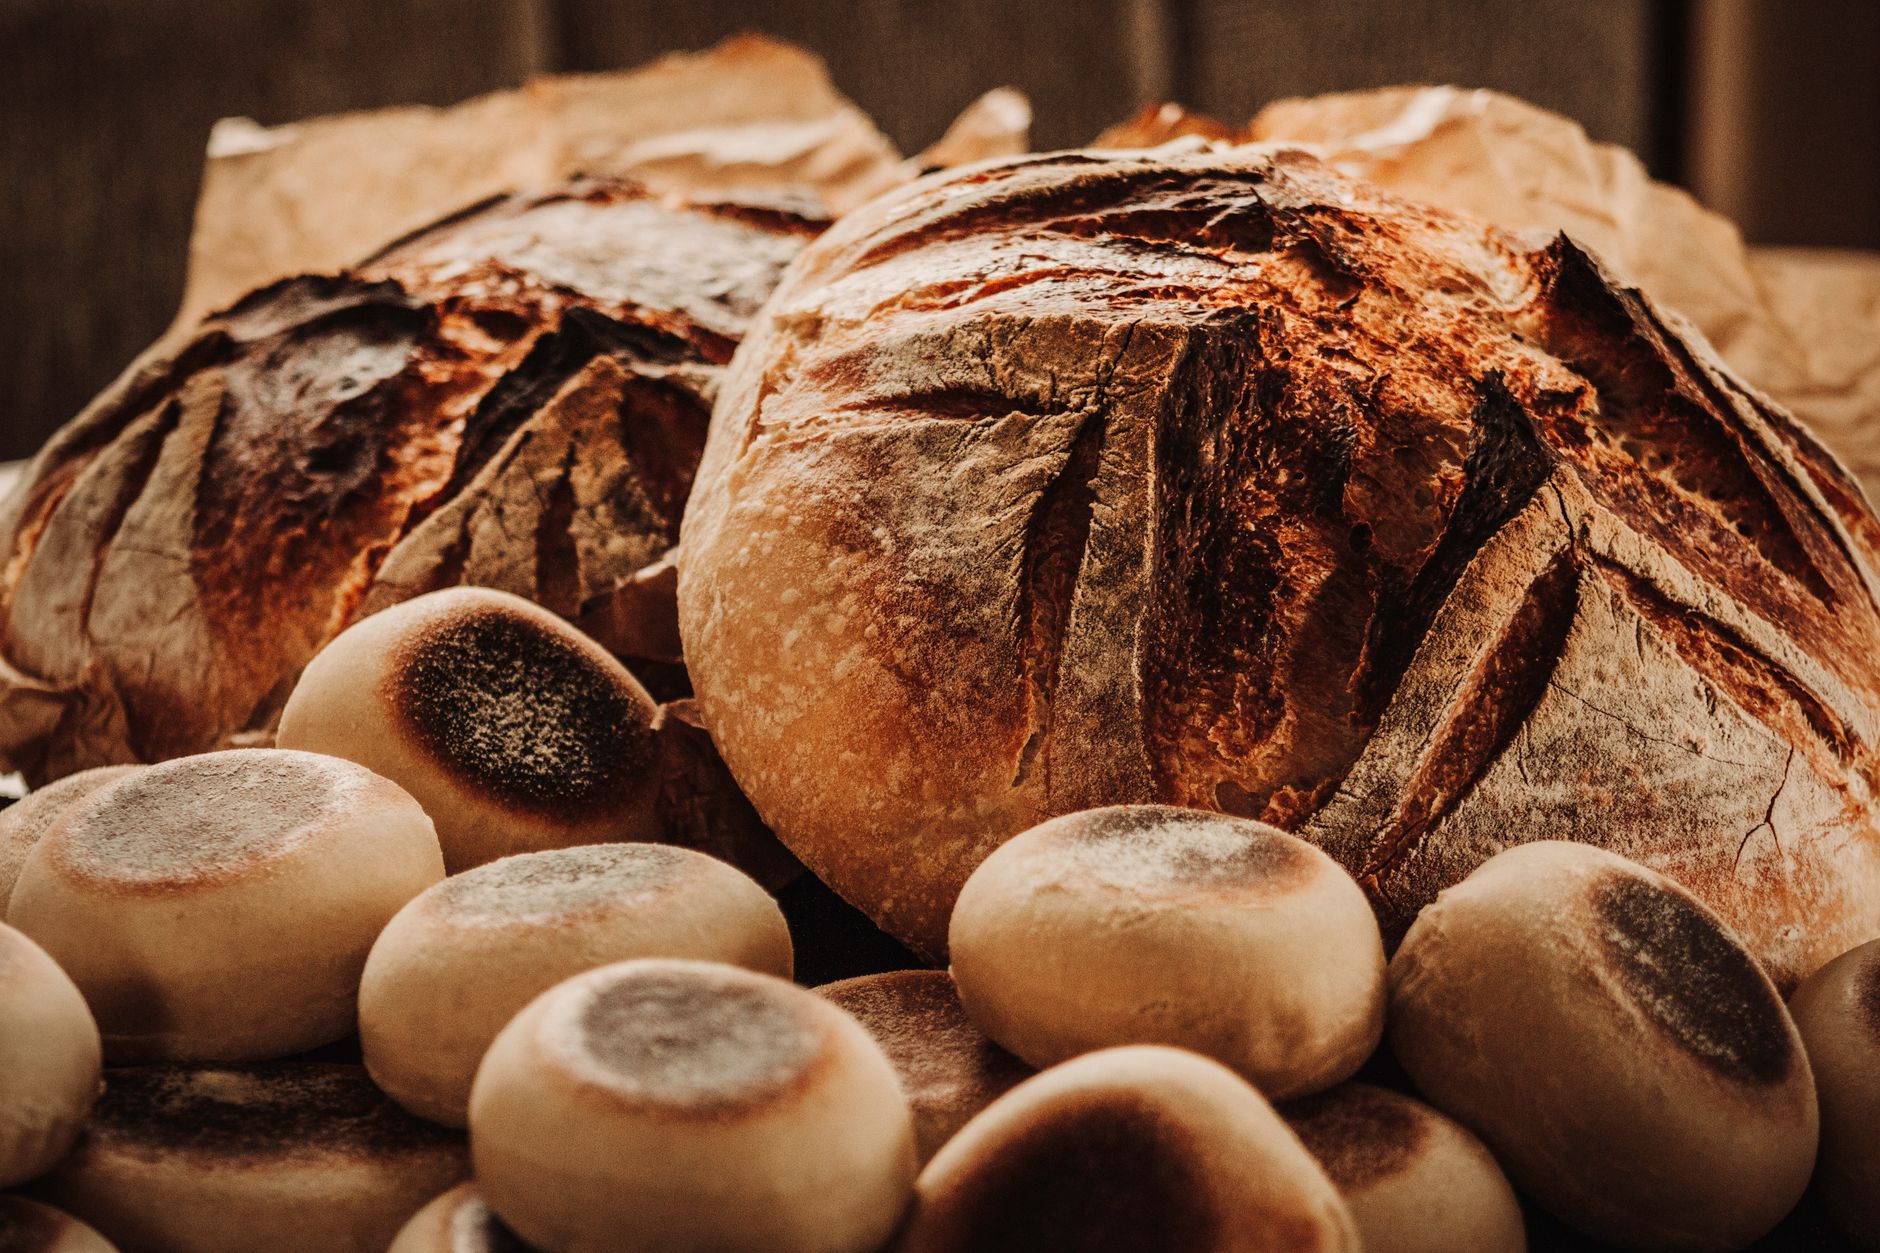
Sourdough bread is known for its delightful tang, chewy texture, and artisanal appearance. While traditionally handcrafted, many wonder if they can achieve this beloved bread using a bread maker. The good news is that yes, you can make sourdough in a bread maker! This method simplifies the process and is perfect for those who may feel daunted by the traditional sourdough techniques.
In this article, we will answer the question of how to successfully create sourdough bread in a bread maker. We will cover essential tips, a detailed recipe, recommended ingredients, troubleshooting tactics, and advice for storage and serving. Whether you’re new to sourdough or looking to enhance your baking skills, this guide has you covered.
Can You Make Sourdough in a Bread Maker?
Yes, you can make sourdough in a bread maker! While bread makers are often associated with more straightforward white or whole grain breads, many models now offer options suited for sourdough. This versatility allows you to enjoy the unique flavor profiles of sourdough with the convenience of automated bread making.
Understanding Sourdough
Sourdough bread relies on the natural fermentation from wild yeast and lactic acid bacteria present in the sourdough starter. This process gives sourdough its characteristic tang and contributes to its superior shelf life compared to commercial yeasted bread. Here’s what to consider when making sourdough in a bread maker:
- The Starter: A healthy sourdough starter is essential for achieving the right texture and flavor. You can either create your own starter or obtain one from a friend or the internet.
- Fermentation Timeline: Traditional sourdough requires long fermentation times, which can be simplified in a bread maker.
- Recipe Adjustments: Some ingredients might need adjustments when using the bread maker.
Sourdough Bread Maker Recipe
This recipe will guide you through creating a delicious sourdough loaf using your bread maker. The following steps include all the necessary information to make a flavorful loaf with a delightful crust.
Ingredients
- 1 cup (240 ml) sourdough starter (active and bubbly)
- 1 ½ cups (360 ml) warm water (about 100°F/38°C)
- 4 cups (480 g) bread flour
- 1 ½ teaspoons salt
- 1 tablespoon sugar (optional, for a slightly sweeter flavor)
- 1 tablespoon olive oil (optional, for a softer crust)
Essential Equipment
- Bread maker with a sourdough setting
- Measuring cups and spoons
- Small mixing bowl
- Spatula or wooden spoon
- Cooling rack
Method
- Prepare the Starter: Ensure your sourdough starter is feeding well, active, and bubbly. If using a refrigerated starter, feed it 4-8 hours before starting your bread for optimal activity.
- Combine Ingredients: In a small bowl, mix the warm water and sourdough starter until well combined. If using, add sugar and olive oil to this mixture and stir.
- Add to Bread Maker: Pour the starter mixture into the bread pan of your bread maker.
- Add Flour and Salt: Carefully add the bread flour on top of the liquid. Then, add the salt, making sure it doesn’t touch the starter mixture directly.
- Set Your Bread Maker: Select the sourdough setting on your bread maker. If your machine does not have this setting, use the basic white bread setting. Adjust the crust setting according to your preference, and start the machine.
- Observe the Process: During mixing, you can use a spatula to scrape down any flour that clings to the sides of the pan. Ensure all flour is incorporated, and the mixture is shaggy and wet.
- First Rise: Allow the bread maker to complete its kneading and first rising cycle. This may take anywhere from 1.5 to 2 hours, depending on your machine.
- Baking: Once the first rise is complete, your bread maker will start the baking process. This usually lasts from 30-60 minutes, depending on the size of your loaf and the specific bread maker model.
- Cooling: After baking, carefully remove the bread from the pan and allow it to cool entirely on a wire rack before slicing to preserve its texture and prevent sogginess.
Understanding Timing and Yeast Activity
The key to making great sourdough is understanding the fermentation process and being aware of timings. The longer the fermentation process, the more complex the flavors in the bread will be. Note that while your bread maker automates a lot of this work, don’t hesitate to occasionally monitor the process.
Fermentation Tips
- Warm Environment: Make sure your kitchen is warm enough to allow proper fermentation. If your environment is too cold, the yeast may take longer to activate.
- Timing the Starter: Ensure that your sourdough starter is fed and active prior to making your bread. Ideally, use it when it has doubled in size.
- Bypass the Bread Maker’s First Rise: If you desire a more robust flavor, feel free to let the dough rise for an additional hour after kneading, allowing for more fermentation before baking.
Troubleshooting Common Issues
Every baking adventure comes with its challenges. Here are some common problems when making sourdough bread in a bread maker, along with solutions.
Problem: Dense Bread
- Solution: Ensure your starter is active and bubbly before use, and check that the correct amount of flour and water is used. Adjustments may be necessary based on the humidity in your area.
Problem: Flat Loaf
- Solution: This could occur if the dough did not rise long enough. Consider allowing a longer proofing time and ensure your machine is set to the right setting.
Problem: Uneven Crust
- Solution: The bread maker’s bake time may need adjustment. If you find the crust is too dark, lower the bake setting or turn down the crust color option.
Problem: Sour Flavor Too Strong
- Solution: Reduce the amount of starter used. A mature starter can produce a more pronounced sour flavor that some may find overwhelming.
Variations and Flavor Additions
While traditional sourdough is delightful as it is, you may want to experiment with flavors. Here are some ideas:
- Herbs and Spices: Add dried herbs like rosemary or thyme for a herby twist.
- Cheese: Incorporate grated cheese for a cheesy sourdough loaf.
- Nuts and Seeds: Fold in seeds or chopped nuts such as walnuts or sunflower seeds for texture.
Storage and Reheating Advice
Proper storage will ensure your fresh sourdough retains its flavor and texture.
- Room Temperature: Store the cooled bread in a paper bag or bread box for up to three days.
- Longer Storage: For longer preservation, wrap the loaf tightly in plastic wrap and store it in the freezer for up to three months. Thaw at room temperature and reheat if desired.
Serving Suggestions
Sourdough can be served in various ways, making it adaptable for many occasions. Here are some suggestions:
- Toast: Sourdough toast is perfect for breakfast with butter or avocado.
- Sandwiches: Use it to make sandwiches filled with your favorite ingredients.
- Dipping: Serve slices with olive oil for dipping or soups.
Making sourdough in a bread maker is an excellent way to enjoy this treasured bread while simplifying the process. The result is a delicious loaf with that characteristic sourdough flavor and crust, ready to be enjoyed at your dining table.
Explore further recipes and techniques that could enhance your baking journey. Try our King Arthur Sourdough Recipe for more inspiration, or discover how to make tasty sourdough discard pizza dough. Happy baking!