
There’s something magical about that moment when you bite into a butterfinger ball and the crispy, flaky candy shell shatters against your teeth, giving way to creamy peanut butter filling and smooth chocolate.
These homemade treats capture all the joy of the classic candy bar in bite-sized form, and they’re surprisingly simple to make in your own kitchen. What makes them special is the contrast: buttery crispness meeting rich chocolate and that addictive peanut butter center that tastes infinitely better than anything store-bought. Best of all, you can make a batch in less than an hour and have everyone asking for your secret.
Why You’ll Love This Recipe
These little candies deliver big flavor with minimal fuss, and they’re perfect for gifting, party platters, or satisfying sudden sweet cravings.
- No baking required; just mixing and dipping
- Uses pantry staples you likely already have on hand
- Impressive enough to serve at gatherings but simple enough for weeknight candy making
- Stores beautifully and tastes even better the next day as flavors meld
- Naturally gluten-free and easily customizable to your taste
My Experience Making This Recipe
I first made these butterfinger balls for my nephew’s birthday party, worried I’d mess up something so simple. The entire process took me thirty minutes, and watching people’s faces light up when they tasted the crispy peanut butter center made me feel like a candy-making genius.
The most satisfying part was the dipping stage where you see the chocolate coat smoothly over each ball, transforming them into something that looks professionally made. Since that first batch, I’ve made them for holidays, bake sales, and quiet afternoons when I just wanted something sweet and homemade.
Recipe Overview
- Recipe Name: Butterfinger Balls
- Servings: 24 balls
- Prep Time: 20 minutes
- Cook Time: 15 minutes (cooling time)
- Total Time: 35 minutes plus 30 minutes chilling
- Course: Dessert
- Cuisine: American
- Calories per Serving: 185
Equipment You Will Need
- Mixing bowl
- Wooden spoon or electric mixer
- Baking sheet lined with parchment paper
- Shallow microwave-safe bowl for melting chocolate
- Fork or dipping tool
- Paper towels
- Refrigerator
Ingredients for Butterfinger Balls
- Peanut butter: 1 cup creamy or chunky
- Powdered sugar: 2 cups
- Butter: 4 tablespoons, softened
- Butterscotch chips: 1 cup
- Chocolate chips: 2 cups semi-sweet or milk chocolate
- Coconut oil: 1 tablespoon
- Sea salt: 1/4 teaspoon
Ingredient Notes and Substitutions
- Peanut butter: The backbone of these candies, providing creaminess and that signature flavor. Almond butter or sunflower seed butter works well for nut allergies, though the taste will shift slightly.
- Butterscotch chips: These add the crispy texture that makes these balls feel like the real candy bar. If you can’t find them, use an extra 1/2 cup of crushed toffee bits instead.
- Powdered sugar: Creates the smooth, moldable filling. You cannot substitute granulated sugar as it won’t blend smoothly into the mixture.
- Coconut oil: Thins the melted chocolate so it coats evenly without becoming too thick. Vegetable oil or shortening works equally well.
How to Make Butterfinger Balls
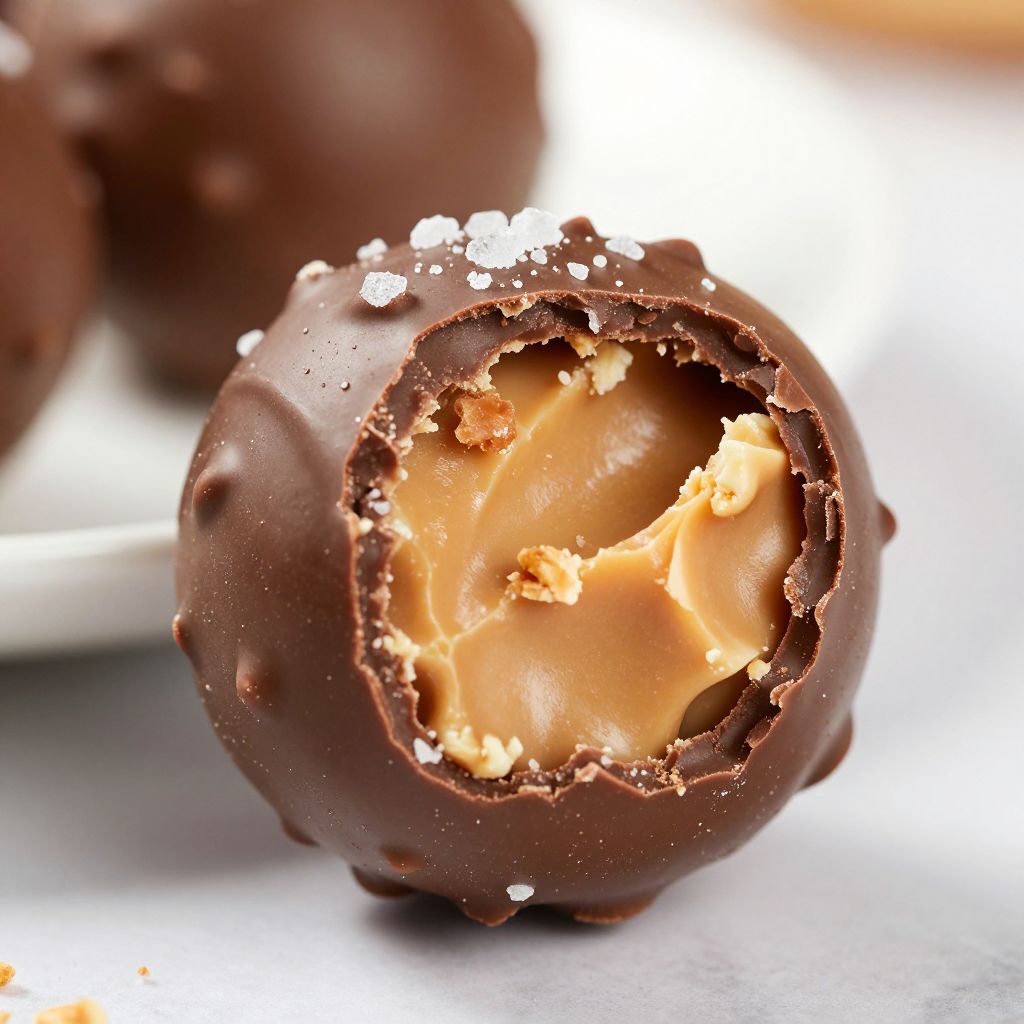
Step 1: Mix the Peanut Butter Filling
Combine your softened butter with peanut butter in a large mixing bowl and blend them together until completely smooth. This step takes about 2 to 3 minutes with an electric mixer and ensures no lumps remain in your base.
Step 2: Incorporate the Powdered Sugar
Gradually add powdered sugar to the peanut butter mixture, stirring continuously until the texture becomes stiff and dough-like. You want a consistency that holds together when pressed but isn’t wet or greasy.
Step 3: Fold In the Butterscotch Chips
Gently fold the butterscotch chips into your mixture using a spatula or wooden spoon until evenly distributed throughout. These chips create the crispy texture that gives butterfinger balls their signature snap and crunch.
Step 4: Chill the Mixture
Cover your bowl with plastic wrap and refrigerate for at least 30 minutes until the mixture becomes firm enough to roll. Cold peanut butter mixture holds its shape much better when you’re forming balls, preventing them from becoming flat or misshapen.
Step 5: Roll Into Balls
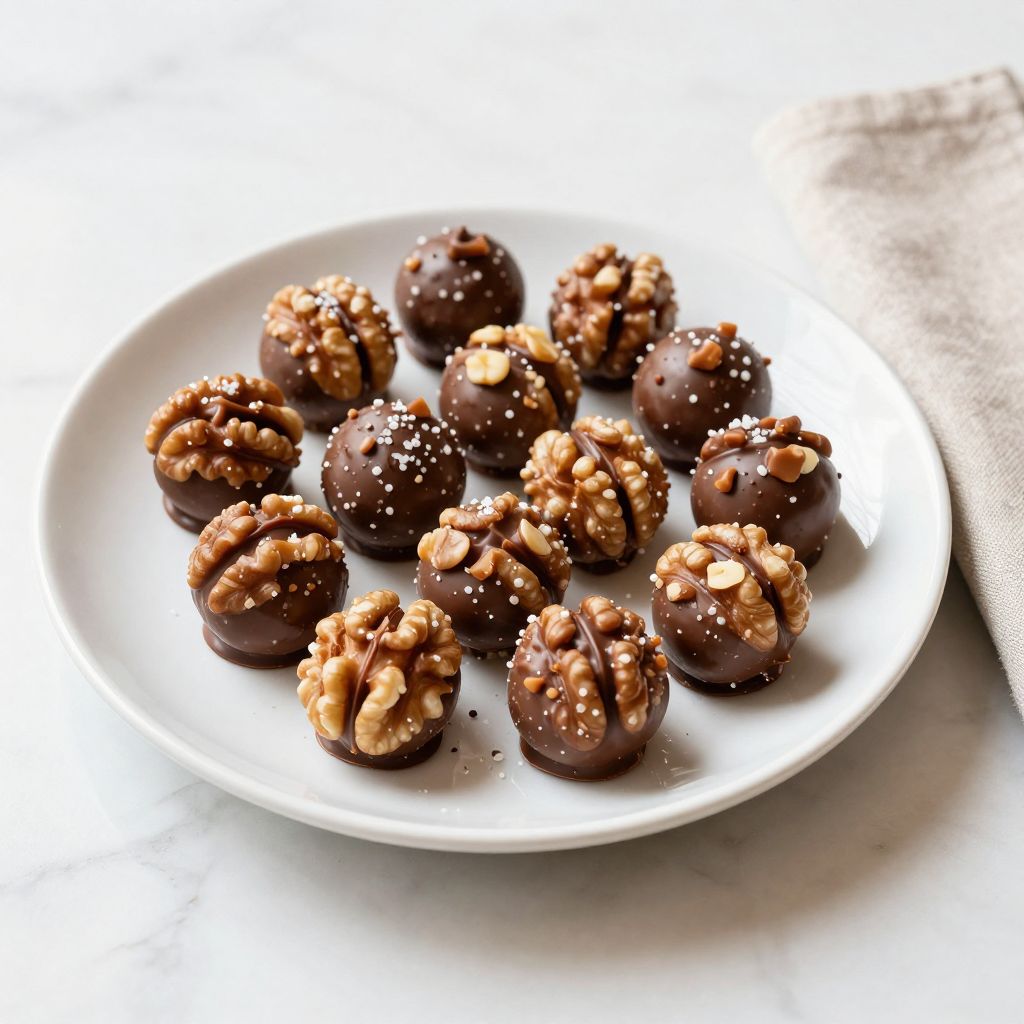
Remove the chilled mixture from the refrigerator and scoop out portions using a small cookie scoop or your hands, rolling each piece into a ball about the size of a walnut. Work quickly so the mixture doesn’t warm up too much, which would make rolling difficult and messy.
Step 6: Place Balls on Parchment Paper
Arrange your rolled balls on a parchment-lined baking sheet with about an inch of space between each one. This spacing allows you to easily pick them up later without them sticking together.
Step 7: Melt the Chocolate Coating
Combine chocolate chips and coconut oil in a microwave-safe bowl and heat in 30-second intervals, stirring between each, until completely melted and smooth. Adding coconut oil prevents the chocolate from becoming too thick and hard when it sets, ensuring a snappy shell that’s easy to bite through.
Step 8: Dip the Balls in Chocolate
Using a fork or dipping tool, submerge each peanut butter ball into the melted chocolate, tap off excess, and return it to the parchment paper. Work in batches so the chocolate stays warm and flows smoothly over each ball.
Step 9: Set the Coating
Allow the chocolate-coated balls to set at room temperature for 15 to 20 minutes until the chocolate hardens completely. You can also refrigerate them for faster setting if you’re in a hurry, though room temperature setting gives you a slightly snappier texture.
Pro Tip: If your chocolate coating seems too thick and is pulling away from the balls rather than coating smoothly, add another teaspoon of coconut oil and stir well.
Tips for the Best Butterfinger Balls
- Measure your powdered sugar carefully; too much creates a dry, crumbly mixture that won’t hold together, while too little leaves it greasy.
- Keep your peanut butter mixture cold before rolling to minimize how much warmth your hands transfer to it during shaping.
- Don’t skip the butterscotch chips; they’re what transforms regular peanut butter candies into actual butterfinger balls with that signature crispy-flaky texture.
- Use a fork specifically for dipping rather than fingers, which warm the chocolate and cause uneven coating.
- If your chocolate cools and becomes too stiff for dipping, simply microwave it for 10 to 15 seconds to loosen it up again.
- Store finished balls in an airtight container at room temperature rather than the refrigerator, where they can absorb moisture and become sticky.
Common Mistakes to Avoid
- Skipping the chilling step causes balls to fall apart when dipped in warm chocolate since the peanut butter mixture hasn’t set firm enough.
- Using chocolate chips straight from the bag without thinning oil creates a thick, shell-like coating that’s hard to bite through and doesn’t feel indulgent.
- Rolling balls that are too large makes them difficult to coat evenly and overly rich in a single bite; walnut-sized is the sweet spot.
- Dipping while chocolate is too cool and thick leaves rough, uneven coating and makes the process frustrating and slow.
- Storing in the refrigerator causes condensation to form on the chocolate surface, creating a sticky, sweaty appearance and texture.
Serving Suggestions
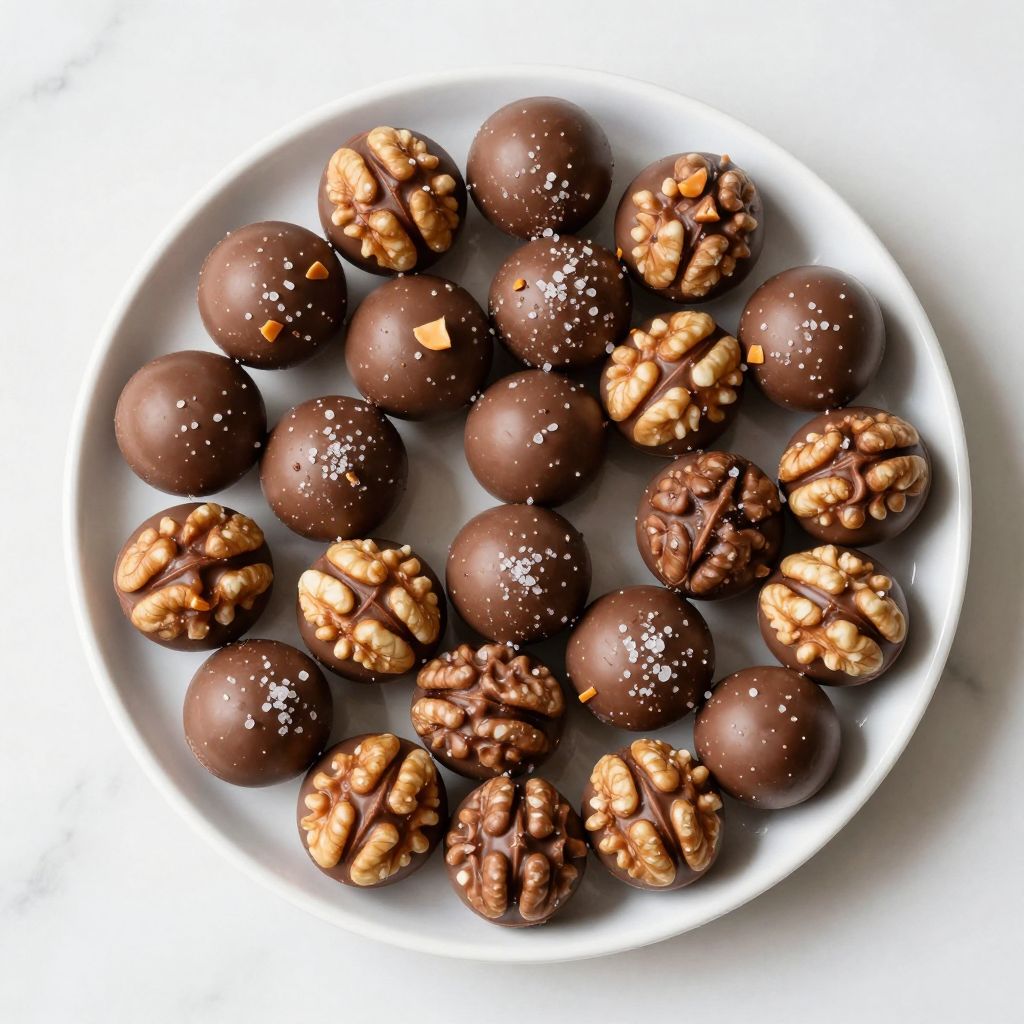
These candies shine on their own but pair beautifully alongside coffee, espresso, or cold milk for a simple yet satisfying treat. They also dress up dessert platters at parties and make excellent additions to candy boxes for gift-giving.
- Serve with hot coffee or espresso for an afternoon treat
- Include on a dessert platter with other homemade candies
- Pack into cute boxes with tissue paper for hostess gifts
- Layer in a candy dish on your coffee table for guests to enjoy
- Pair with vanilla ice cream as an indulgent sundae topping
Variations to Try
- White Chocolate Version: Swap semi-sweet chocolate for white chocolate chips in the coating for a sweeter, creamier finish that lets the butterscotch flavor shine through more prominently.
- Extra Crispy: Add 1/2 cup of crushed potato chips or pretzel pieces to your peanut butter mixture for a salty-sweet crunch that elevates the texture.
- Dark Chocolate Coating: Use dark chocolate chips instead of milk chocolate for a more sophisticated, less-sweet version that appeals to chocolate purists.
- Salted Caramel Drizzle: Drizzle melted caramel over the hardened chocolate coating and finish with a light sprinkle of sea salt for depth and complexity.
- Espresso Peanut Butter: Mix 1 tablespoon of instant espresso powder into your peanut butter mixture for a subtle coffee note that plays beautifully with the chocolate.
Dietary Adaptations
- Gluten-Free: This recipe is naturally gluten-free as written, but always verify that your butterscotch chips and chocolate chips carry gluten-free certification.
- Dairy-Free: Use dairy-free chocolate chips and vegan butter in place of regular butter; the result tastes nearly identical with only a slightly softer texture.
- Vegan: Replace butter with vegan butter and use dairy-free chocolate chips and peanut butter to create a fully plant-based version without sacrificing taste.
- Low-Carb/Keto: Substitute monk fruit or erythritol for powdered sugar, use keto-friendly chocolate chips, and reduce butterscotch chips to 1/2 cup; expect a slightly less crispy texture.
Storage and Reheating
Refrigerator
Store butterfinger balls in an airtight container at room temperature for up to two weeks; refrigeration causes condensation that creates a sticky surface.
- Keep container in a cool, dark place away from direct sunlight
- If condensation forms, allow balls to air dry before serving
Freezer
These candies freeze beautifully for up to three months when properly stored, making them ideal for advance prep or gifting.
- Wrap individual balls in parchment paper before freezing to prevent sticking
- Store wrapped balls in an airtight container or freezer bag
- Thaw at room temperature for 30 minutes before serving for best texture
Reheating
No reheating is necessary; simply allow frozen balls to come to room temperature, which takes about 30 minutes.
- Remove from freezer and let sit on the counter in their container
- Avoid microwaving, which can melt the chocolate unevenly and create a greasy texture
Nutrition Information
| Nutrient | Amount |
|---|---|
| Calories | 185 |
| Total Fat | 12g |
| Saturated Fat | 6g |
| Carbohydrates | 20g |
| Fiber | 1g |
| Sugar | 18g |
| Protein | 4g |
| Sodium | 95mg |
| Cholesterol | 5mg |
These values are approximate and calculated per ball based on 24 servings total. Individual nutrition may vary based on the specific brands and products you choose.
Frequently Asked Questions
Can I use chunky peanut butter instead of creamy?
Absolutely; chunky peanut butter adds extra texture and nuttiness that some people prefer. The pieces stay suspended throughout the mixture and won’t affect your ability to roll and coat the balls.
What if my peanut butter mixture is too soft to roll?
Return it to the refrigerator for an additional 15 minutes, or place it in the freezer for 5 to 10 minutes until it firms up enough to handle. If you work in a warm kitchen, chilling longer at the start prevents frustration later.
Can I make these ahead for a party?
Yes, make them up to two weeks in advance and store in an airtight container at room temperature, or freeze for up to three months. Just remove from storage and let them come to room temperature about 30 minutes before serving.
Why is my chocolate coating cracking?
This usually happens when the chocolate coating is too thick or when you dip cold balls into warm chocolate, causing rapid temperature change. Ensure your chocolate is properly thinned with coconut oil and let your balls sit at room temperature for a few minutes before dipping.
Can I use natural peanut butter with oil separation?
Yes, but stir it well before measuring to incorporate the separated oil back into the mixture. Using it as-is without stirring will make your filling greasy and difficult to work with.
What’s the best way to gift these?
Place each ball in a small paper candy cup and arrange in a decorative box lined with tissue paper for a professional presentation. Include a note saying they should be stored at room temperature away from heat to maintain the best texture.
Final Thoughts
Making butterfinger balls at home transforms a childhood favorite into something deeply personal and special that store-bought versions can never match. The satisfaction of biting into your own creation, knowing exactly what went into it, makes these simple candies taste infinitely better.
These treats deserve a spot in your regular recipe rotation whether you’re making them for yourself, gifting them to friends, or impressing guests at gatherings. Give this recipe a try this week and experience the joy of homemade candy that tastes like memory and comfort.
Want more decadent homemade candy ideas to expand your sweet-making skills? Try our peanut butter fudge recipe for another peanut butter lover’s dream, or explore our butterfinger cake recipe to use these same flavors in a show-stopping dessert.
Butterfinger Balls
Ingredients
Equipment
Method
- Combine softened butter and peanut butter in a large mixing bowl and beat until smooth, about 2 to 3 minutes.
- Gradually stir in powdered sugar until the mixture is stiff and dough-like.
- Fold in butterscotch chips until evenly distributed throughout the mixture.
- Cover and chill the mixture in the refrigerator for at least 30 minutes.
- Scoop and roll the chilled mixture into walnut-sized balls using a small cookie scoop or your hands.
- Arrange the rolled balls on a parchment-lined baking sheet with about 1 inch of space between each.
- Melt chocolate chips and coconut oil in a shallow microwave-safe bowl in 30-second intervals, stirring until completely smooth.
- Using a fork or dipping tool, dip each peanut butter ball into the melted chocolate, tap off excess, and return to the parchment paper.
- Let the chocolate-coated balls set at room temperature for 15 to 20 minutes or refrigerate for 10 minutes for faster setting.