There’s something magical about the smell of a pear pie baking in your oven on a crisp fall afternoon, filling your kitchen with warmth and sweetness. This isn’t a fussy dessert that demands professional skills; it’s an approachable, forgiving pie that rewards simple ingredients and a little patience with stunning results.
What makes this recipe special is how the natural sweetness of ripe pears shines through without being buried under spices or sugar. The buttery, flaky crust cradles tender fruit in a silky filling that’s both comforting and elegant, making it perfect for casual weeknight dinners or impressive dinner parties.
Why You’ll Love This Recipe
This pear pie checks all the boxes for a dessert that actually works in real life. You get that bakery-quality taste from your own kitchen, plus the flexibility to make it ahead.
- The filling comes together in minutes with just a handful of ingredients.
- A store-bought crust works beautifully if you’re short on time.
- The flavors deepen as it sits, so you can bake it the day before serving.
- Naturally gluten-free and vegan adaptations are straightforward.
- One pie easily feeds eight people for a fraction of restaurant dessert costs.
My Experience Making This Recipe
I first made this pie on a whim after finding three pounds of pears at the farmers market that were perfectly ripe. I was skeptical that something so simple could taste this good, but the first slice proved me wrong instantly.
The kitchen smelled incredible within fifteen minutes of baking, and my partner actually turned down coffee because the pie smelled too good to pair with anything else. We ended up eating a quarter of it that same evening, which never happens with pies in our house.
Since then, I’ve made it at least a dozen times, experimenting with different pear varieties and spice levels. Each version has been solid, but the classic version with just a hint of cardamom remains my go-to whenever I want to impress without stressing.
Recipe Overview
- Recipe Name: Pear Pie with Cardamom and Vanilla
- Servings: 8 slices
- Prep Time: 20 minutes
- Cook Time: 50 minutes
- Total Time: 70 minutes, plus cooling
- Course: Dessert
- Cuisine: American/French-inspired
- Calories per Serving: 285
Equipment You Will Need
- 9-inch pie dish
- Sharp chef’s knife
- Cutting board
- Large mixing bowl
- Measuring cups and spoons
- Wooden spoon or silicone spatula
- Microplane or box grater (for lemon zest)
- Oven
- Wire cooling rack
- Aluminum foil or pie shield (optional but helpful)
Ingredients for Pear Pie
For the Crust
- 1 store-bought pie crust (or homemade if preferred), thawed
For the Filling
- 5 pounds fresh pears, peeled, cored, and sliced into half-inch pieces
- 1/2 cup granulated sugar
- 1/4 cup light brown sugar
- 2 tablespoons cornstarch
- 1/4 teaspoon ground cardamom
- 1/4 teaspoon sea salt
- 1 teaspoon vanilla extract
- 2 tablespoons fresh lemon juice
- 1 teaspoon lemon zest
- 2 tablespoons unsalted butter, cut into small pieces
- 1 egg, beaten (for egg wash)
- 1 tablespoon coarse sugar (optional, for topping)
Ingredient Notes and Substitutions
- Pears: Firm, ripe Bartlett or Anjou pears work best because they hold their shape during baking. If your pears are very soft, reduce the filling time by five minutes to prevent mushiness.
- Cardamom: This warm spice complements pears beautifully without overpowering them. Skip it entirely if you prefer a pure fruit flavor, or swap in a quarter teaspoon of ground ginger for a spicier kick.
- Cornstarch: This thickens the filling and prevents a soggy crust. Arrowroot powder or tapioca starch work as one-to-one replacements if you have allergies or preferences.
- Vanilla extract: Real vanilla makes a noticeable difference here, but almond extract (use half the amount) creates an interesting variation that some prefer.
- Store-bought crust: Homemade crust is wonderful but not necessary; quality store versions bake up beautifully and give you more time to focus on the filling.
How to Make Pear Pie
Step 1: Prepare Your Workspace and Preheat
Set your oven to 375 degrees Fahrenheit and position the rack to the middle position. Have all ingredients measured and ready before you start, and remove your pie crust from the refrigerator so it can come to room temperature while you prep the filling.
Step 2: Peel, Core, and Slice the Pears
Wash each pear under cool water and pat dry. Using a sharp knife, peel the skin away, halve the pear lengthwise, and scoop out the core with a melon baller or small spoon, then cut each half into half-inch slices.
This size ensures even cooking and prevents the pears from turning into mush. Work quickly so the cut pears don’t oxidize; the lemon juice you’ll add next prevents browning.
Step 3: Mix the Filling Base
In a large bowl, whisk together the granulated sugar, brown sugar, cornstarch, cardamom, and salt. This dry mixture distributes the spices evenly and prevents clumping when you add the wet ingredients.
Step 4: Combine Pears with Filling
Add the sliced pears to the sugar mixture along with the vanilla extract, lemon juice, and lemon zest. Gently fold everything together using a silicone spatula, being careful not to break the pear slices; you want them to hold their shape in the pie.
Let this sit for two minutes so the juices start releasing. This step matters because the pears will continue to soften as they bake, and you want them tender but not falling apart.
Step 5: Place the Crust in the Pie Dish
Gently unroll your pie crust and fit it into the 9-inch pie dish, pressing it lightly into the bottom and sides. Don’t stretch it; let gravity and gentle pressure do the work, or the crust will shrink during baking.
Trim any overhang to about an inch beyond the rim, then fold that edge under itself and crimp with your fingers to create a finished edge. A crimped edge not only looks professional but also helps contain any filling that might bubble over.
Step 6: Fill the Pie
Pour the pear mixture into the crust, mounding it slightly in the center. Scatter the butter pieces over the top of the filling; the butter will melt during baking and create a silky sauce with the pear juices.
Step 7: Add the Egg Wash and Topping
Beat the egg in a small bowl and brush it lightly over the crust edges and top. The egg wash creates a beautiful golden-brown finish and helps the crust brown evenly.
Sprinkle coarse sugar over the egg wash if desired; this gives the crust a subtle crunch and elegant appearance. If you don’t have coarse sugar, regular granulated sugar works fine.
Step 8: Bake the Pie
Place the pie in the preheated 375-degree oven and bake for 45 to 50 minutes, until the crust is deep golden brown and you see the filling starting to bubble at the edges. If the crust edges brown too quickly, loosely tent them with foil after 25 minutes.
The filling should bubble slightly at the edges but not overflow; this tells you the filling has thickened enough from the cornstarch and the pears are fully cooked. The whole pie should smell intensely of pears and vanilla.
Step 9: Cool the Pie Completely
Remove the pie from the oven and place it on a wire cooling rack. Let it cool at room temperature for at least three hours before slicing; this gives the filling time to set properly.
Cutting too early results in a soupy filling that runs all over your plate. I know the wait is tough, but three hours makes the difference between a beautiful slice and a filling-soaked mess.
Pro Tip: Refrigerate the pie for at least two hours before serving if you have time; cold pie holds its shape beautifully, and the flavors actually taste more pronounced after a night in the fridge.
Tips for the Best Pear Pie
- Choose pears that yield slightly to gentle pressure; they should be ripe but not so soft they feel mushy when you hold them.
- Use fresh lemon juice, not bottled, for brighter flavor and better juice that prevents the pears from oxidizing.
- Don’t skip the lemon zest; those oils add brightness that balances the sweetness of the pears.
- Keep your pie crust cold until the moment you fill it; a cold crust bakes up flakier than a warm one.
- If your kitchen is very warm, refrigerate the filled pie for 15 minutes before baking to help the crust stay flaky.
- Place a baking sheet on the rack below the pie to catch any drips and make cleanup easier.
Common Mistakes to Avoid
- Using hard or underripe pears results in crunchy filling instead of tender fruit; choose pears that feel slightly soft.
- Skipping the cornstarch leads to a runny filling that won’t set properly, no matter how long you cool it.
- Cutting the pie too soon releases all the filling onto the plate instead of keeping it inside the slice where it belongs.
- Overfilling the crust makes the pie overflow and creates a mess; stick to the amount specified or the filling will escape during baking.
- Forgetting to crimp the crust edges allows filling to run down the sides and prevents the crust from browning evenly.
Serving Suggestions
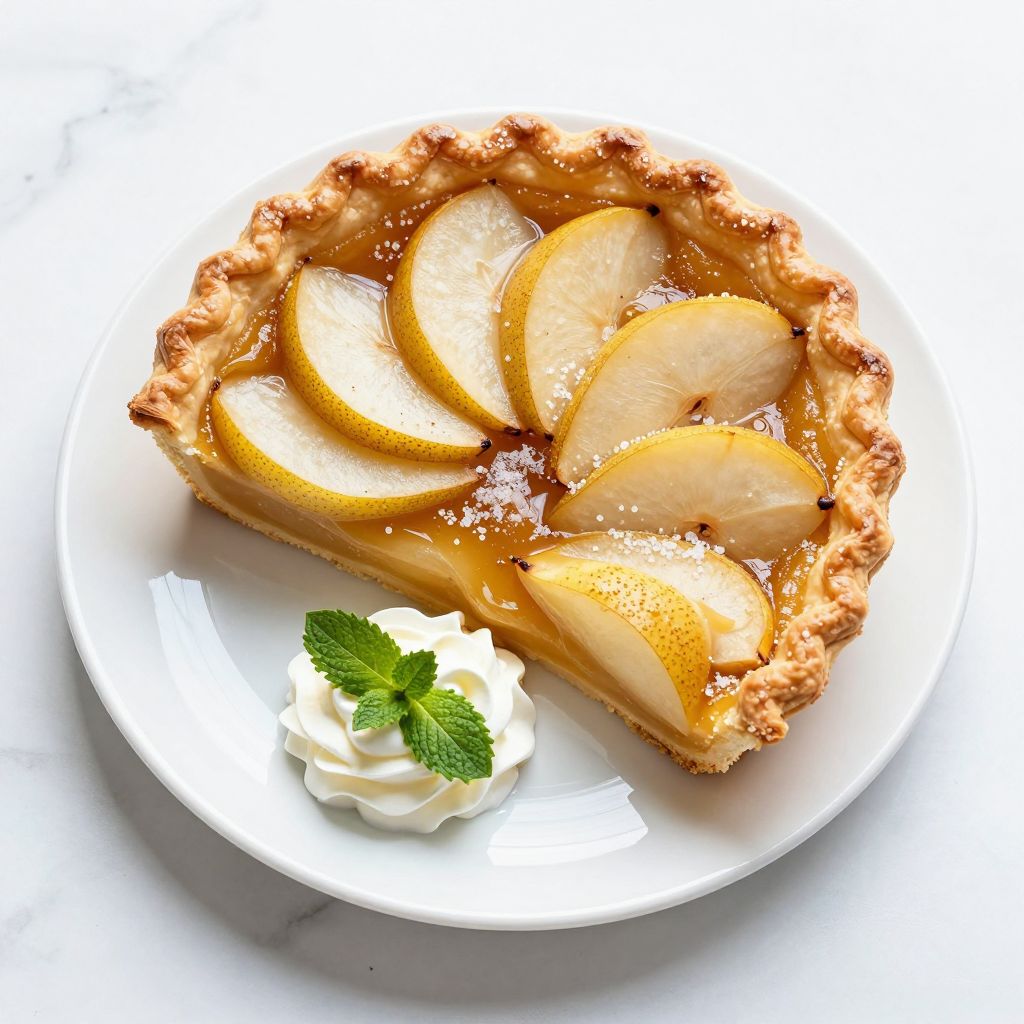
This pie shines on its own, but a scoop of vanilla ice cream or a dollop of whipped cream takes it to restaurant-level elegance. Serve it at room temperature for the best pear flavor, though slightly chilled slices have a lovely texture contrast.
- Vanilla ice cream melts beautifully into the warm filling.
- Whipped cream with a pinch of cardamom echoes the spices in the pie.
- Greek yogurt offers a tangy counterpoint to the sweet pears.
- Caramel sauce drizzled over a slice adds richness and depth.
- A cup of herbal tea, especially chamomile or peppermint, pairs wonderfully with a slice.
Variations to Try
- Spiced Pear Pie: Add a quarter teaspoon each of ground cinnamon and nutmeg along with the cardamom for a warmer spice profile reminiscent of traditional apple pie.
- Honey Pear Pie: Replace half the granulated sugar with honey for a more floral sweetness and deeper amber color in the filling.
- Pear and Ginger Pie: Swap the cardamom for a quarter teaspoon of ground ginger and add a tablespoon of candied ginger pieces scattered through the filling for spicy heat.
- Pear and Almond Pie: Use almond extract instead of vanilla and sprinkle sliced almonds over the filling before baking for a nutty crunch.
- Double-Crust Pear Pie: Top with a second crust rolled out and draped over the filling, then seal and crimp the edges for a classic enclosed pie that bakes a few minutes longer.
Dietary Adaptations
- Gluten-Free: Use a gluten-free pie crust from the freezer section or make your own with a gluten-free flour blend; the filling itself is naturally gluten-free and requires no changes.
- Dairy-Free: Replace the butter pieces with coconut oil or dairy-free butter in the same amount; the flavor will be slightly different but the texture remains excellent.
- Vegan: Use a vegan pie crust, replace the butter with coconut oil, and brush the top with aquafaba or plant milk instead of egg wash for the same golden finish.
- Low-Carb/Keto: Reduce the sugar to one-quarter cup total and add a few drops of liquid sweetener like erythritol; note that this creates a less sweet pie than the original.
Storage and Reheating
Refrigerator
Store leftover pie covered loosely with plastic wrap or in an airtight container for up to four days. The crust stays crisp on the bottom and the filling holds its shape beautifully when chilled.
- Cover the pie loosely so condensation doesn’t make the crust soggy.
- Let chilled pie sit at room temperature for 20 minutes before serving for the best flavor.
Freezer
Wrap the cooled pie tightly in plastic wrap and then foil, then freeze for up to three months. Frozen pie actually reheats beautifully and tastes fresher than you’d expect.
- Thaw the pie overnight in the refrigerator before reheating.
- You can also bake the filled pie unbaked and freeze it; add five to ten minutes to the baking time when cooking from frozen.
Reheating
Warm leftover pie in a 300-degree oven for 15 to 20 minutes until heated through without browning the crust further. This gentle heat brings the pie back to near-fresh quality without overdrying it.
- Tent the pie loosely with foil if it’s already quite golden.
- Skip the microwave; it makes the crust tough and the filling overly hot.
Nutrition Information
| Nutrient | Amount |
|---|---|
| Calories | 285 |
| Total Fat | 12 g |
| Saturated Fat | 5 g |
| Carbohydrates | 42 g |
| Fiber | 3 g |
| Sugar | 32 g |
| Protein | 2 g |
| Sodium | 180 mg |
| Cholesterol | 25 mg |
These values are estimates based on standard ingredients and may vary depending on the brand of pie crust you use and exact pear variety. Nutrition information does not include optional toppings like ice cream or whipped cream.
Frequently Asked Questions
Can I use canned or frozen pears?
Canned pears work but deliver a softer texture and less bright flavor than fresh fruit. Frozen pears are better; thaw them completely and drain excess liquid before mixing with the filling to avoid a watery pie.
What if my pears are still hard when I buy them?
Place them in a paper bag at room temperature for two to three days; this accelerates ripening. If you’re short on time, you can bake with slightly firm pears, but add a few extra minutes to the baking time.
Can I make the pie crust from scratch instead of using store-bought?
Absolutely; a classic all-butter pie crust works beautifully here. Make it ahead, chill it, and fit it into the pie dish just before adding the filling.
Why is my filling watery even after it cooled?
Either the pears were too wet or you didn’t use enough cornstarch. Next time, pat the pear slices dry with paper towels after slicing, and make sure the cornstarch is fully incorporated into the filling before baking.
Can I add other fruits to this pie?
Yes; a mixture of pears and apples or pears and blackberries works wonderfully. Keep the total fruit weight at five pounds and maintain the same cornstarch amount for proper thickening.
How do I know when the pie is fully baked?
The crust should be deep golden brown and the filling should bubble at the edges. A pie that looks pale or is still bubbling vigorously throughout the filling needs more time.
Can I make this pie a day ahead?
Yes; bake it fully, let it cool completely, then cover and refrigerate. Bring it to room temperature or warm it gently before serving for the best flavor and texture.
Final Thoughts
Making a pear pie from scratch feels like you’re doing something special, even though it’s straight
Pear Pie with Cardamom and Vanilla
Ingredients
Equipment
Method
- Set your oven to 375 degrees Fahrenheit and position the rack to the middle position. Remove your pie crust from the refrigerator so it can come to room temperature while you prep the filling.
- Wash each pear under cool water and pat dry. Using a sharp knife, peel the skin away, halve the pear lengthwise, and scoop out the core with a melon baller or small spoon, then cut each half into half-inch slices.
- In a large bowl, whisk together the granulated sugar, brown sugar, cornstarch, cardamom, and salt.
- Add the sliced pears to the sugar mixture along with the vanilla extract, lemon juice, and lemon zest. Gently fold everything together using a silicone spatula, being careful not to break the pear slices. Let this sit for 2 minutes.
- Gently unroll your pie crust and fit it into the 9-inch pie dish, pressing it lightly into the bottom and sides. Trim any overhang to about an inch beyond the rim, then fold that edge under itself and crimp with your fingers to create a finished edge.
- Pour the pear mixture into the crust, mounding it slightly in the center. Scatter the butter pieces over the top of the filling.
- Beat the egg in a small bowl and brush it lightly over the crust edges and top. Sprinkle coarse sugar over the egg wash if desired.
- Place the pie in the preheated 375-degree oven and bake for 45 to 50 minutes, until the crust is deep golden brown and you see the filling starting to bubble at the edges. If the crust edges brown too quickly, loosely tent them with foil after 25 minutes.
- Remove the pie from the oven and place it on a wire cooling rack. Let it cool at room temperature for at least 3 hours before slicing to allow the filling to set properly.