
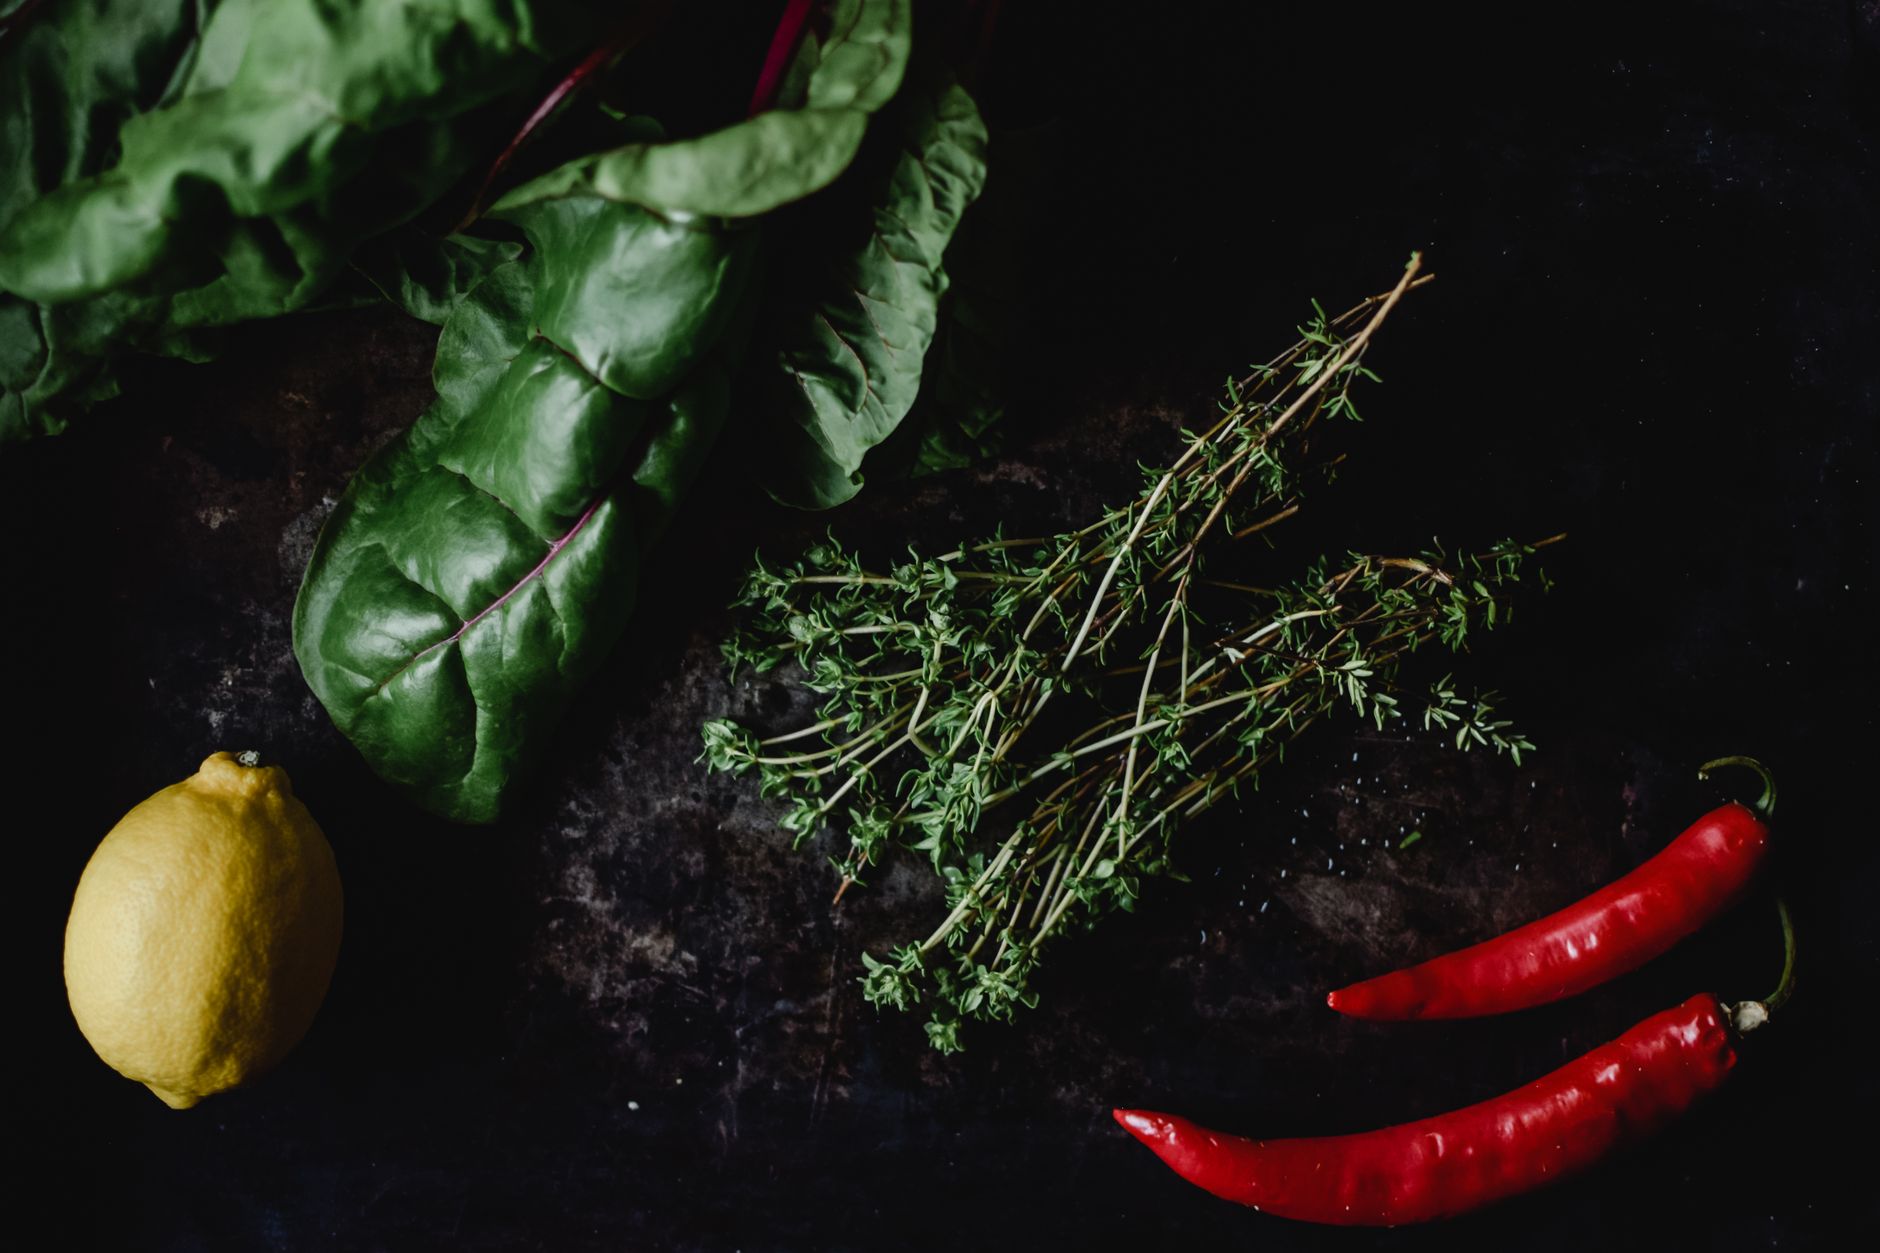
Chard, also known as Swiss chard, is a leafy green vegetable that’s becoming increasingly popular in home kitchens. Its vibrant, colorful stems and broad leaves not only add visual appeal but also pack a nutritional punch. Whether you’re looking to incorporate chard into your meals or simply curious about its uses, this guide covers everything you need to know about selecting, preparing, cooking, and storing chard.
This article will explore various practical and delicious ways to use chard, including easy recipes, cooking techniques, and tips for meal planning. By the end, you’ll be equipped to make the most out of this versatile vegetable.
What to Do with Chard?
You can incorporate chard into your meals in various ways, including sautéing, steaming, baking, or adding it raw to salads. It’s an excellent source of vitamins A, C, and K, making it a nutritious addition to any diet. In this guide, we will provide several recipes, cooking methods, and storage tips to help you enjoy chard fully.
Understanding Chard: Types and Selection
Swiss chard comes in several varieties, which include:
- Green Chard: The most common type, it features dark green leaves with thick, white stems.
- Rainbow Chard: Known for its vibrant stems in shades of pink, yellow, and red, this variety is visually striking.
- Rhubarb Chard: Similar to rainbow chard but with bright pink stem color and slightly sweeter flavor.
When selecting chard, look for fresh, crisp leaves without wilting or browning. The stems should be firm and colorful. Avoid any bunches that display signs of yellowing or slimy textures.
Preparing Chard for Cooking
Before cooking chard, it’s essential to clean and prepare it properly. Here’s how:
- Wash: Rinse the chard leaves thoroughly under cool running water to remove any dirt or grit.
- Trim: Cut off the base of the stems, where they are tough and fibrous.
- Separate: Divide the stems from the leaves, as the two have different cooking times—stems require longer cooking than leaves.
- Chop: Slice the leaves into strips and the stems into smaller pieces (about 1 inch) to ensure even cooking.
Cooking Methods for Chard
Chard can be prepared using various cooking techniques. Here are some popular methods:
Sautéing Chard
Sautéing is one of the quickest ways to cook chard while retaining its vibrant color and nutrients.
- Heat a tablespoon of olive oil in a large skillet over medium heat.
- Add minced garlic or onions for extra flavor, cooking until fragrant.
- Add the chopped chard stems first, sautéing for 2-3 minutes until they begin to soften.
- Next, add the chard leaves and continue to cook, stirring frequently, for about 5 minutes until wilted.
- Season with salt, pepper, and a squeeze of lemon juice before serving.
Steaming Chard
Steaming chard is a healthy way to cook it while preserving its nutrients.
- Fill a pot with a couple of inches of water and insert a steaming basket.
- Bring the water to a boil, then add the prepared chard.
- Cover and steam for 5-7 minutes, or until the leaves are tender.
- Remove from heat and season with olive oil, vinegar, or your choice of dressing.
Adding Chard to Soups and Stews
Chard can enhance the flavor and nutritional profile of soups and stews.
- Start by sautéing onions and garlic in a pot.
- Add chopped vegetables (such as carrots and potatoes) and broth, bringing it to a boil.
- Add the chard stems and cook for about 10 minutes.
- Add the chard leaves and simmer for an additional 5 minutes until everything is tender.
- Season to taste with herbs like thyme, bay leaves, or parsley.
Using Chard in Salads
Raw chard can add a fresh crunch to salads.
- Thinly slice the leaves and mix them with other salad greens.
- Add fresh vegetables, nuts, or seeds for texture.
- Drizzle with a light vinaigrette made from balsamic vinegar, olive oil, salt, and pepper.
- For added flavor, toss in fruits like apples or oranges and sprinkle with feta cheese.
Delicious Chard Recipes
Now that you know various cooking methods, here are some delicious recipes featuring chard:
Sautéed Chard with Garlic and Lemon
This simple side dish pairs well with grilled meats or can be served as part of a vegetarian meal.
- Yield: 4 servings
- Preparation Time: 5 minutes
- Cooking Time: 10 minutes
- Total Time: 15 minutes
Ingredients
- 1 bunch of chard, stems and leaves separated, chopped
- 2 tablespoons olive oil
- 3 cloves of garlic, minced
- Salt and pepper to taste
- Juice of half a lemon
Instructions
- Heat the olive oil in a skillet over medium heat. Add garlic and sauté for 30 seconds until fragrant.
- Add the chopped chard stems and cook for another 2-3 minutes until they begin to soften.
- Add the chard leaves and stir frequently for about 5 minutes until wilted. Season with salt and pepper.
- Remove from heat and drizzle with lemon juice before serving.
Chard and Ricotta Stuffed Shells
A comforting main dish that marries the flavors of ricotta and chard with a rich tomato sauce.
- Yield: 4 servings
- Preparation Time: 15 minutes
- Cooking Time: 30 minutes
- Total Time: 45 minutes
Ingredients
- 12 large pasta shells
- 1 cup ricotta cheese
- 2 cups chopped chard, sautéed
- 1 cup marinara sauce
- 1/2 cup grated Parmesan cheese
- 1 teaspoon Italian seasoning
- Salt and pepper to taste
Instructions
- Preheat the oven to 375°F (190°C).
- Cook the pasta shells according to package directions until al dente. Drain and cool.
- In a bowl, mix ricotta cheese, sautéed chard, Italian seasoning, salt, and pepper.
- Stuff each shell with the ricotta mixture and place them in a baking dish.
- Cover with marinara sauce and sprinkle with Parmesan cheese. Bake for 20-25 minutes until bubbly.
Chard Frittata
A hearty brunch or light dinner option packed with protein and greens.
- Yield: 4 servings
- Preparation Time: 10 minutes
- Cooking Time: 20 minutes
- Total Time: 30 minutes
Ingredients
- 1 bunch chard, chopped
- 6 large eggs
- 1 cup milk
- 1 cup shredded cheese (like cheddar or feta)
- 1 tablespoon olive oil
- Salt and pepper to taste
Instructions
- Preheat the oven to 350°F (175°C).
- In an oven-proof skillet, heat olive oil over medium heat. Add chopped chard and sauté until wilted.
- In a bowl, whisk together eggs, milk, salt, and pepper. Pour over the cooked chard.
- Cook for 5 minutes until the edges begin to set, then sprinkle cheese on top.
- Bake in the oven for 15 minutes until fully set and golden brown.
Storing Chard
Proper storage will help you enjoy chard for longer periods:
- Chard can be stored in the refrigerator, wrapped in a damp paper towel and placed in a plastic bag, for up to 5 days.
- Avoid washing chard until you’re ready to use it to prolong freshness.
- For longer storage, consider blanching and freezing chard. Blanching involves boiling for a short time, then quickly cooling it in ice water before freezing in airtight bags or containers.
Substituting Chard in Recipes
If you don’t have chard on hand, there are several suitable substitutes that can be used:
- Spinach: A common alternative that offers a similar texture but might require more cooking time.
- Kale: A heartier leaf that has a stronger flavor; it can add depth to your dishes.
- Collard Greens: A robust substitute that maintains a toothsome texture when cooked.
Common Mistakes When Cooking Chard
Here are some common pitfalls to avoid when cooking chard:
- Cooking too long: Overcooked chard can become mushy and lose its vibrant color.
- Neglecting to separate stems and leaves: The stems take longer to cook, and combining them may lead to uneven doneness.
- Not seasoning well: Chard benefits from well-balanced seasoning to enhance its natural flavors.
Conclusion
Chard is a delicious, versatile leafy green that offers numerous cooking possibilities, from sautéing and steaming to being a key ingredient in hearty recipes. With the right preparation and techniques, you can enjoy this nutritious vegetable in various meals throughout the week.
Now that you’re equipped with knowledge about chard, why not delve deeper into its characteristics by exploring our article on What is Chard?? You can also learn about other vegetables such as cabbage with our Sautéed Cabbage Recipe for more exciting ways to incorporate greens into your meals!