
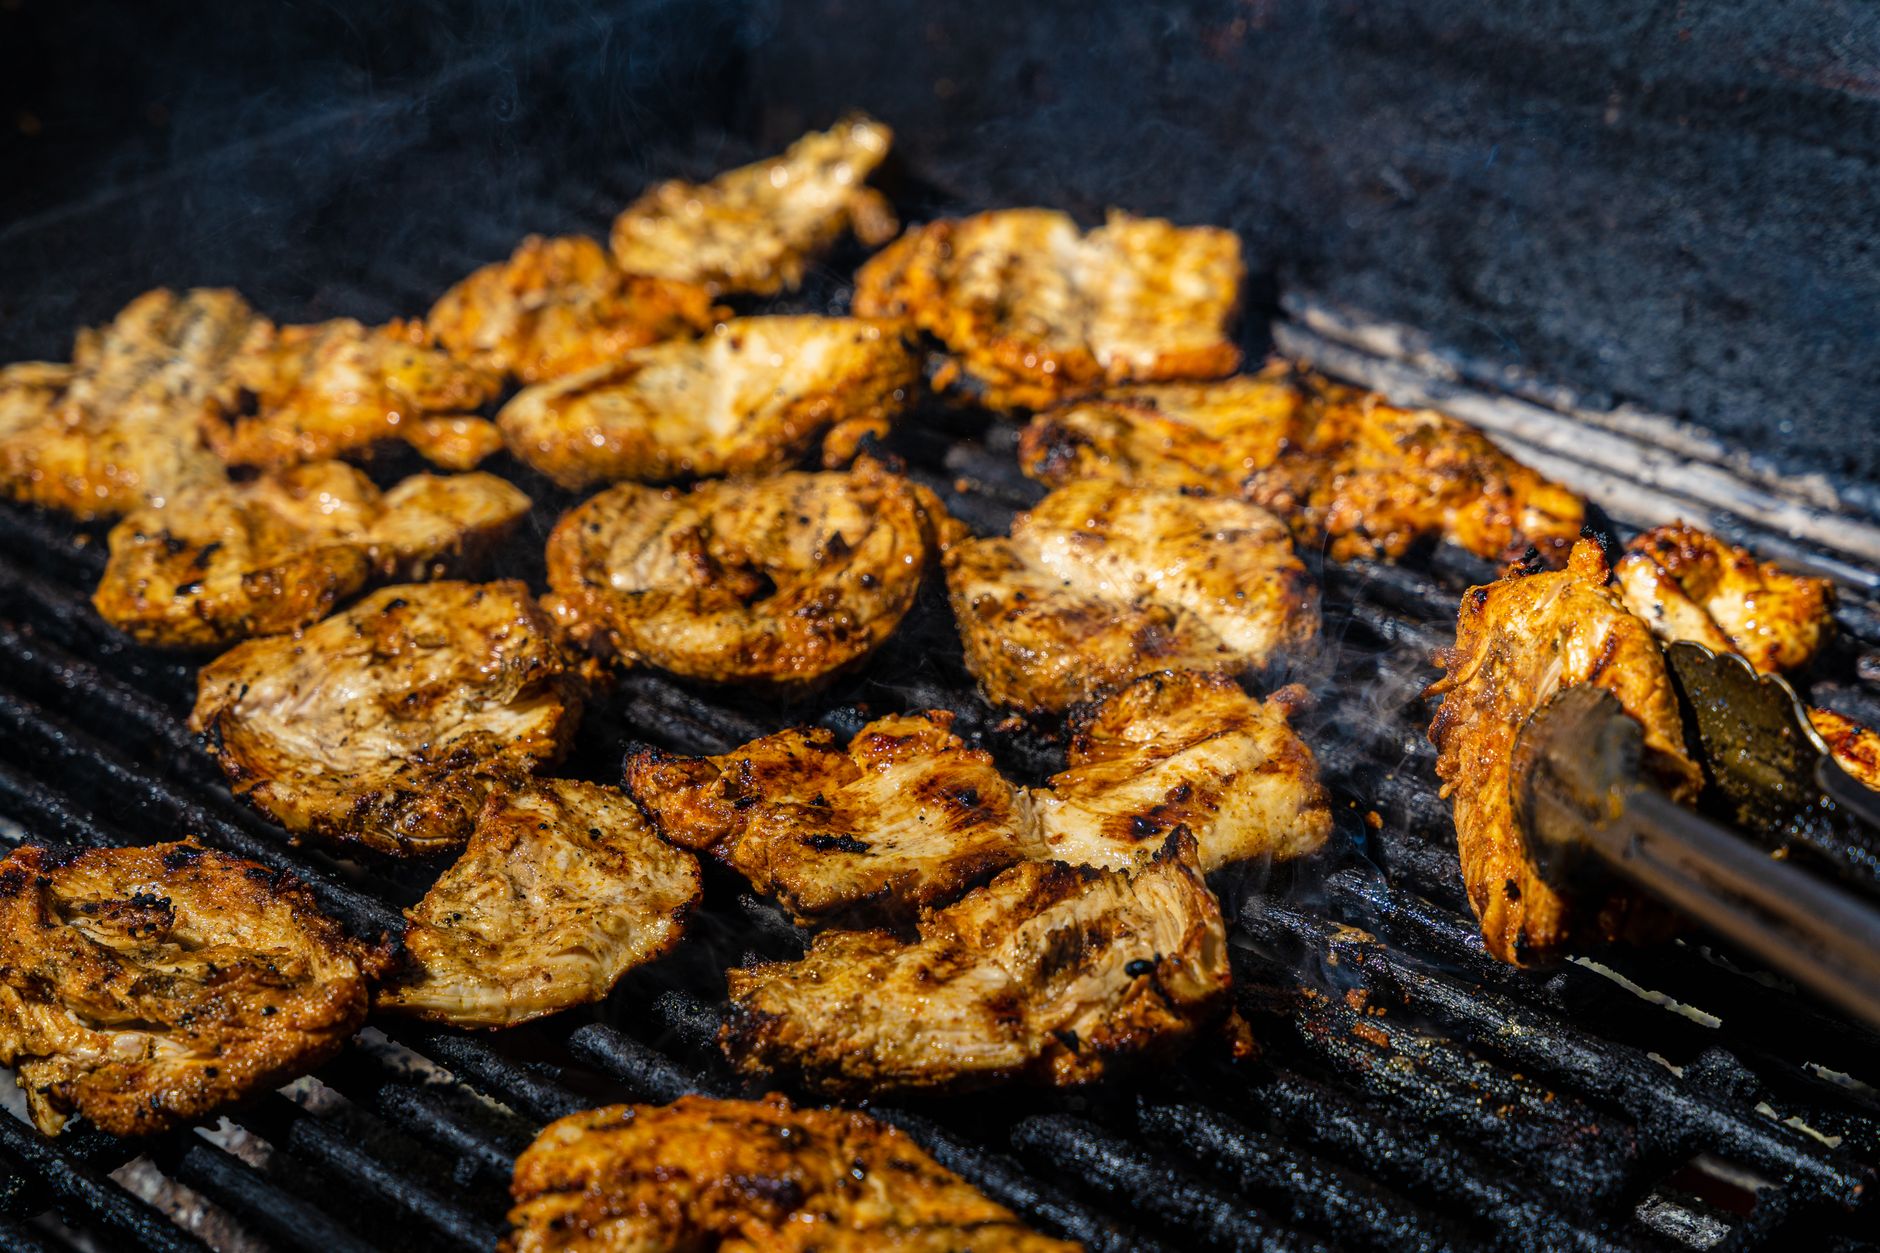
Reverse searing is a cooking technique that’s gaining attention, especially among enthusiasts of meat preparation. It mainly focuses on achieving a perfectly cooked interior while developing a crispy exterior. While it’s typically used for beef, many wonder if the technique can be adapted for chicken. The answer is yes, you can reverse sear chicken, and it can result in juicy, flavorful meat with a delightful crust.
This article will explore the reverse searing method for chicken, covering the technique, essential ingredients, detailed instructions, and tips for success. Whether you’re looking to elevate your weeknight dinners or master a new cooking technique, reverse searing chicken can add a new dimension to your culinary repertoire.
Can You Reverse Sear Chicken?
Yes, you can reverse sear chicken! This method involves slowly cooking chicken at a low temperature in the oven and finishing it with a quick sear in a hot pan or on a grill. The result is tender, juicy meat with a crisp, golden exterior.
Understanding Reverse Searing
To appreciate the benefits of reverse searing chicken, it’s essential to understand how this cooking method works. Unlike traditional methods that begin with high heat, reverse searing starts with lower temperatures. This slow cooking allows the meat to cook evenly, reducing the risk of dryness.
- Low and Slow Cooking: The chicken is cooked at a low temperature first, ideally between 225°F to 275°F (107°C to 135°C). This gentle approach helps retain moisture.
- Final Sear: After the internal temperature reaches about 10-15°F (5-8°C) below the desired doneness, the meat is quickly seared at high heat. This forms a delicious crust while preserving juiciness.
Choosing Your Chicken
When it comes to reverse searing, the type of chicken you select can make a difference. Here are some options:
- Chicken Breasts: These are lean and cook quickly. They can dry out easily, making reverse searing an excellent method for preserving moisture.
- Chicken Thighs: Thighs contain more fat than breasts, providing a richer flavor. They benefit from the reverse searing process, resulting in tender meat.
- Whole Chicken: While more challenging, reverse searing a whole chicken can yield outstanding results with perfectly cooked meat and crispy skin.
The Ingredient List
To successfully reverse sear chicken, you will need the following ingredients:
- 2 to 4 pieces of chicken (breasts or thighs)
- Salt, to taste
- Pepper, to taste
- Garlic powder (optional)
- Olive oil or butter for searing
Essential Equipment
Before you begin, ensure you have the right tools at hand:
- Oven and baking tray
- Meat thermometer
- Heavy skillet or grill for searing
- Serving platter
Step-by-Step Guide to Reverse Searing Chicken
Follow these detailed steps to reverse sear chicken:
- Preheat the Oven: Set your oven to 225°F to 275°F (107°C to 135°C). This low temperature allows the chicken to cook evenly.
- Prepare the Chicken: Pat the chicken dry with paper towels. Season generously with salt, pepper, and garlic powder if desired.
- Arrange on Baking Tray: Place the seasoned chicken pieces on a baking tray or oven-safe dish. Ensure they are spaced apart to allow even air circulation.
- Cook in the Oven: Insert the chicken into the preheated oven. Utilize a meat thermometer to monitor the internal temperature. Cook until it reaches about 10-15°F (5-8°C) below your desired doneness. For chicken, this means stopping at around 160°F (71°C) if you aim for a final 165°F (74°C).
- Rest the Chicken: Once the desired temperature is reached, remove the chicken from the oven and let it rest for about 10-15 minutes. Covered loosely with foil, this helps retain moisture.
- Heat the Skillet: While the chicken rests, heat a heavy skillet or grill over high heat. Add olive oil or butter to the pan when hot to prevent sticking.
- Sear the Chicken: Carefully place the rested chicken in the hot skillet. Sear for 2-3 minutes on each side until a golden-brown crust forms. You can also use a grill for that classic charred effect.
- Final Temperature Check: Check the final internal temperature to ensure it reaches at least 165°F (74°C). If necessary, give it a few more moments on the heat.
- Serve: Once perfectly seared, remove the chicken from the heat and let it rest for another few minutes. Serve as desired.
Common Mistakes to Avoid
Reverse searing chicken can be straightforward, yet mistakes can affect the final outcome. Here are some common errors and how to avoid them:
- Skipping the Thermometer: A meat thermometer is vital for ensuring doneness. Avoid relying solely on time; always check the internal temperature.
- Not Resting the Chicken: Resting is crucial for redistributing the juices throughout the meat, enhancing moisture and flavor.
- Overcrowding the Pan: When searing, give space between each piece of chicken to allow for proper browning. Overcrowding can lead to steaming instead of searing.
Serving Suggestions
Once you’ve successfully reverse seared your chicken, consider these serving options to enhance your meal:
- Pair with Sides: Serve with roasted vegetables, mashed potatoes, or a fresh salad for a balanced plate.
- Top with Sauces: A drizzle of herb salsa, barbecue sauce, or a creamy sauce can elevate the flavor profile of your chicken.
- Use in Dishes: Reverse-seared chicken can also be shredded for tacos, added to salads, or tossed with pasta for a quick meal.
Variations and Ingredients Substitutions
Experimenting with different seasonings and techniques can yield exciting results. Here are some variations to try:
- Herb Marinade: Marinate the chicken in a mix of olive oil, lemon juice, and herbs for added flavor.
- Spices: Consider a dry rub with spices like smoked paprika, cayenne, or cumin for a delicious twist.
- Other Fats: Instead of olive oil, explore using butter, ghee, or even bacon fat for enhanced richness while searing.
Make-Ahead Guidance
For meal preparation or when planning a gathering, you can make reverse seared chicken in advance. Here’s how:
- Cook Ahead: Reverse-sear the chicken, allow it to cool, and store it in an airtight container in the refrigerator for up to two days before searing.
- Quick Reheat: To reheat, place the chicken back in the oven at low heat until warmed through before searing to create a crisp crust.
Storage and Reheating
Storing leftover reverse-seared chicken is straightforward. After it has cooled down, follow these tips:
- Store in an airtight container in the refrigerator for up to four days. Ensure the chicken is sealed properly to prevent moisture loss.
- For longer storage, you can freeze cooked chicken pieces for up to three months. Thaw in the refrigerator before reheating.
- When reheating, the best method to retain moisture is to warm it in the oven or in a skillet over medium heat.
Conclusion
Reverse searing chicken is a fantastic technique that delivers moisture and flavor with a perfectly crisp exterior. By using the low and slow cooking method followed by a high-heat sear, you transition your chicken from good to exceptional. Whether you’re serving it for a family dinner or a special occasion, this technique will showcase your skills in the kitchen.
To explore related recipes and cooking tips, check out how long does cooked chicken last, or learn how long to air fry boneless skinless chicken thighs for more ideas in your meal planning.