Gluten free waffles deliver all the crispy edges and fluffy centers you crave without a single grain of wheat in sight. Whether you’re managing celiac disease or just exploring alternatives, this recipe produces golden, tender waffles that rival any traditional version.
I’ve tested countless flour blends and ratios to perfect this recipe. The result is a waffle that actually stays crispy instead of turning soggy after two minutes.
Why You’ll Love This Recipe
This gluten free waffle recipe solves the texture problems that plague most wheat-free breakfast recipes. You get genuine crispness without sacrificing the soft interior that makes waffles irresistible.
- Ready in under 20 minutes from start to finish
- Uses common gluten free ingredients you probably already own
- Freezes beautifully for quick weekday breakfasts
- No weird aftertaste or gummy texture
- Works with dairy or non-dairy milk equally well
My Experience Making This Recipe
I burned through three different flour blends before landing on this version. The first batch tasted like cardboard, and the second stuck to my waffle iron like cement.
When I finally nailed the proportions, my kids actually asked for seconds without knowing these were gluten free. The edges came out shatteringly crisp while the center stayed custardy and light.
I now make a double batch every Sunday and freeze half for busy mornings. Popping them in the toaster brings back that fresh-made crispness in under two minutes.
Recipe Overview
- Recipe Name: Gluten Free Waffles
- Servings: 6 waffles
- Prep Time: 8 minutes
- Cook Time: 12 minutes
- Total Time: 20 minutes
- Course: Breakfast
- Cuisine: American
- Calories per Serving: 285
Equipment You Will Need
- Standard waffle iron (Belgian or classic style both work)
- Large mixing bowl
- Medium mixing bowl
- Whisk
- Measuring cups and spoons
- Rubber spatula
- Cooking spray or pastry brush for greasing
Ingredients for Gluten Free Waffles
- 2 cups gluten free all-purpose flour blend (one with xanthan gum already added)
- 2 tablespoons granulated sugar
- 1 tablespoon baking powder
- 1/2 teaspoon salt
- 2 large eggs
- 1 3/4 cups milk (dairy or non-dairy)
- 1/3 cup vegetable oil or melted coconut oil
- 1 teaspoon vanilla extract
Ingredient Notes and Substitutions
- Gluten free flour blend: The xanthan gum provides structure that gluten normally gives. If your blend lacks xanthan gum, add 1/2 teaspoon separately or the waffles will crumble.
- Sugar: This balances flavors and helps with browning. You can use honey or maple syrup (2 tablespoons) but reduce milk by 1 tablespoon to compensate for the liquid.
- Eggs: They bind the batter and create structure since gluten free flour needs extra help. Flax eggs (2 tablespoons ground flax mixed with 6 tablespoons water) work but produce denser waffles.
- Milk: Any milk works here, including almond, oat, or soy. The fat content affects richness, so whole milk or full-fat alternatives give the best texture.
- Oil: Fat keeps these waffles tender and prevents sticking. Melted butter works beautifully if dairy is fine for you.
How to Make Gluten Free Waffles
Step 1: Preheat Your Waffle Iron
Turn your waffle iron to medium-high heat and let it warm for at least 5 minutes. A properly heated iron is the difference between waffles that release cleanly and ones that tear apart.
Many people skip this step and wonder why their first waffle always sticks. The iron needs time to reach an even temperature across the entire cooking surface.
Step 2: Combine the Dry Ingredients
Whisk together the gluten free flour, sugar, baking powder, and salt in your large bowl. Break up any clumps in the flour blend by pressing them against the bowl with your whisk.
Gluten free flour tends to clump more than wheat flour. Thorough mixing now prevents pockets of raw flour in your finished waffles.
Step 3: Mix the Wet Ingredients
Crack the eggs into your medium bowl and whisk them until the yolks and whites fully combine. Add the milk, oil, and vanilla, then whisk until the mixture looks uniform.
Combining wet ingredients separately ensures even distribution throughout the batter. This prevents streaks of egg or oil in the final product.
Step 4: Create the Batter
Pour the wet ingredients into the bowl with the dry ingredients. Stir gently with your spatula until just combined, leaving a few small lumps visible.
Overmixing makes tough, dense waffles because you activate the starches too much. A slightly lumpy batter actually produces more tender results.
Step 5: Rest the Batter
Let the batter sit for 3 to 4 minutes while your waffle iron finishes heating. The flour will absorb the liquid and the baking powder will start activating.
This brief rest improves texture significantly. The batter thickens slightly, which helps the waffles hold their shape better during cooking.
Step 6: Grease the Waffle Iron
Lightly coat both plates of your waffle iron with cooking spray or brush them with a thin layer of oil. Do this even if your iron is nonstick.
Gluten free batters stick more readily than wheat-based ones. A light greasing guarantees your waffles release without tearing.
Step 7: Cook the First Waffle
Pour enough batter to cover about two-thirds of the lower grid, typically 1/2 to 3/4 cup depending on your iron size. Close the lid and cook for 3 to 5 minutes without opening it early.
Opening the lid too soon tears the waffle before it sets. Wait until the steam stops escaping from the sides, then check for golden browning.
Step 8: Finish the Remaining Waffles
Transfer the cooked waffle to a wire rack instead of stacking them on a plate. Repeat with the remaining batter, re-greasing the iron between each waffle.
Stacking hot waffles traps steam and makes them soggy. A wire rack keeps air circulating so they stay crispy on all sides.
Pro Tip: If you want extra crispy waffles, reduce the milk to 1 1/2 cups and add an extra tablespoon of oil. The lower hydration and higher fat content create crunchier edges that stay crisp even under syrup.
Tips for the Best Gluten Free Waffles
- Use a kitchen scale to measure flour if possible. Gluten free flour settles differently than wheat flour, and volume measurements can be off by up to 20%, leading to dry or gummy waffles.
- Don’t skip greasing between batches. The first waffle might release fine, but later ones stick as residue builds up on the plates.
- Adjust cooking time based on your preferred texture. Three minutes gives you softer waffles, while five minutes creates maximum crispness.
- Keep finished waffles warm in a 200°F oven on a wire rack if serving a crowd. This maintains texture better than covering them with foil.
- Add mix-ins like chocolate chips or blueberries after pouring batter onto the iron. Mixing them into the batter beforehand weighs it down and affects rising.
- Test your waffle iron temperature with a few drops of water. If they sizzle and evaporate within 2 seconds, the iron is ready.
Common Mistakes to Avoid
- Using a flour blend without xanthan gum or another binder. The waffles will fall apart because nothing holds the structure together in place of gluten.
- Making the batter too thick by using too much flour. Gluten free waffles need a pourable consistency similar to thick pancake batter to spread properly and cook evenly.
- Opening the waffle iron too early because you’re impatient. This tears the waffle before the structure sets, leaving you with a mess stuck to both plates.
- Skipping the batter rest time. The flour needs those few minutes to hydrate fully or you’ll get gritty, unpleasant texture.
- Storing waffles in an airtight container while still warm. The trapped steam makes them soggy instead of crispy.
Serving Suggestions
These waffles pair beautifully with both sweet and savory toppings. The neutral base takes on whatever flavors you add without competing.
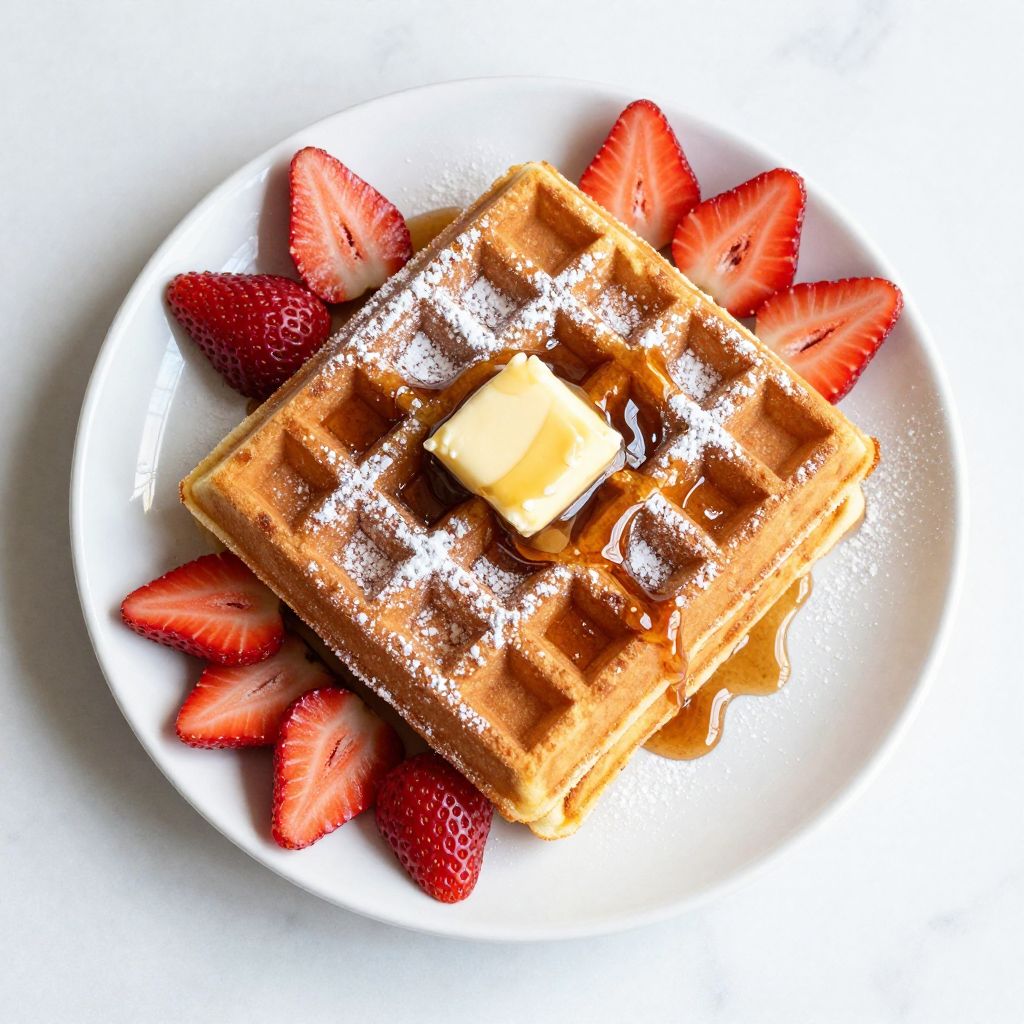
- Classic maple syrup and butter with fresh berries on the side
- Whipped cream and sliced strawberries for a dessert-style breakfast
- Fried chicken and hot honey for a gluten free take on chicken and waffles
- Greek yogurt, honey, and toasted nuts for a protein-packed option
- Peanut butter and sliced bananas for kid-friendly appeal
Variations to Try
- Chocolate chip waffles: Add 1/2 cup mini chocolate chips directly onto the batter after pouring it on the iron. The chips melt into pockets of chocolate without making the batter heavy.
- Cinnamon sugar waffles: Mix 1 1/2 teaspoons cinnamon into the dry ingredients and increase sugar to 3 tablespoons. These taste like churros in waffle form.
- Lemon poppy seed waffles: Add 2 tablespoons poppy seeds and 1 tablespoon lemon zest to the batter. The bright citrus flavor makes these perfect for brunch.
- Savory herb waffles: Skip the sugar and vanilla, then add 2 tablespoons chopped fresh herbs like chives or rosemary. Serve these with eggs and bacon.
- Banana waffles: Mash one ripe banana and reduce milk to 1 1/2 cups. The banana adds natural sweetness and moisture.
Dietary Adaptations
- Gluten-free: This recipe is already completely gluten free as written. Just verify your flour blend is certified gluten free if you have celiac disease.
- Dairy-free: Swap regular milk for almond, oat, or coconut milk and use coconut oil instead of butter. The texture stays nearly identical with these swaps.
- Vegan: Replace eggs with flax eggs (2 tablespoons ground flax plus 6 tablespoons water, rested 5 minutes) and use non-dairy milk. The waffles will be slightly denser but still delicious.
- Low-carb: This recipe doesn’t adapt well to low-carb since it relies on flour for structure. You’d need a completely different recipe using almond or coconut flour.
Storage and Reheating
Refrigerator
Store cooled waffles in an airtight container with parchment paper between layers. They’ll keep for up to 4 days.
- Let waffles cool completely before storing to prevent condensation
- Don’t stack them directly on top of each other without a barrier
- Reheat in a toaster or toaster oven for best texture
Freezer
Frozen waffles last up to 3 months and reheat beautifully. This is my favorite make-ahead breakfast option.
- Flash freeze waffles on a baking sheet for 1 hour before bagging
- Transfer to a freezer bag with as much air removed as possible
- Label with the date so you use oldest ones first
Reheating
The reheating method makes a huge difference in texture. Microwaving makes them soggy and chewy.
- Toaster: 2 to 3 minutes on medium setting (my preferred method for crispness)
- Toaster oven: 5 minutes at 350°F directly on the rack
- Regular oven: 8 to 10 minutes at 350°F on a wire rack over a baking sheet
Nutrition Information
| Nutrient | Amount |
|---|---|
| Calories | 285 |
| Total Fat | 14g |
| Saturated Fat | 2g |
| Carbohydrates | 34g |
| Fiber | 2g |
| Sugar | 6g |
| Protein | 6g |
| Sodium | 380mg |
| Cholesterol | 65mg |
Nutritional values are estimates based on standard ingredient databases. Actual values vary depending on specific brands and measurements used.
Frequently Asked Questions
Can I make the batter ahead of time?
You can refrigerate the batter for up to 24 hours, but it will thicken as it sits. Thin it with 2 to 3 tablespoons of milk before cooking and give it a quick stir to redistribute the baking powder.
Why are my waffles coming out gummy?
Gummy texture usually means too much liquid or not enough cooking time. Try reducing milk by 2 tablespoons and cooking for an extra minute until the waffles are deeply golden.
What’s the best gluten free flour blend for this recipe?
I get the best results with blends that contain rice flour, potato starch, and tapioca starch with xanthan gum added. Bob’s Red Mill 1-to-1 and King Arthur Measure for Measure both work perfectly.
Can I double this recipe?
Absolutely, this recipe doubles or triples easily. Just make sure your mixing bowl is large enough to accommodate the increased volume without spilling during stirring.
How do I prevent waffles from sticking to my iron?
Grease the iron before every single waffle, even with nonstick surfaces. Let the waffle cook fully until steam stops emerging before opening the lid, which gives the exterior time to set and release cleanly.
Can I make these without a waffle iron?
You can cook this batter as pancakes on a griddle instead. Use about 1/4 cup batter per pancake and cook for 2 to 3 minutes per side over medium heat.
Final Thoughts
This gluten free waffle recipe proves that dietary restrictions don’t mean sacrificing the breakfasts you love. The crispy edges and fluffy interior rival any traditional waffle.
Make a big batch this weekend and freeze the extras for those mornings when cooking feels impossible. You’ll thank yourself when a hot, crispy waffle pops out of the toaster in under three minutes.
Gluten Free Waffles
Ingredients
Equipment
Method
- Turn your waffle iron to medium-high heat and let it warm for at least 5 minutes until it reaches an even temperature across the entire cooking surface.
- Whisk together the gluten free flour, sugar, baking powder, and salt in your large bowl. Break up any clumps in the flour blend by pressing them against the bowl with your whisk.
- Crack the eggs into your medium bowl and whisk them until the yolks and whites fully combine. Add the milk, oil, and vanilla, then whisk until the mixture looks uniform.
- Pour the wet ingredients into the bowl with the dry ingredients. Stir gently with your spatula until just combined, leaving a few small lumps visible.
- Let the batter sit for 3 to 4 minutes while your waffle iron finishes heating. The flour will absorb the liquid and the baking powder will start activating.
- Lightly coat both plates of your waffle iron with cooking spray or brush them with a thin layer of oil, even if your iron is nonstick.
- Pour enough batter to cover about two-thirds of the lower grid, typically 1/2 to 3/4 cup depending on your iron size. Close the lid and cook for 3 to 5 minutes without opening it early, until the steam stops escaping from the sides and the waffle is golden brown.
- Transfer the cooked waffle to a wire rack instead of stacking them on a plate. Repeat with the remaining batter, re-greasing the iron between each waffle.