
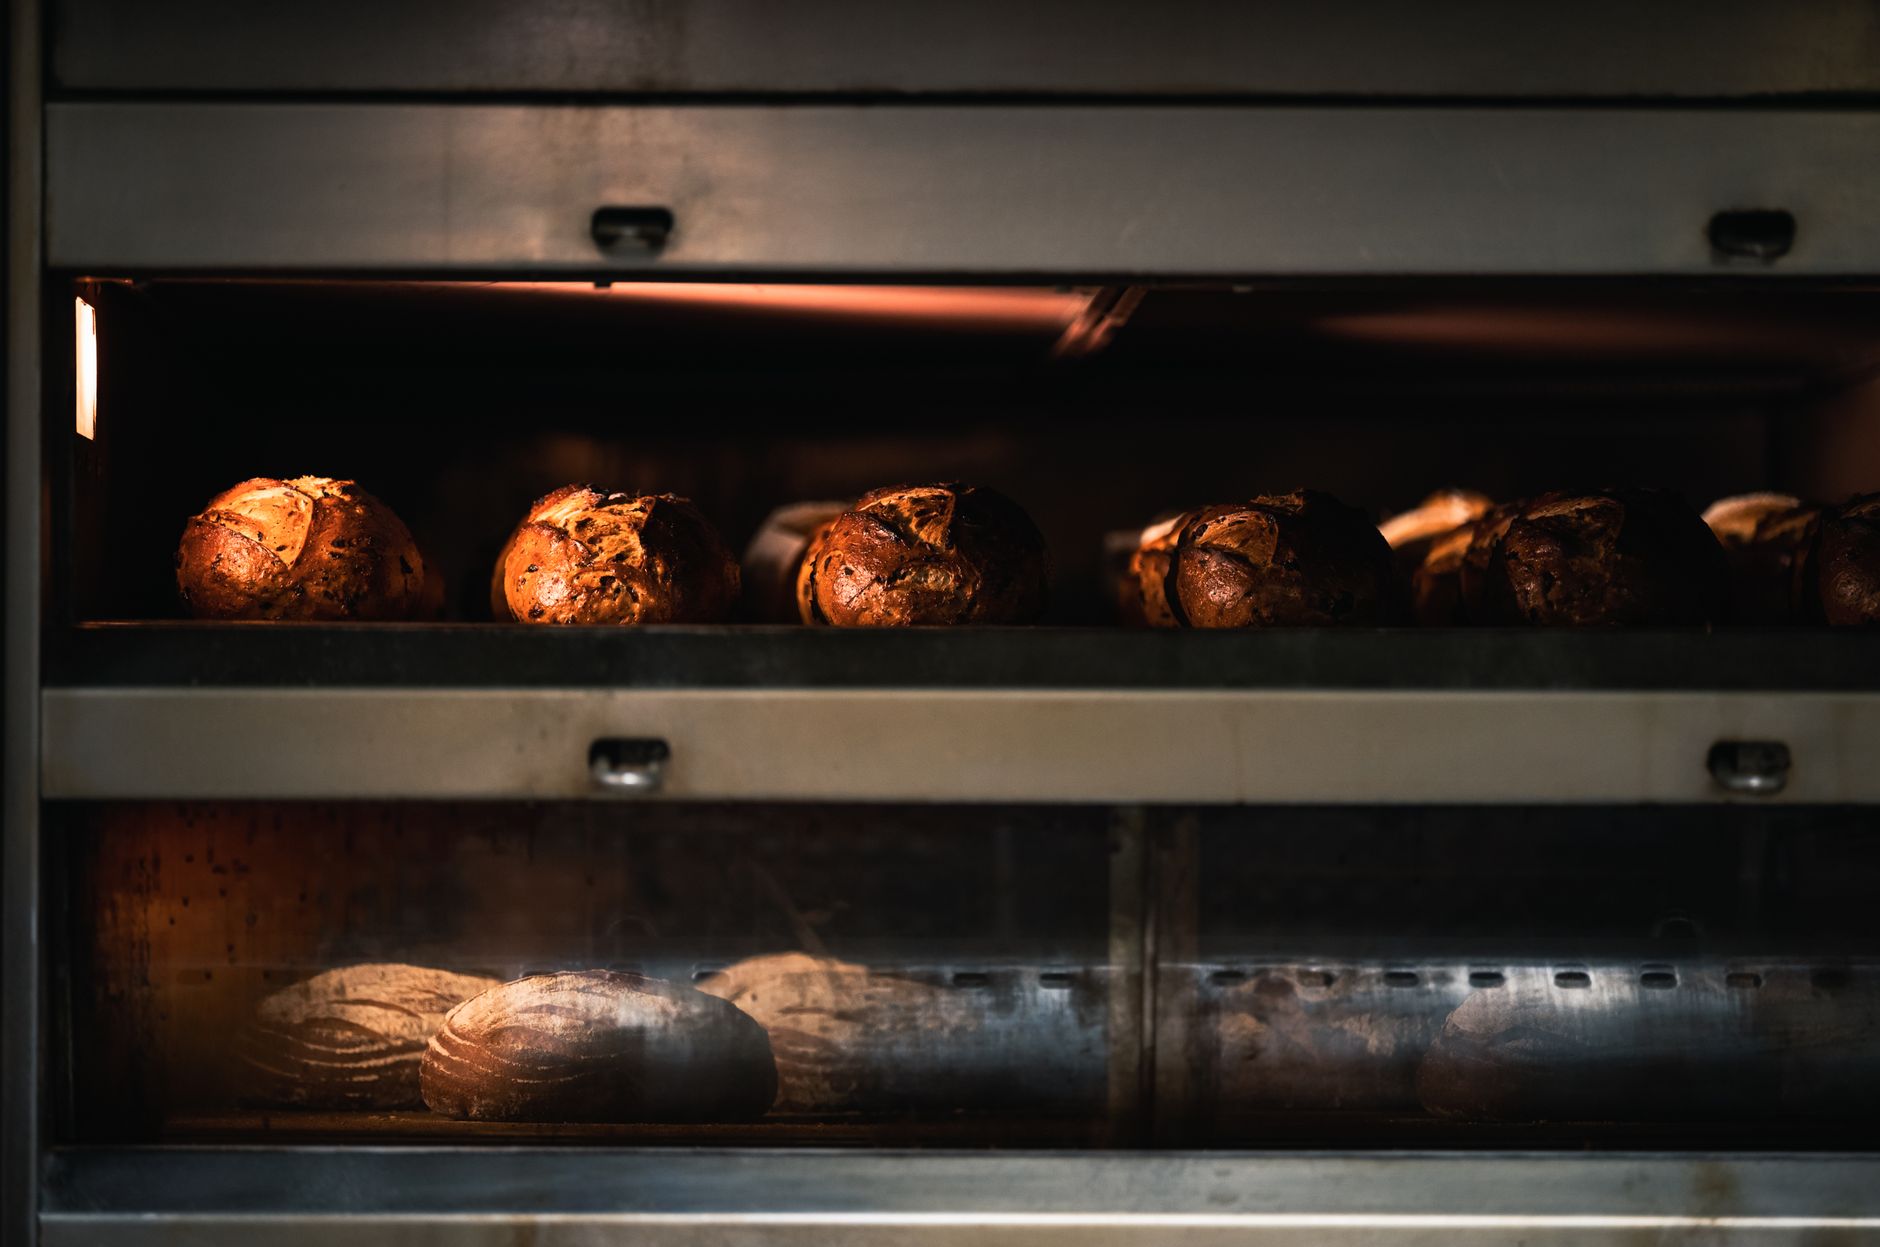
Baking homemade bread is a rewarding endeavor that fills your kitchen with warmth and inviting aromas. Whether you are looking to impress family and friends or simply enjoy the satisfaction of creating something from scratch, learning how to make bread is a foundational cooking skill that yields delicious results.
This guide covers everything you need to know about making bread—from essential ingredients and methods to serving suggestions. With a little patience and practice, you can create a variety of bread styles to suit your taste preferences.
How to Make Bread?
To make bread, you will need basic ingredients such as flour, water, yeast, and salt. The method involves mixing these components, allowing the dough to rise, shaping it, and then baking it until golden brown. Each step affects the final taste and texture of the bread.
Ingredients for Bread Making
Here is a list of essential ingredients needed to make a basic loaf of bread:
- Flour: 4 cups (500 grams) of all-purpose flour or bread flour.
- Water: 1 and 1/2 cups (360 milliliters) of warm water, about 110°F (43°C).
- Yeast: 2 and 1/4 teaspoons (1 packet) of active dry yeast or instant yeast.
- Salt: 2 teaspoons (10 grams) of salt, preferably sea salt or kosher salt.
- Sugar: 1 tablespoon (15 grams) of sugar (optional, helps with yeast activation and adds slight sweetness).
- Oil: 2 tablespoons (30 milliliters) of olive oil or vegetable oil (optional, enriches the dough).
Essential Equipment
Before you get started, gather the following baking equipment:
- Mixing bowl
- Measuring cups and spoons
- Spoon or dough whisk
- Food thermometer (optional, for water temperature)
- Dough scraper
- Baking sheet or loaf pan
- Kitchen towel or plastic wrap
- Cooling rack
Step-by-Step Method for Making Bread
Step 1: Activate the Yeast
- In a small bowl, combine warm water (about 110°F or 43°C) and sugar (if using). Sprinkle 2 and 1/4 teaspoons of active dry yeast on top.
- Allow the mixture to sit for about 5 to 10 minutes until it becomes frothy. This indicates that the yeast is active.
Step 2: Prepare the Dough
- In a large mixing bowl, combine 4 cups of flour and 2 teaspoons of salt.
- Create a well in the center of the flour and pour in the activated yeast mixture along with 2 tablespoons of oil (if using).
- Using a spoon or dough whisk, mix the ingredients together until a shaggy dough forms.
Step 3: Knead the Dough
- Transfer the dough to a lightly floured surface. Knead the dough for about 8 to 10 minutes until it becomes smooth and elastic. (If using a stand mixer with a dough hook, knead on low speed for about 6 minutes.)
- To check for readiness, perform the “windowpane test”: stretch a small piece of dough between your fingers. If it forms a thin membrane without tearing, it is ready.
Step 4: First Rise
- Form the dough into a ball and place it in a lightly oiled bowl. Turn the dough to coat it with oil.
- Cover the bowl with a kitchen towel or plastic wrap. Allow the dough to rise in a warm, draft-free area until it doubles in size, about 1 to 2 hours.
Step 5: Shape the Dough
- Once risen, punch down the dough to remove excess air. Transfer it back to a floured surface.
- Divide the dough into two equal pieces if making two loaves, or keep it whole for one large loaf.
- Shape each piece into a loaf by flattening it into a rectangle and then rolling it tightly from one end to the other. Pinch the seams to seal.
Step 6: Second Rise
- Place the shaped dough into greased loaf pans or on a baking tray lined with parchment paper. Cover with a towel.
- Allow the dough to rise again until it doubles in size, about 30 to 60 minutes.
Step 7: Preheat the Oven
- Preheat your oven to 375°F (190°C) during the second rise. This allows your oven to be ready when the dough is fully risen.
Step 8: Bake the Bread
- Once the dough has risen, remove the towel and make a few shallow slashes on the top with a sharp knife. This helps steam escape.
- Place the loaf in the oven and bake for about 25 to 30 minutes or until the crust turns golden brown and sounds hollow when tapped on the bottom.
Step 9: Cool the Bread
- Remove the bread from the oven and let it cool in the pan for about 5 minutes. Then, transfer the bread to a cooling rack.
- Allow it to cool completely before slicing to prevent a gummy texture.
Common Mistakes and Troubleshooting
While making bread is straightforward, a few common mistakes can lead to unsatisfactory results. Here are some troubleshooting tips:
- Dense Bread: This can occur from insufficient kneading or using expired yeast. Ensure your dough is smooth and elastic and check yeast freshness by checking the expiration date.
- Flat Loaves: If the dough does not rise adequately, it may have been in a drafty area or not given enough time. Make sure to create a warm environment for rising.
- Hard Crust: If your crust is too hard, reduce the baking time slightly or try covering the loaf with foil halfway through baking.
Serving Suggestions for Homemade Bread
Homemade bread is versatile and pairs well with a variety of dishes. Here are some suggestions for serving:
- As Toast: Slice thick and toast for breakfast, topped with butter, jam, or avocado.
- Sandwiches: Use the bread for fresh sandwiches with deli meats, cheeses, vegetables, and spreads.
- With Soups and Salads: Serve warm slices alongside hearty soups or salads to soak up delicious vinaigrettes.
Variations and Substitutions
Experimenting with bread recipes can yield delightful variations:
- Whole Wheat Bread: Substitute half or all of the all-purpose flour with whole wheat flour. This will add fiber and a nutty flavor but may require more water.
- Herb Bread: Add 1 to 2 tablespoons of dried herbs like rosemary or thyme to the dough for extra flavor.
- Sweet Bread: Incorporate dried fruits, nuts, or honey for a sweeter loaf.
Storage and Make-Ahead Guidance
Homemade bread is best enjoyed fresh, but here are some tips for storage and making ahead:
- Store bread in a paper bag or bread box at room temperature for 2 to 3 days. Avoid plastic, as it can lead to a soggy crust.
- For longer storage, slice the bread and freeze it in an airtight bag. It can last up to three months in the freezer; toast slices directly from frozen.
- You can also make the dough ahead of time. After the first rise, refrigerate it for up to 24 hours. Bring it back to room temperature before shaping.
As you gain confidence in making homemade bread, you will discover that it opens the door to endless culinary creativity, from rustic rolls to fluffy bagels. With a few ingredients and the right techniques, you can master this timeless craft.
For delicious variations, consider trying out honey wheat bread or whole wheat bread. Explore these recipes to further enrich your baking repertoire!