
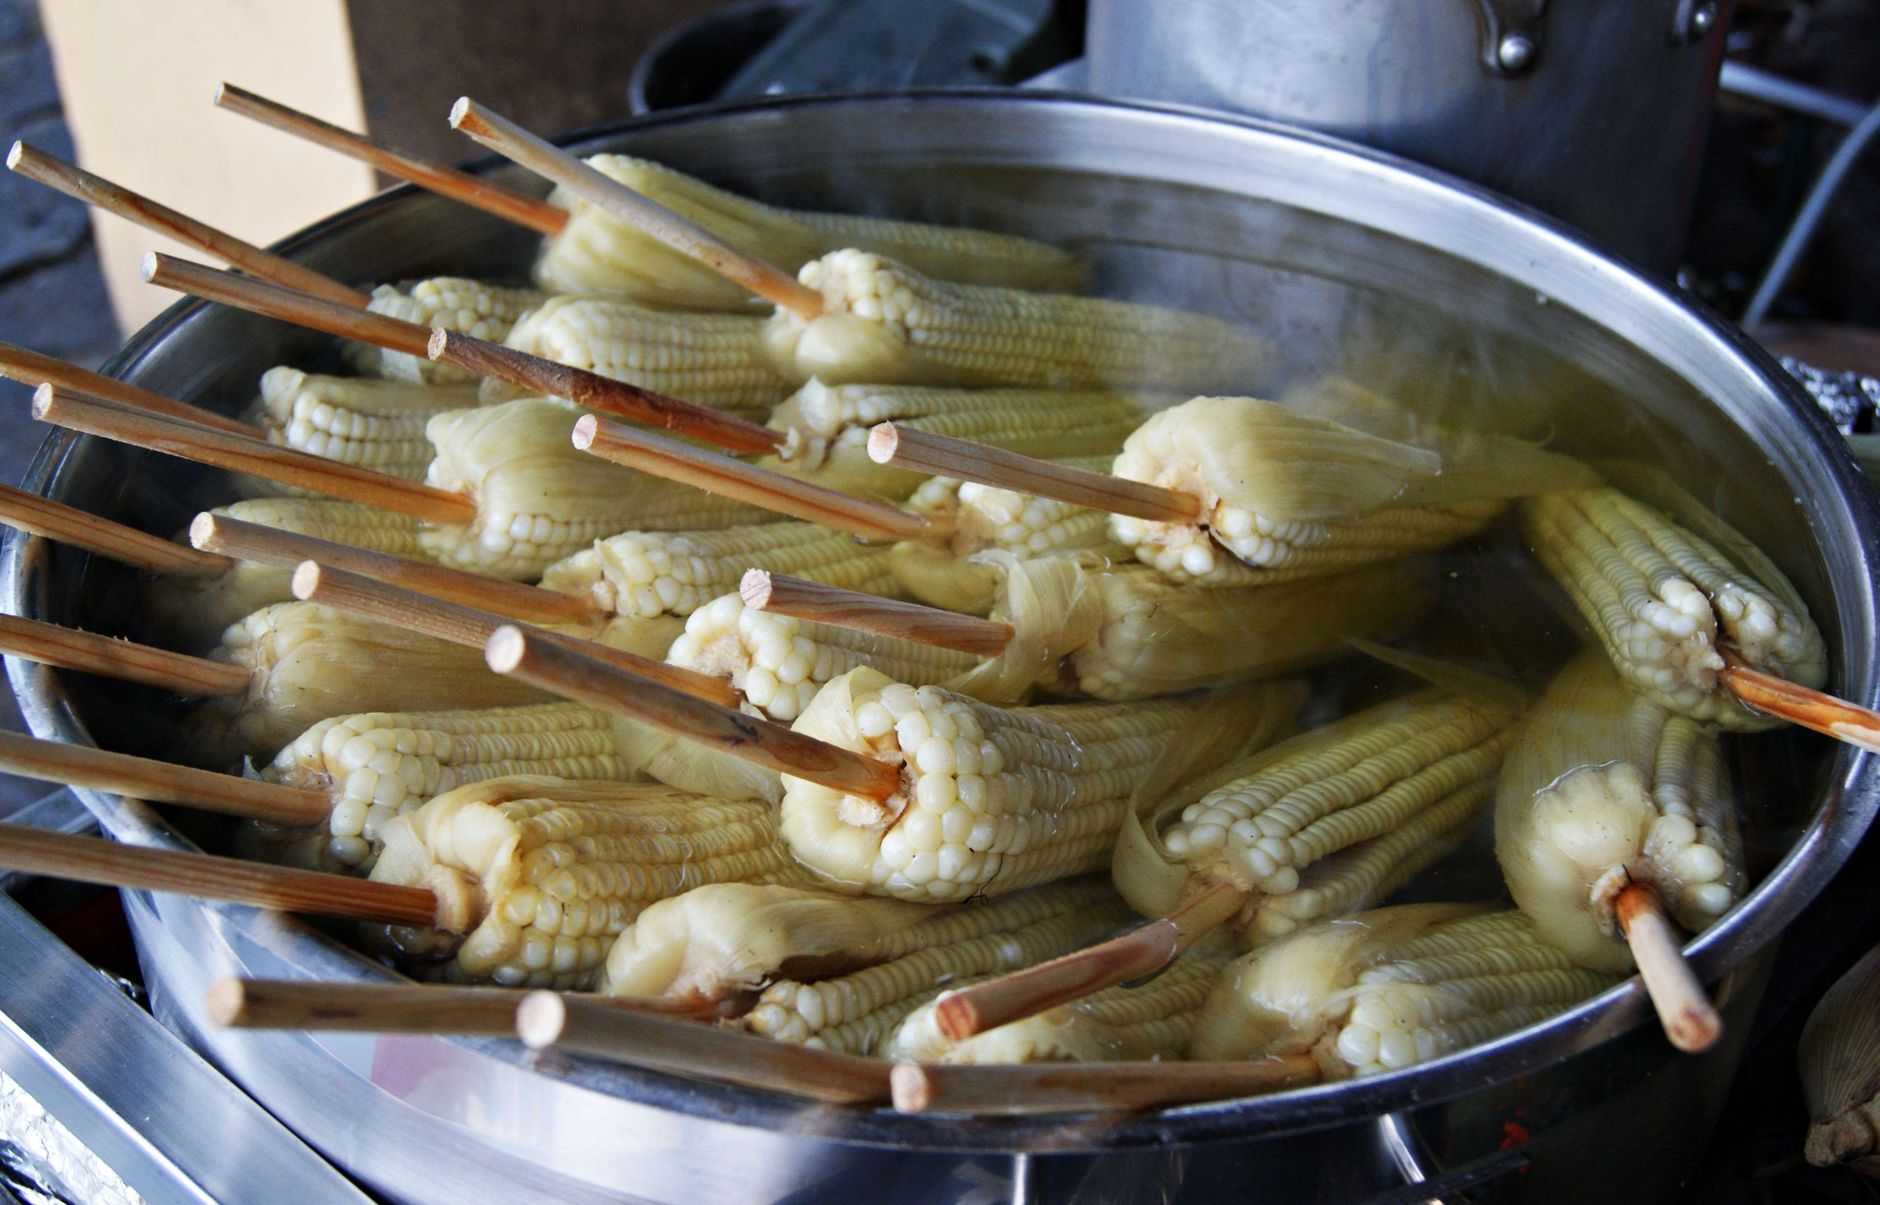
Blanching corn on the cob is a simple yet effective technique that helps preserve its vibrant color, sweetness, and crisp texture. Whether you plan to freeze the corn for later use or simply want to enhance its flavor for a summer feast, knowing the exact blanching time is essential. In this article, we’ll cover everything you need to know about how long to blanch corn on the cob, including tips and common variations.
This culinary practice involves briefly boiling corn and then quickly cooling it in ice water. The result is corn that retains its fresh flavor and nutrients while being ready for a variety of dishes. So let’s delve into the details.
How Long to Blanch Corn on the Cob?
To blanch corn on the cob, you should boil it for approximately 4 to 6 minutes. The optimal boiling time can vary slightly based on the size and freshness of the corn. After boiling, immediately transfer the corn to an ice water bath to halt the cooking process.
The Benefits of Blanching Corn
Blanching corn before freezing or cooking provides several significant benefits:
- Preservation of Color: Blanching locks in the bright yellow hue of fresh corn, making it visually appealing.
- Enhanced Flavor: This process helps to preserve the natural sweetness of the corn.
- Pest Control: Blanching can kill bacteria and reduce the presence of pests.
- Texture Maintenance: Quick cooling after blanching helps maintain a crisp texture.
Choosing the Right Corn
When selecting corn for blanching, look for these factors:
- Freshness: Choose ears that are firm and have bright green husks. The kernels should be plump and milky when pierced.
- Size: Medium-sized cobs tend to have better flavor and texture.
- Shuck-ability: Ears that are easy to shuck often indicate freshness.
Essential Equipment for Blanching Corn
To effectively blanch corn, gather the following items:
- Large pot for boiling water
- Ice water bath (a large bowl filled with cold water and ice)
- Slotted spoon or tongs
- Kitchen timer
- Cutting board and knife (optional, for cutting kernels off cobs later)
Step-by-Step Guide to Blanching Corn on the Cob
Follow these detailed steps to correctly blanch corn:
- Prepare the Corn: Start by husking the corn. Remove the outer green husks and silk threads. Rinse the cobs under cold water to clean them thoroughly.
- Boil Water: Fill a large pot with water and bring it to a vigorous boil. The more water you have, the quicker it will come back to a boil after you add the corn.
- Blanch the Corn: Once the water is boiling, carefully add the corn cobs. Cover the pot to bring the water back to a boil quickly. Start your timer once the water resumes boiling.
- Check the Timer: For optimal results, let the corn boil for 4 to 6 minutes. For small ears of corn, 4 minutes might suffice, while larger or older cobs may take closer to 6 minutes.
- Ice Bath: While the corn is blanching, prepare an ice bath in a large bowl. Fill it with cold water and ice.
- Transfer the Corn: After blanching, use a slotted spoon or tongs to remove the corn from the boiling water and quickly transfer it to the ice bath.
- Cool Completely: Let the corn sit in the ice bath for at least as long as it was blanched, which will help stop the cooking process effectively.
- Drain and Store: After cooling, remove the corn from the ice bath and drain off excess water. You can now freeze the corn or use it in your favorite recipes.
Common Mistakes to Avoid When Blanching Corn
Even though blanching corn is a straightforward process, some common pitfalls can affect the outcome:
- Not Using Enough Water: Insufficient water can lead to uneven cooking. Always use a large pot with enough water.
- Overcooking the Corn: Blanching is meant to be quick. Cooking for too long can make the corn tough.
- Skipping the Ice Bath: Failing to cool the corn immediately after blanching can result in overcooked and mushy kernels.
Storing Blanched Corn
If you plan to store blanched corn, here are some effective methods:
- Freezing: Once drained, store the corn in airtight freezer bags or containers. Remove as much air as possible to prevent freezer burn. It’s best to use within six months for optimal flavor.
- Canning: If you prefer, blanch and then can the corn using proper canning methods. This requires additional equipment and adherence to food safety protocols.
Hands-on Corn Recipes to Try
After blanching, there are countless ways to enjoy your corn. Here are a few delicious ideas:
- Corn Pudding – A delightful side dish with a creamy texture.
- Corn Souffle – A fluffy and flavorful dish perfect for gatherings.
These dishes highlight the sweet, fresh flavor of corn and are easy to prepare, especially if you start with blanched corn.
Additional Uses for Blanched Corn
Blanched corn is versatile and can be included in a variety of dishes:
- Salads: Add it to fresh salads for a crunchy texture.
- Pasta: Include it in pasta dishes or grain bowls for added flavor.
- Tacos: Use blanched corn as a filling or topping in tacos and burritos.
Variations on Blanching Technique
While the basic process is effective, you can experiment with variations depending on your dish or preferences:
- Flavoring the Water: Consider adding salt, sugar, or herbs to the boiling water to infuse flavor into the corn.
- Grilling After Blanching: For a smoky flavor, grill the corn briefly after blanching, applying your favorite seasoning.
- Roasting Kernels: After blanching, cut the kernels off the cobs and roast them in a hot oven with olive oil and spices.
Conclusion and Next Steps
Blanching corn on the cob is a straightforward technique that enhances its flavor and preserves its texture for a variety of recipes. By following the outlined steps and using proper timing, you can enjoy delicious and vibrant corn all year round.
For more delicious recipes, cooking tips, or guidance on corn dishes, explore related recipes like Corn Pudding and Corn Souffle.